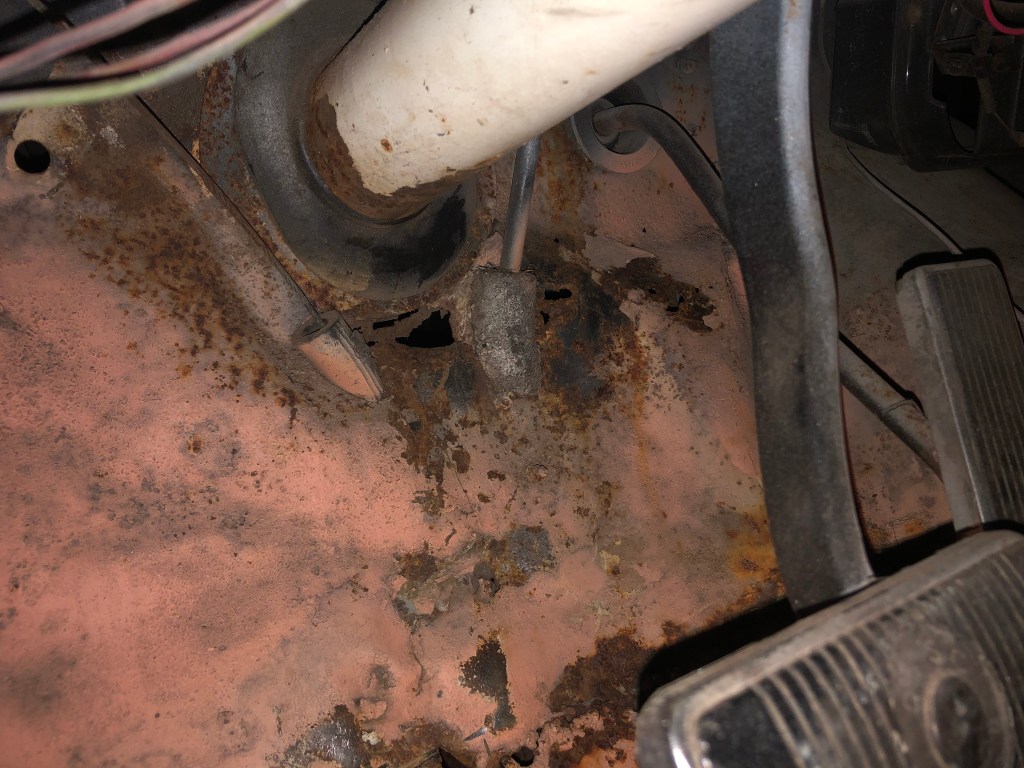
What started as a small rust repair has morphed into a full blown floor pan replacement. After evaluating the state of the floor I’ve decided that the best course of action is to replace it and the toe board. At the same time I’m going to attempt to add a torque box, which were standard on later years but not present on a 66. I’m hoping this will provide additional chassis stiffness.
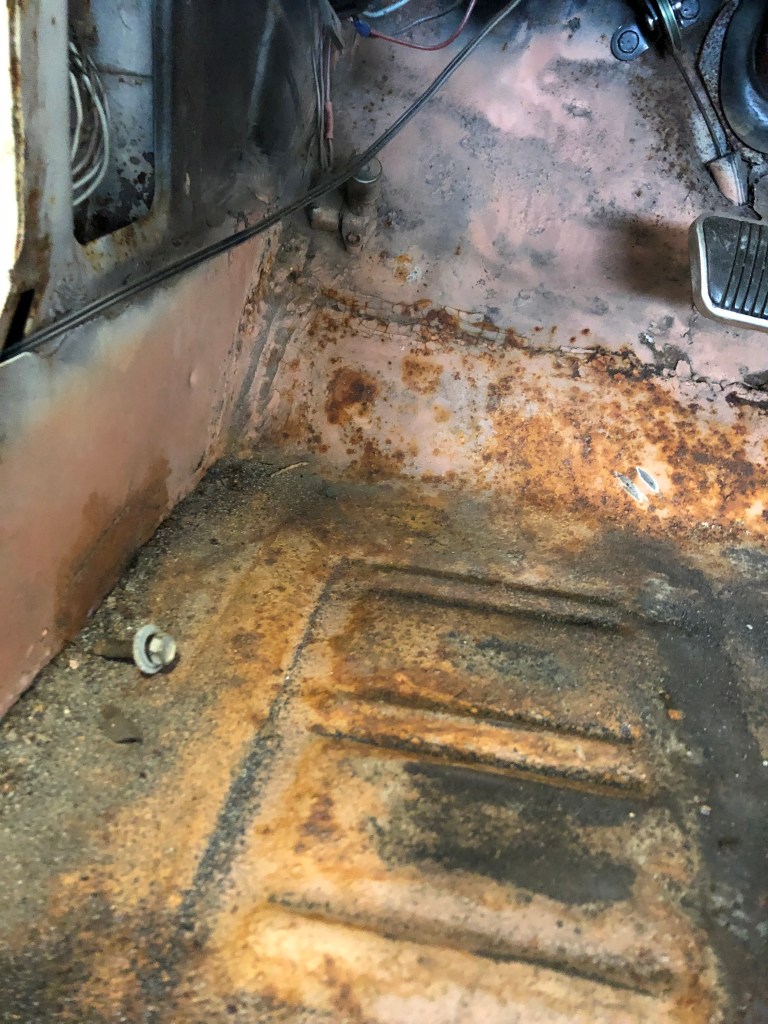
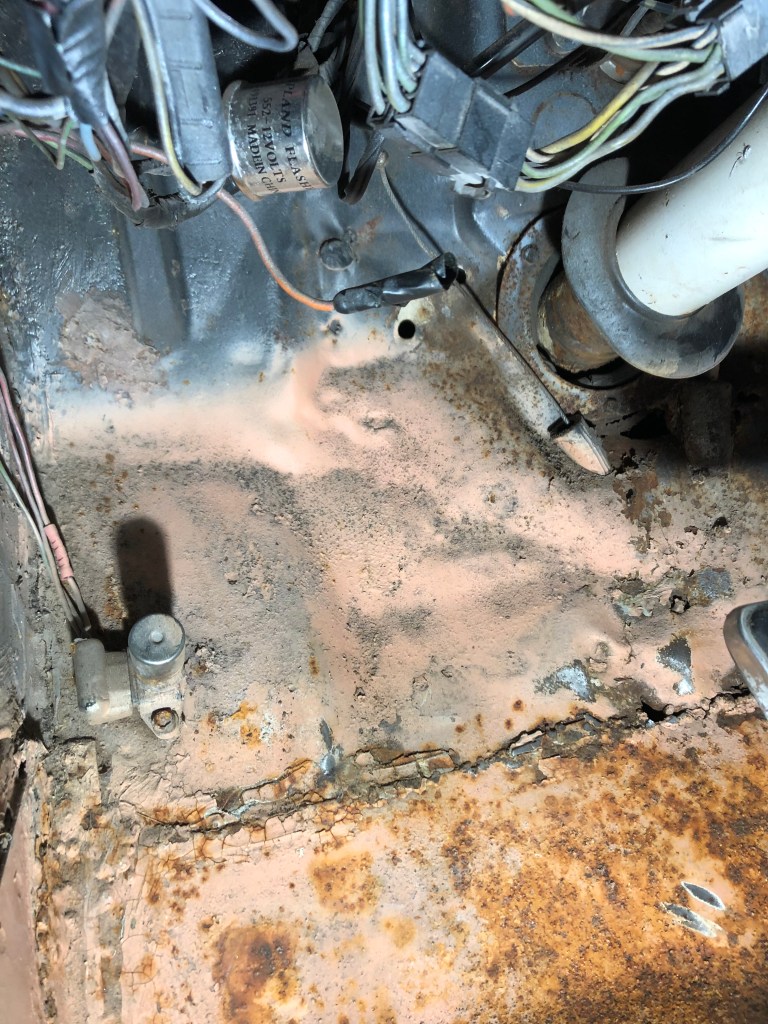
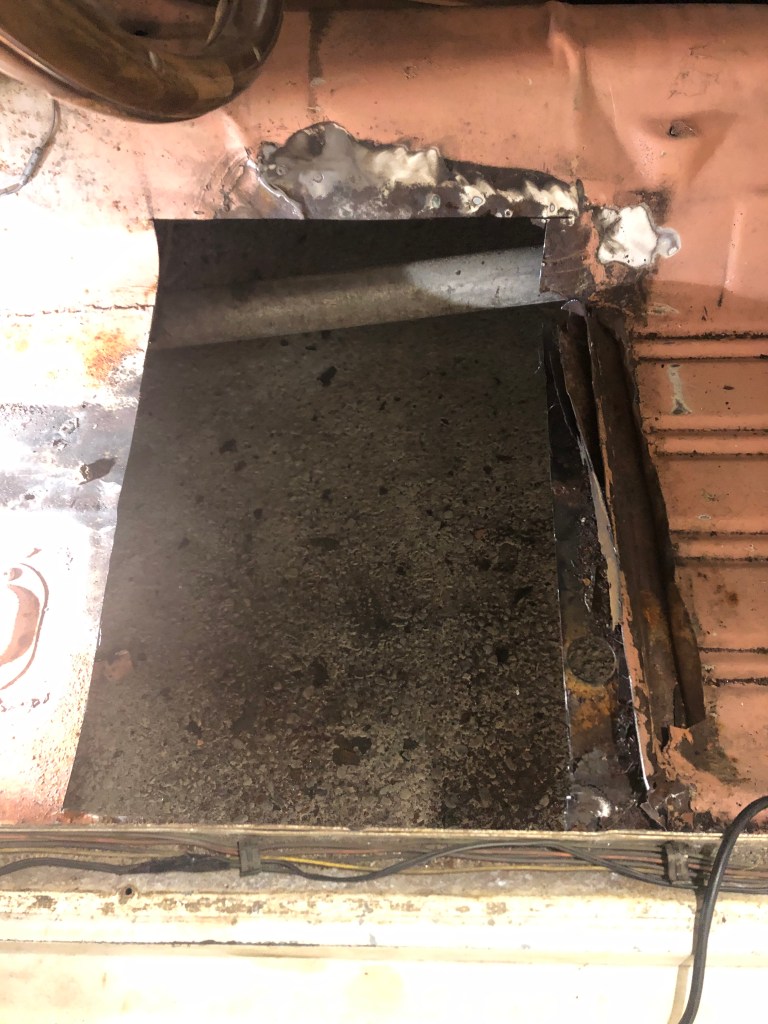
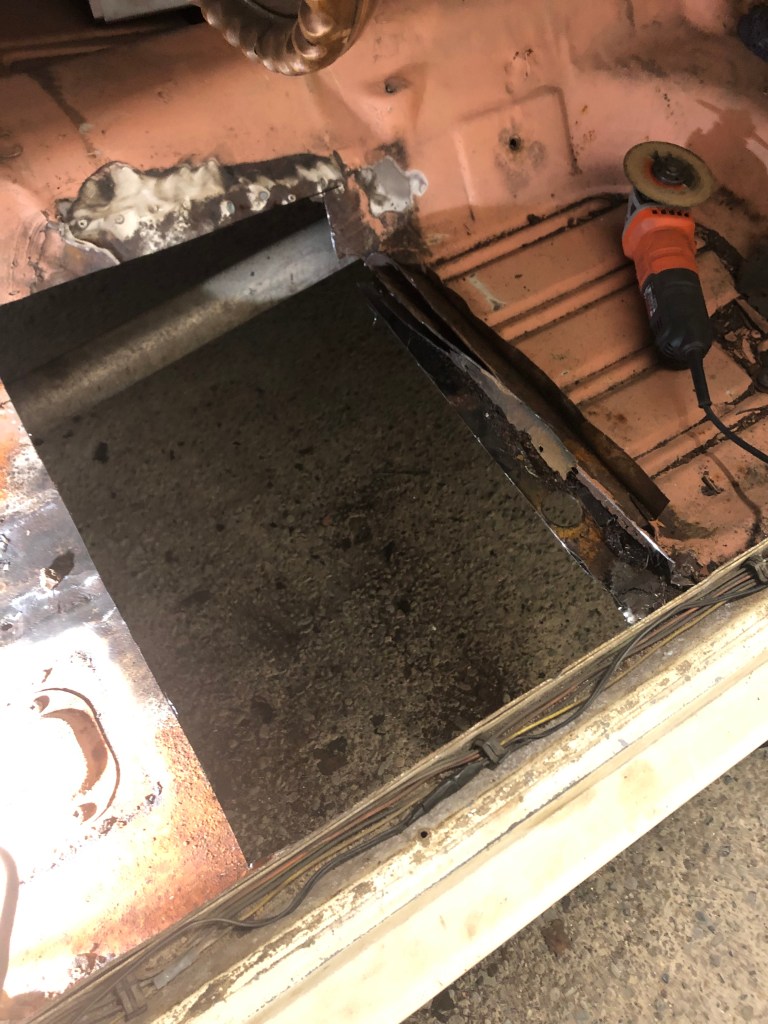
The floor had twisted upwards as a result of torque and weak welds/metal. The pictures below show the state of the metal under the seat platform. Lots of rust and I can see where someone in the past had simply welded another panel over the top of the old one. I found lots of mig wire still attached to the floor!


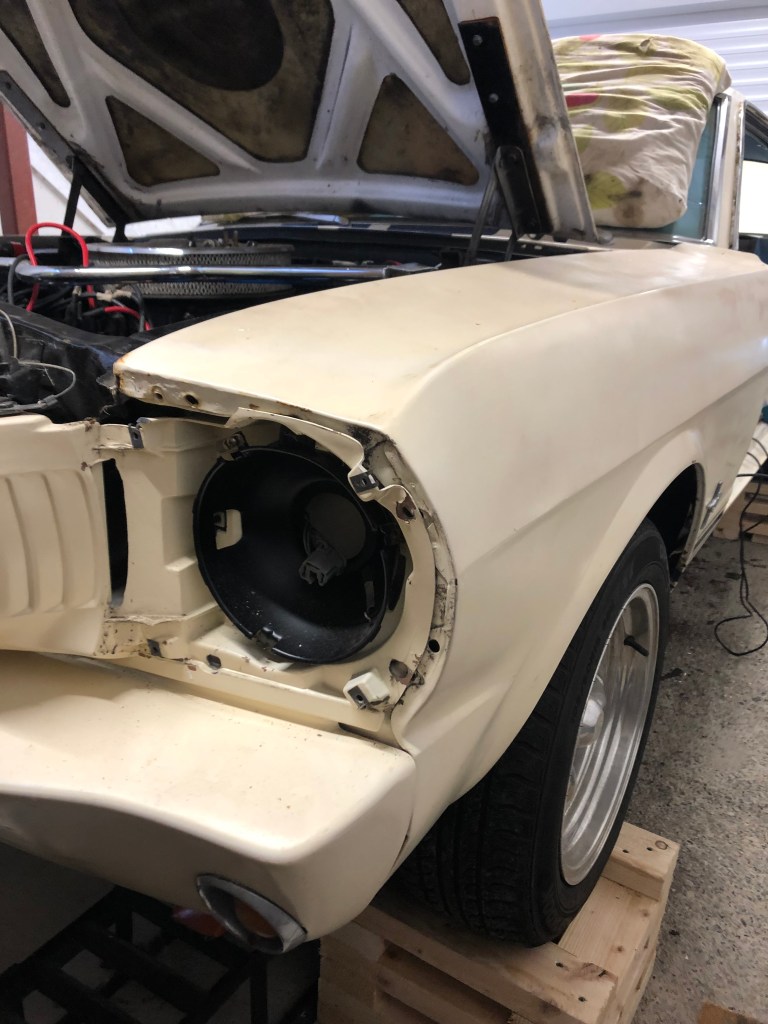
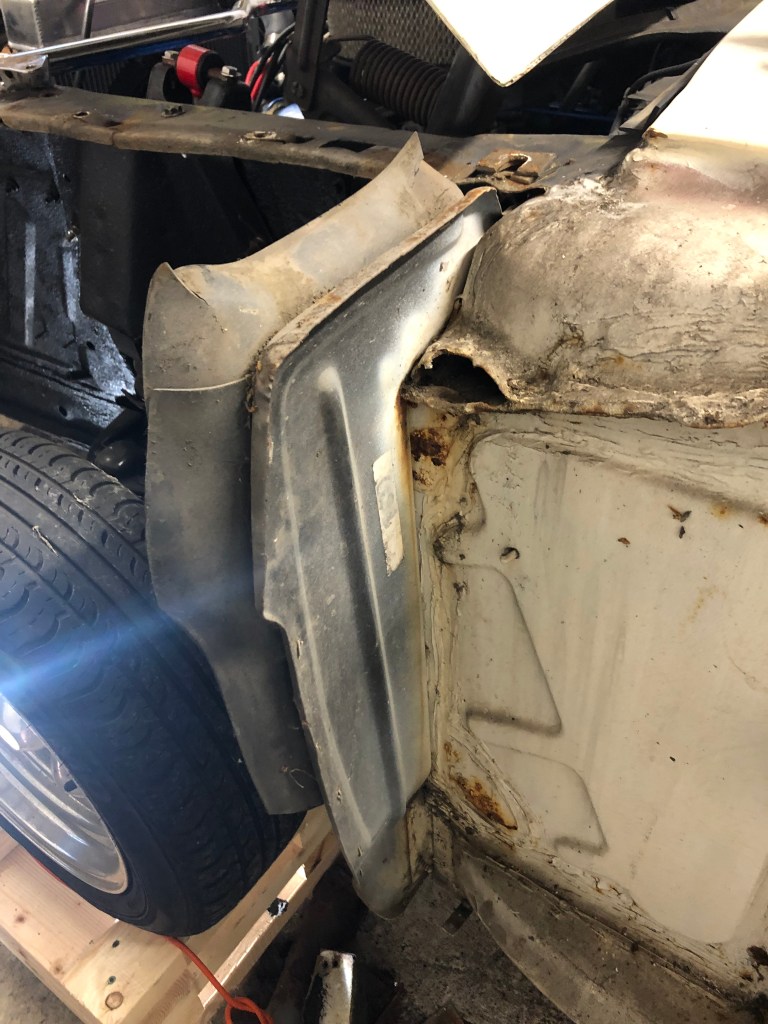
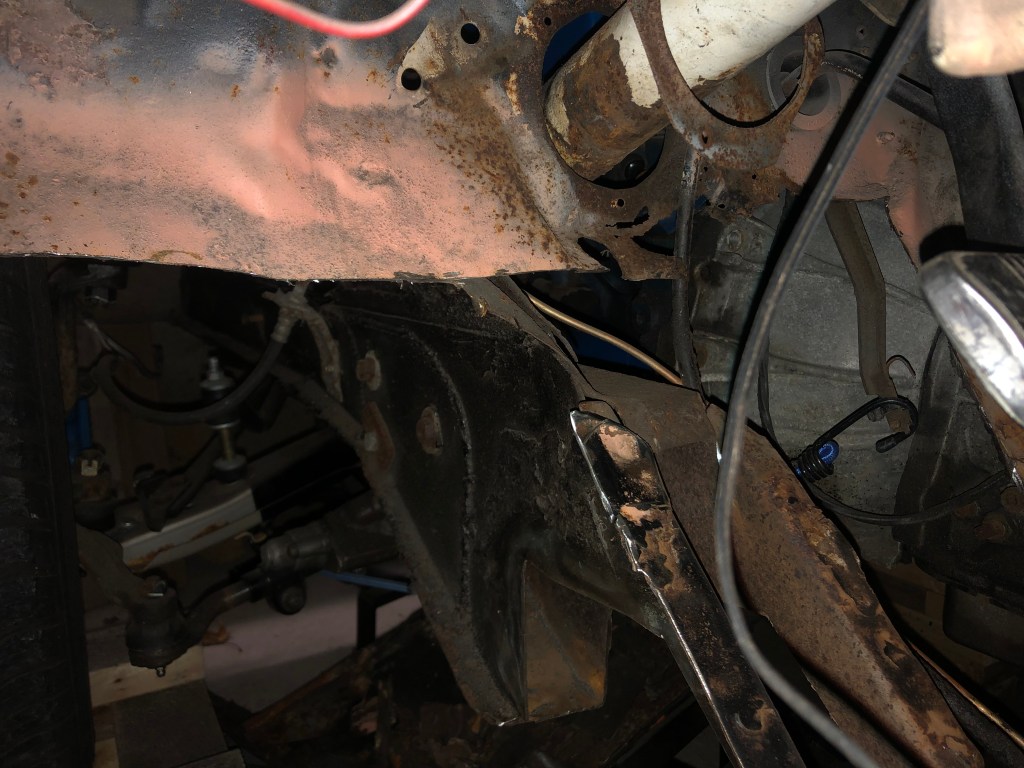
I have to wait until the new floor pan & other parts arrive before I can do any more cutting. Whilst I wait, I will remove the drivers side fender so I have space to fit the torque box.
It was a reasonably painless process to remove the fender other than one bolt that holds the front valance to the panel. You need to be an octopus to hold two 13mm wrenches in that tight spot. Fender was off in about 45 minutes.


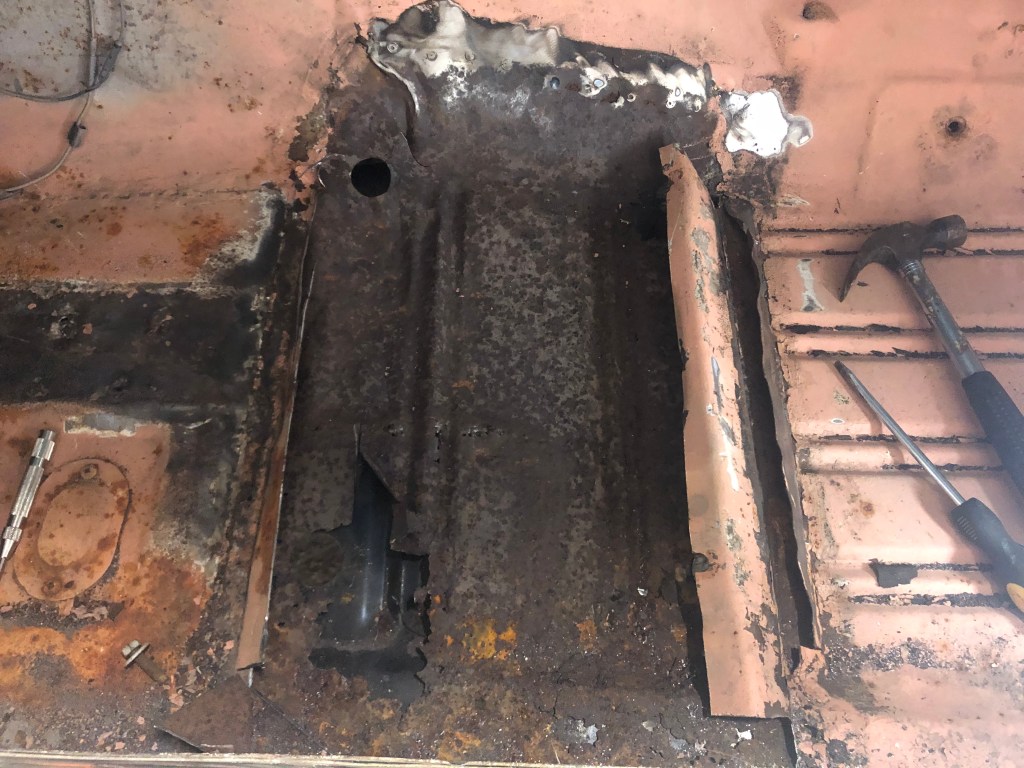
Frustratingly it seems like no one has any torque boxes in stock. It might be 8 weeks before I get one but the toe board and short floor pan are on their way. Today I spent 5 minutes cutting the spot welds holding the seat platform against the tunnel. Very satisfying to get it off, especially without cutting holes in the tunnel.

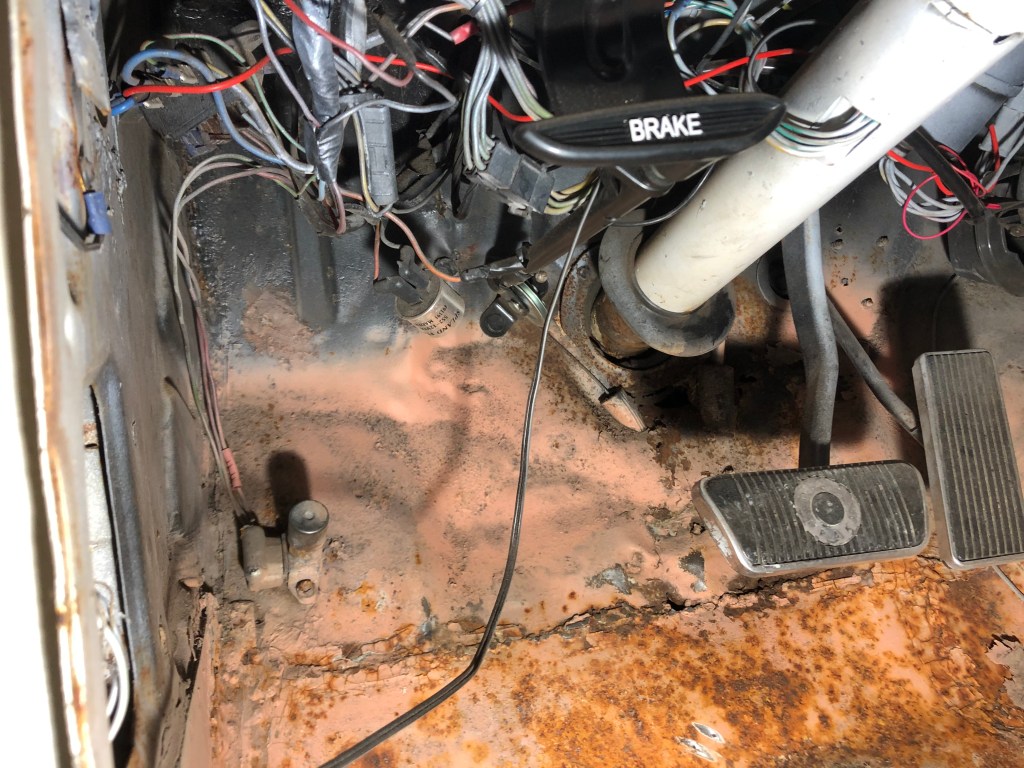
I removed the headlight switch from the toe board and also disconnected the handbrake from under the car and removed the handbrake mechanism. I’m considering upgrading to a standard between the seats handbrake rather than the original under the dash.
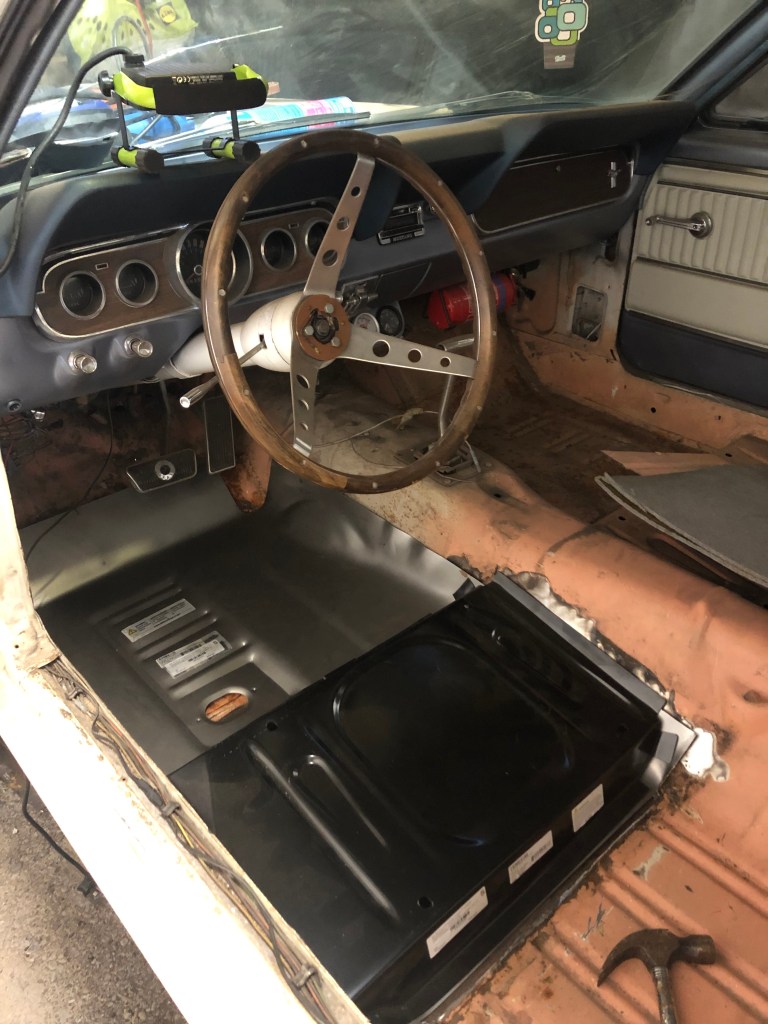
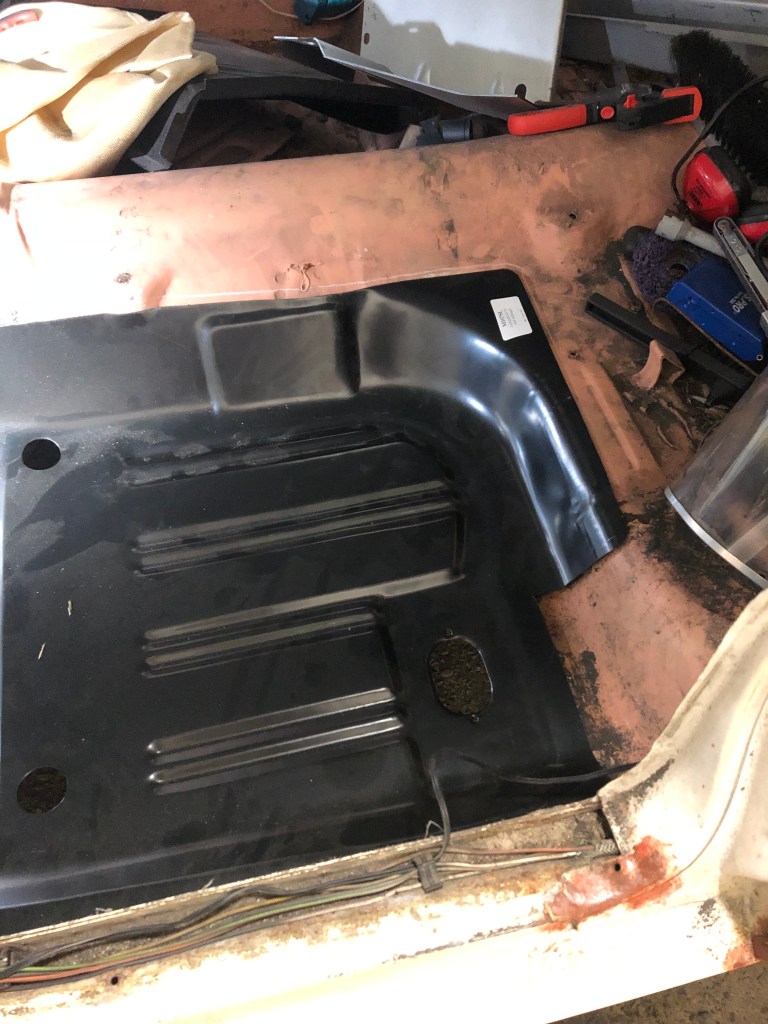
The new panel arrived from Velocity and I wasted no time in looking into the best way to use it. The floor is a patchwork of old panels. You can see the original floor beneath the seat platform and beneath that a newer panel which had been welded over to cover the mess.


I decided to start by cutting just forward and rear of the seat platform and the worst part of the tunnel. The rear of the floor is ‘ok’ so I decided to leave it in place which means I don’t need to worry about the seatbelt mounts. The tunnel wall is really thin and looks like it has been patched previously. I think I’m going to have to put a patch on it before I attach the floor.
Now I need to figure out the best way to use the new panel. The panel arrived with the outside flange (which connects to the rocker) bent down which is for convertibles. It should be bent up for Coupe’s & Fastback’s. Its’s a major pain because I will need to bend it myself. The good news is that the pieces don’t look bad just sitting there 🙂

27th October 2021 – Well I’ve done some more cutting, mainly around the tunnel support and kick panel. I found that a previous owner had patched the kick panel before but didn’t bother to spot weld it to the frame rail or tunnel support!. This explains the warped floor panel.
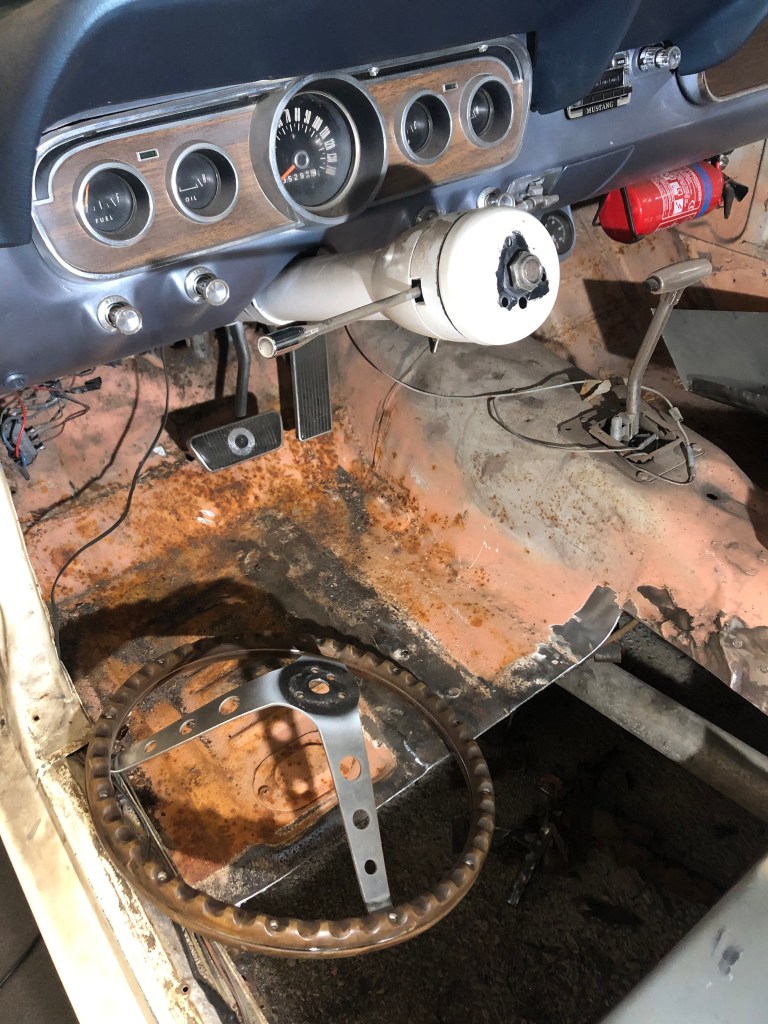

After a bit more poking with a screwdriver I decided I needed to cut out everything just under the steering column as it was too far gone. I disconnected the gas pedal from the carb linkage and then used a bungy cord to hold the lever and pedal away from the floor.

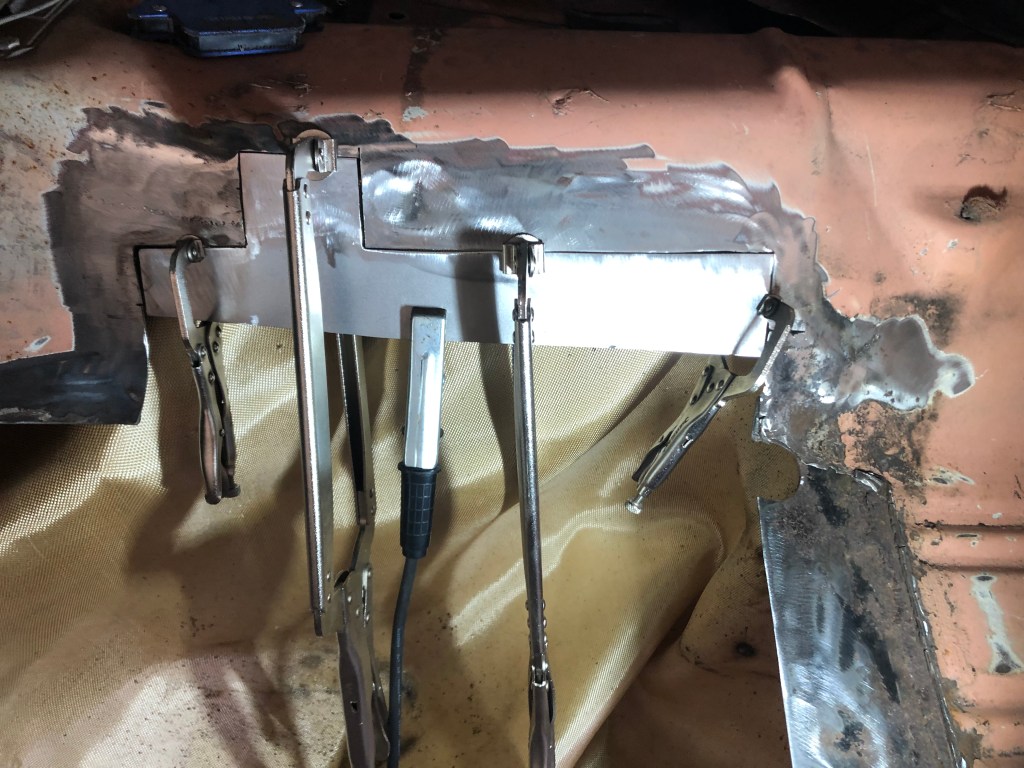
Whilst I wait for the torque box and new floor pan (this time with the flange bent upwards!) I decided to tackle the rust in the transmission tunnel. I cut it out, which required an odd sized patch panel but this removed all the rust from the area. I was quite anxious about the welding as I’m far from proficient, however the initial tacks have come out ok except for a few areas where the gap was too big to start with. If you are wondering why the bottom of the patch panel is not straight its because I know I will have to cut some of it out when I put the new floor pan in.


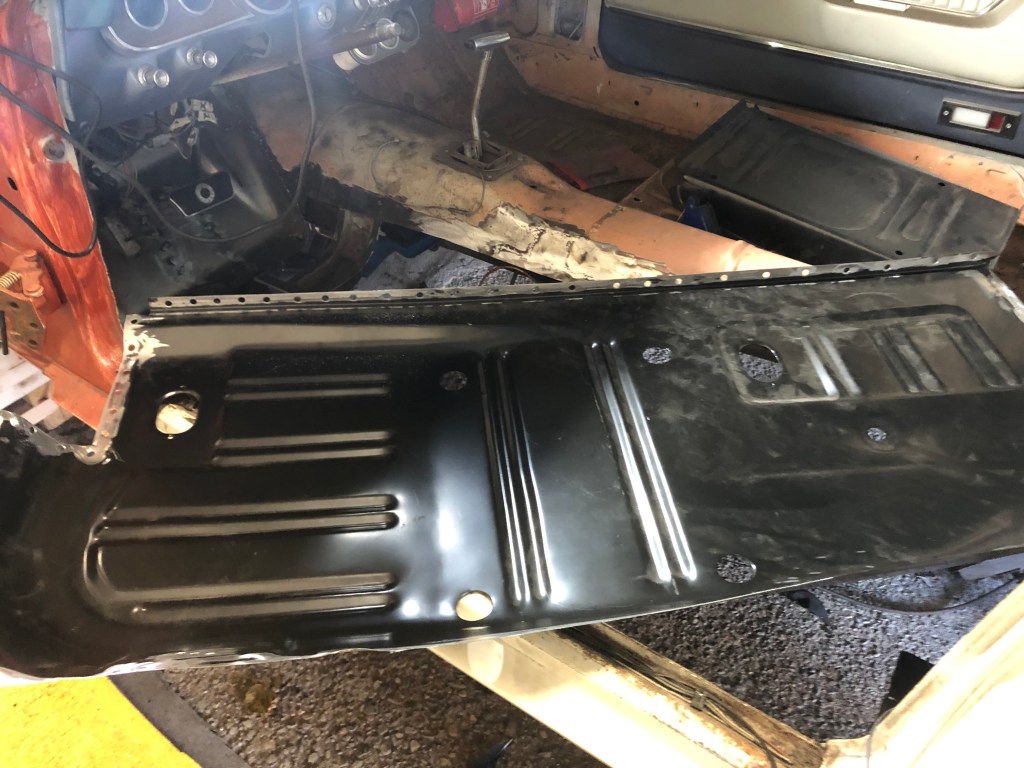
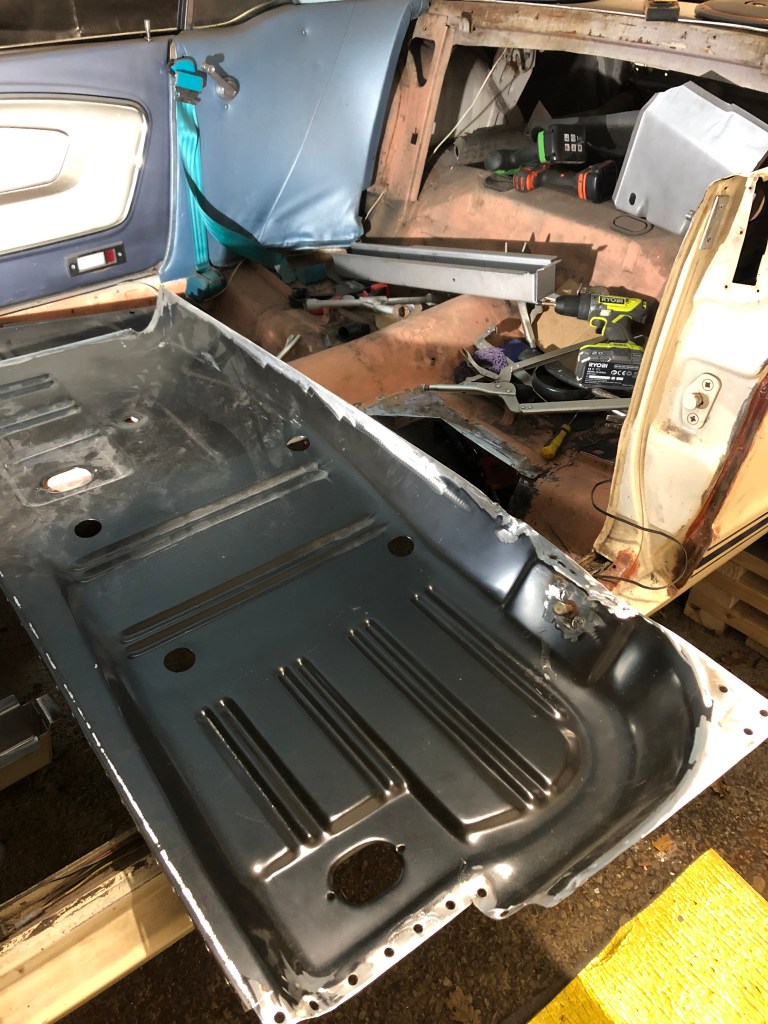
Next I need to work on the toe board / firewall area, ensuring the patch panel I have fits well. The metal around the steering column is very thin and I suspect needs to be cut out. The good news is that test fitting the new full length floor pan went well. It hugs the transmission and rocker panel nicely.


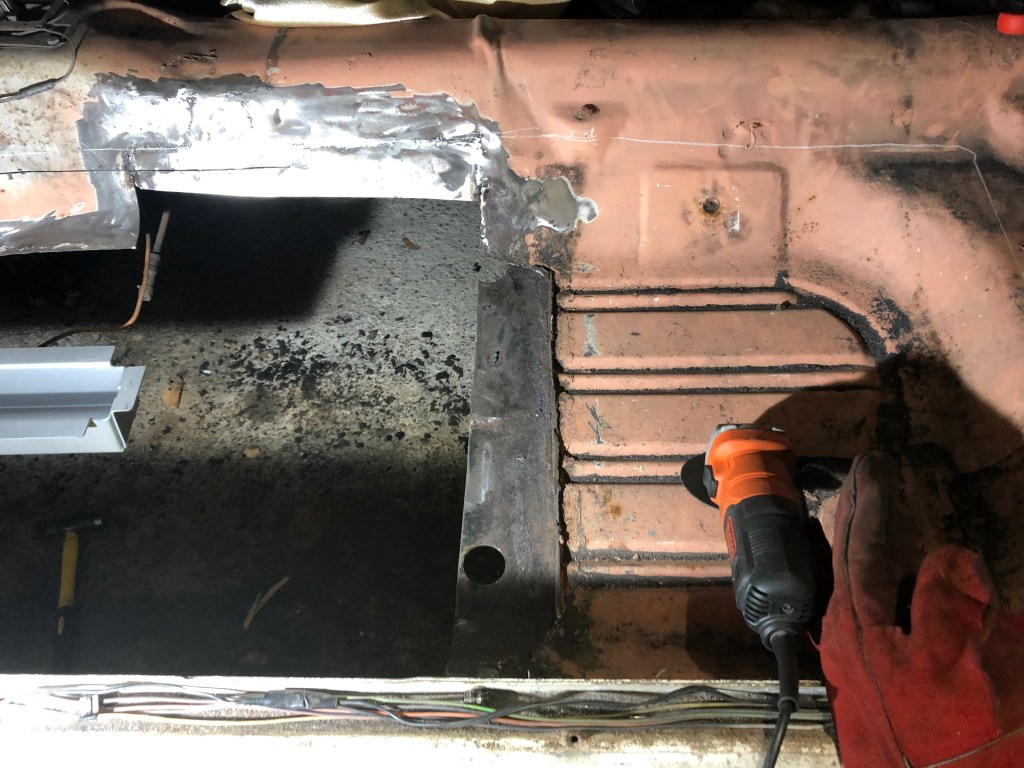
I traced around the pan on the transmission tunnel and near the rear torque box, leaving a few centimeter overlap which I will use to plug weld before seam welding. Cutting out the old metal went well although the underseal really stinks when cutting…probably should have worn a mask!


Before the floor can be welded in I need to sort out the toe board/firewall area. The patch panel I bought needed a lot of trimming but I suspect this is due to previous owners repairs. I had to cut loads off the panel & the firewall to have it sit flat against the frame rail flanges. I also disconnected the speedo cable at the transmission end (Note – It may have been better to disconnect at the instrument cluster end as I will need to bend it a considerable amount to get it through the hole in the toe board (once its cut)).


After preparing the toe panel as much as possible I started welding. It didn’t come out too badly and it does seem quite solid.


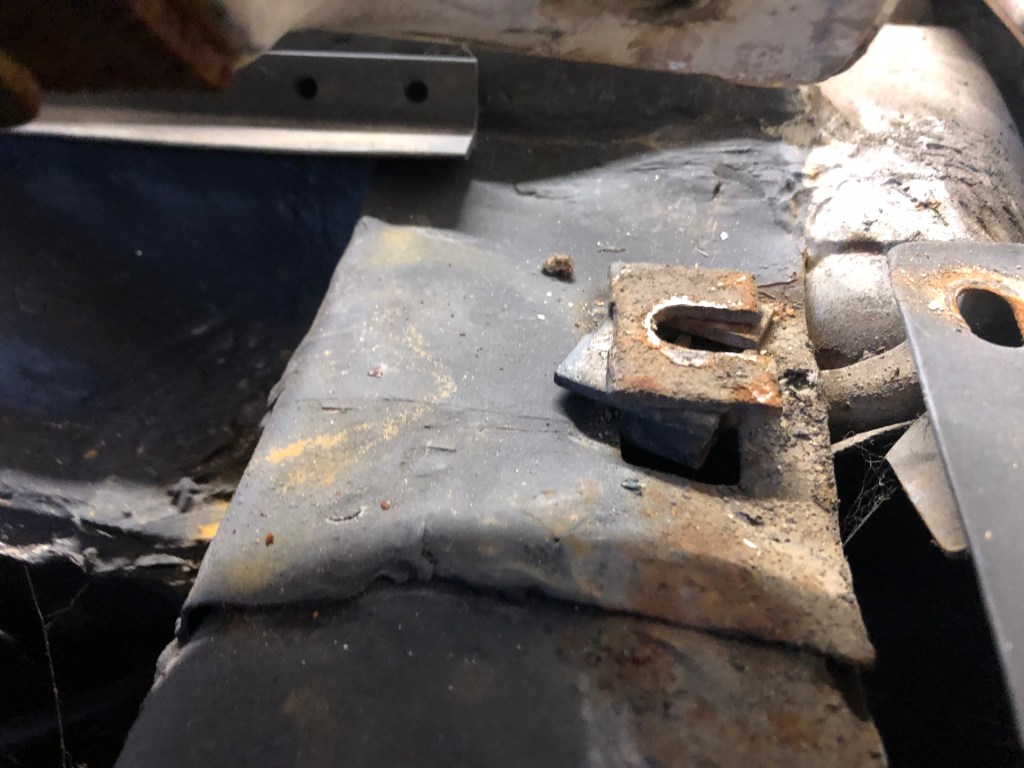
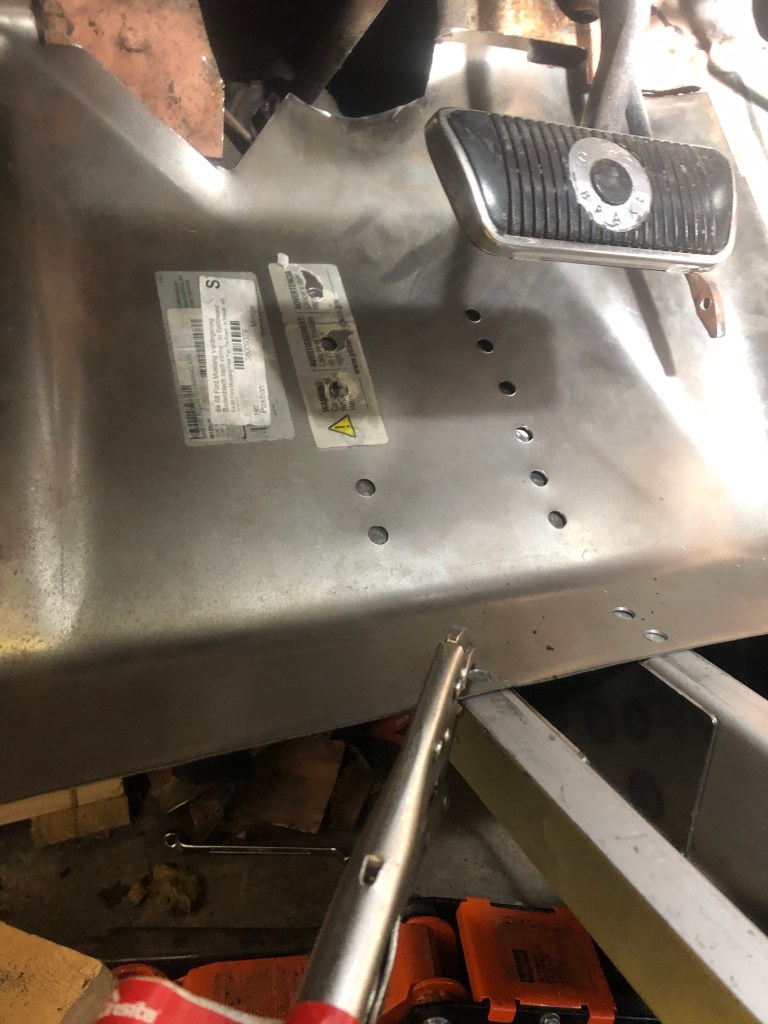
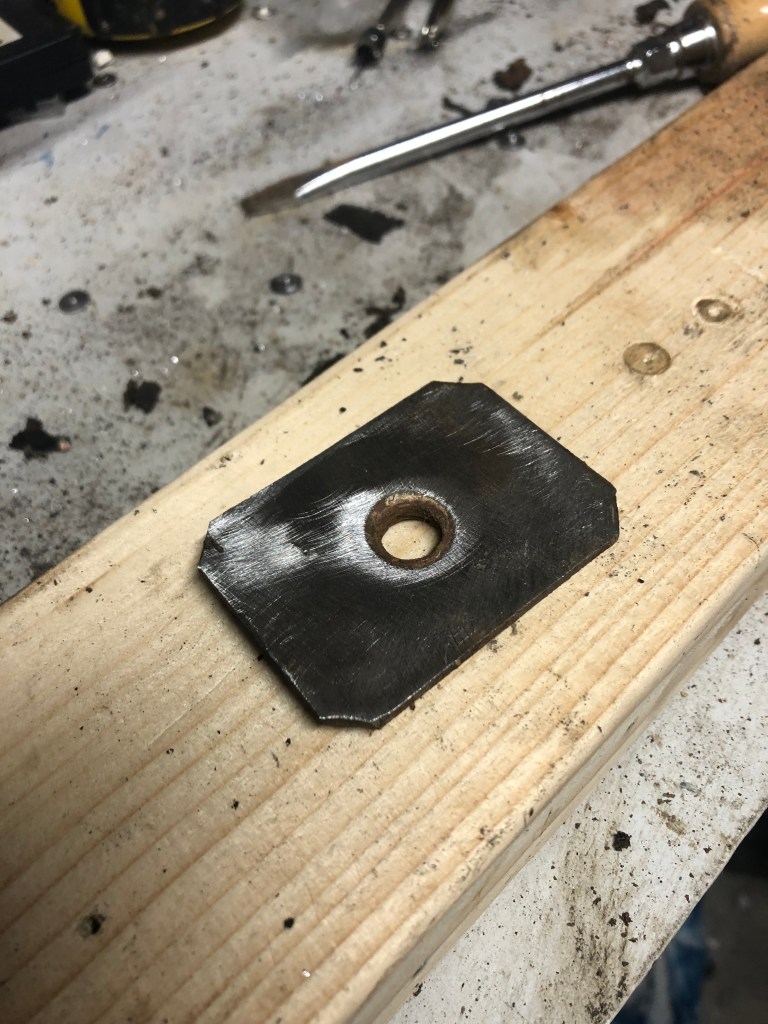
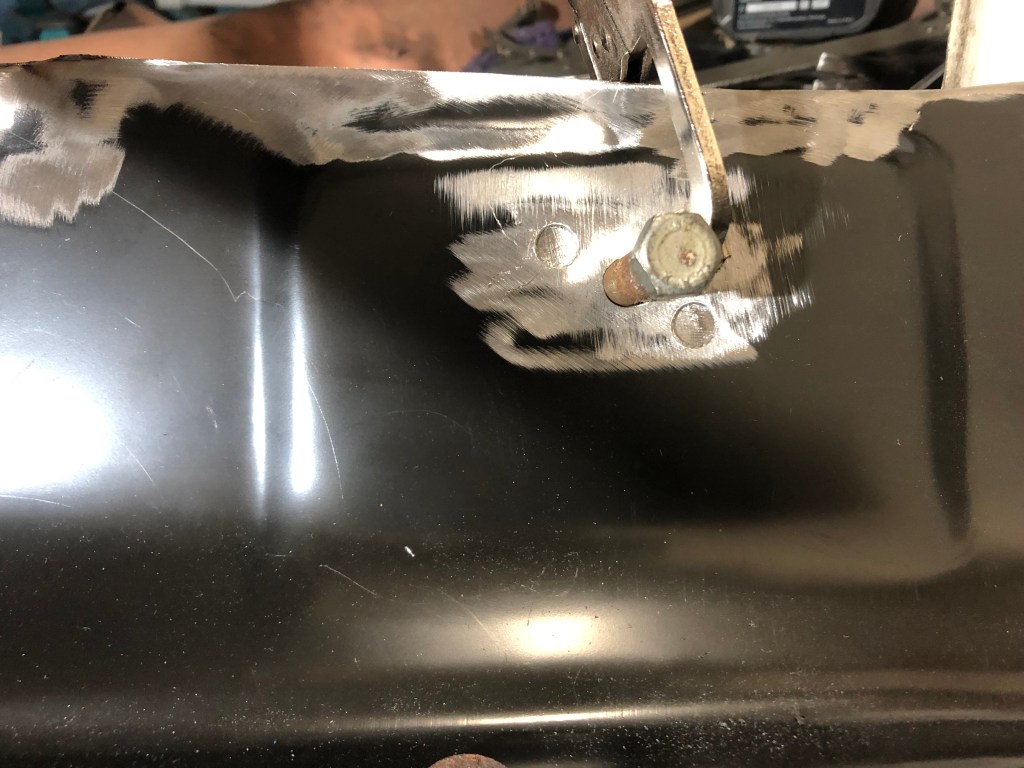
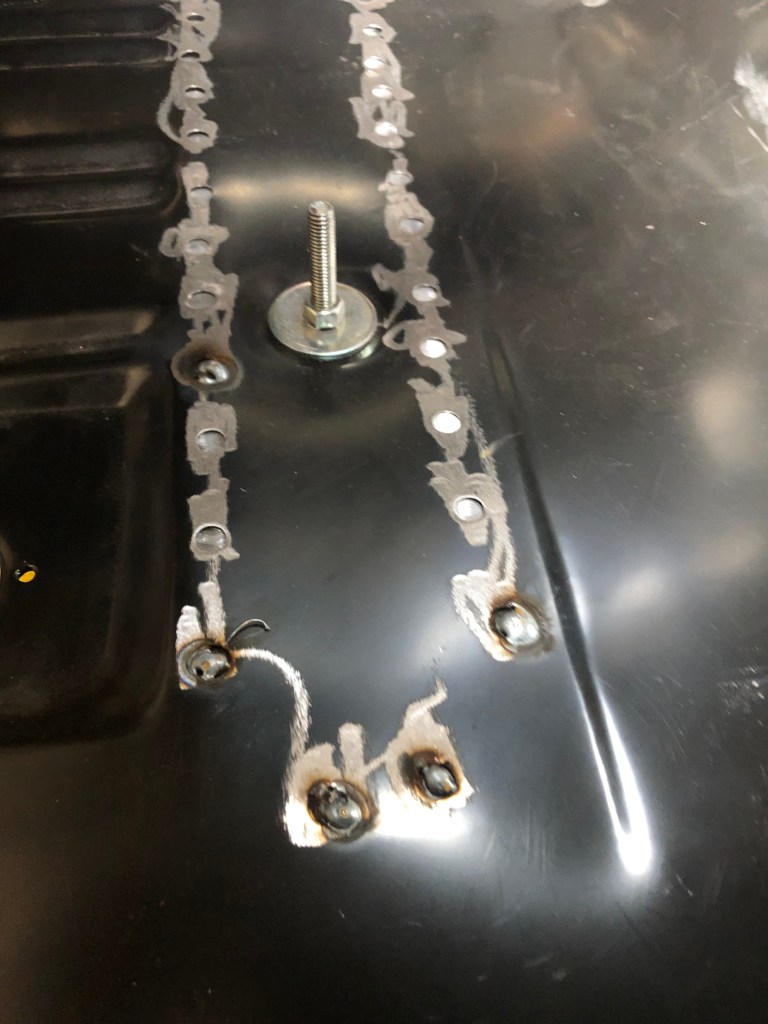
There is a lot more to do to finish up the area where the toe board meets the firewall but for now I’m moving on to the floor pan itself. To start with I need to move the seat belt anchor bolt. The plate was welded with just two spot welds, which I was able to drill out before welding to the new pan. For additional strengthy I added some tack welds to the rear.


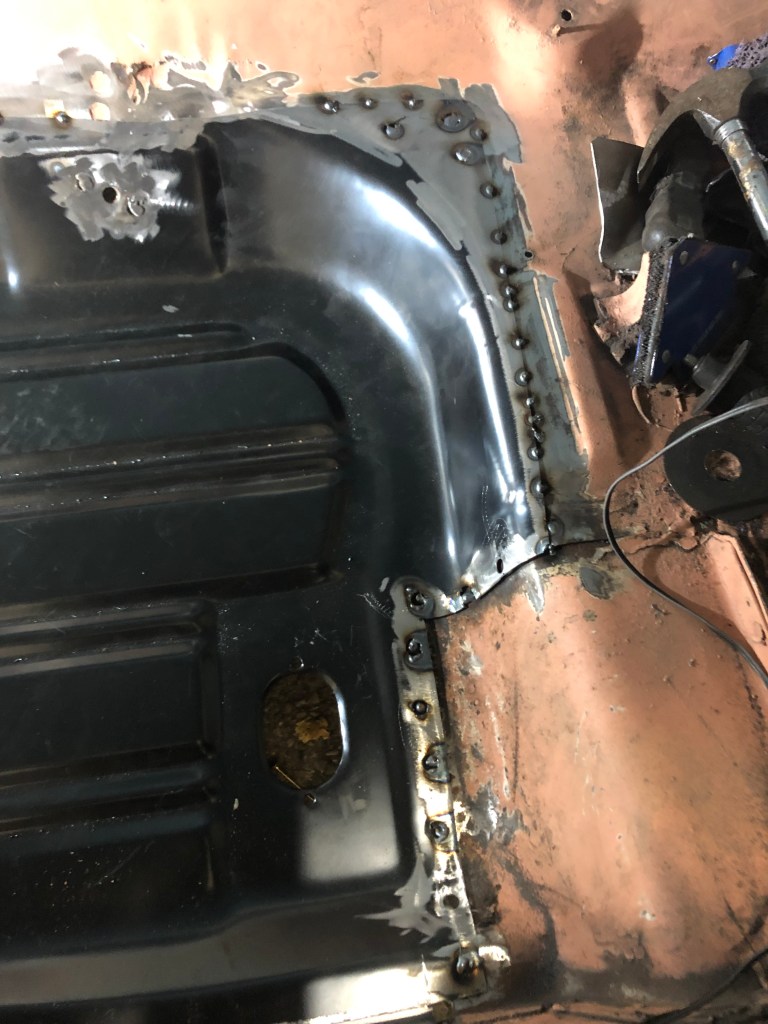
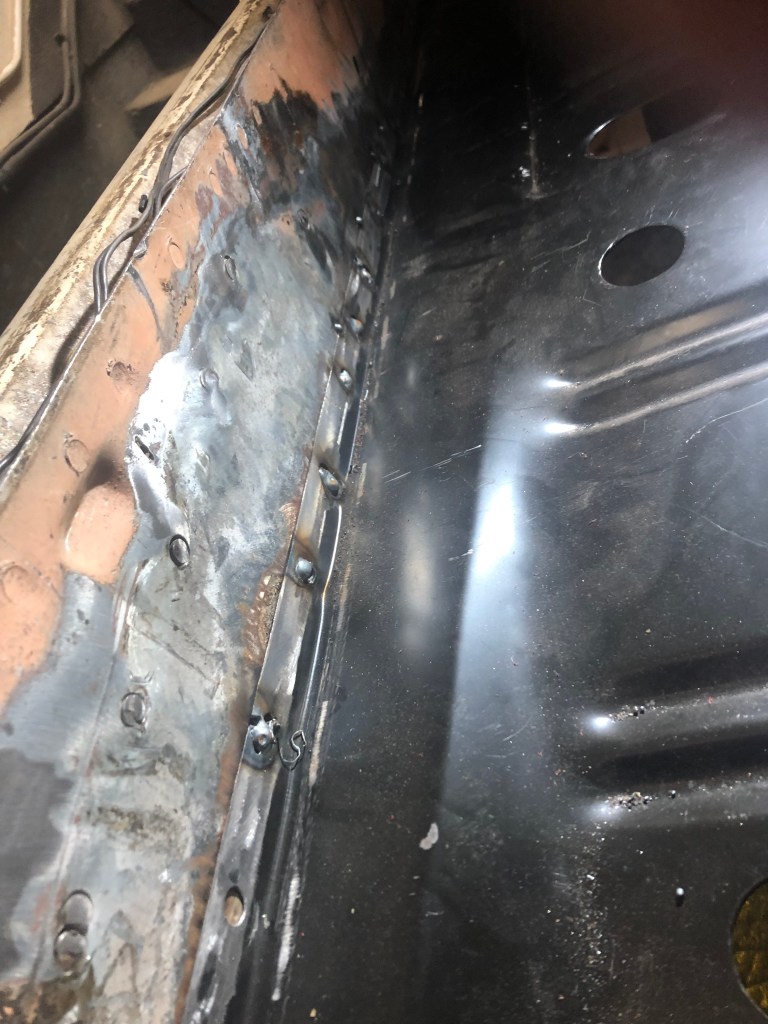
I then spent a good few hours test fitting and drilling spot welds. The only issue I have is that there is a CM gap between the new pan and the transmission tunnel brace. I’ve decided to leave this as is and address from under the car later. As you can see in the pictures below, I will be spot welding the pan to the rocker and rear torque box, as well as the a few spots where the new pan overlaps the old. The transmission tunnel will be tacked and sea welded.
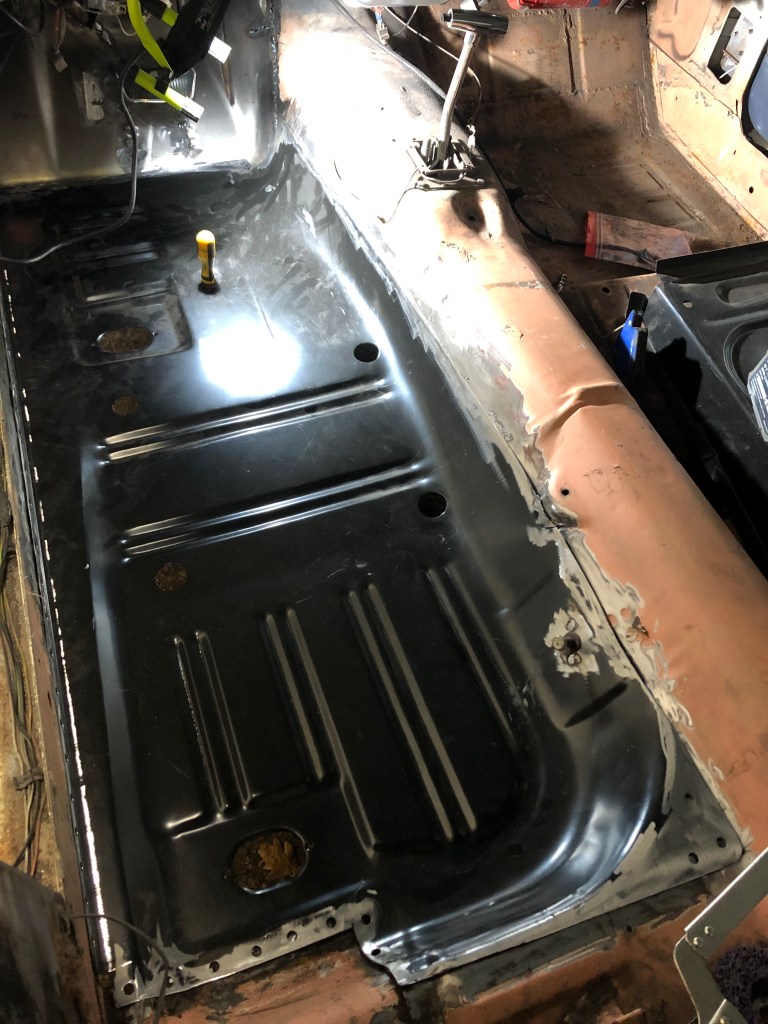
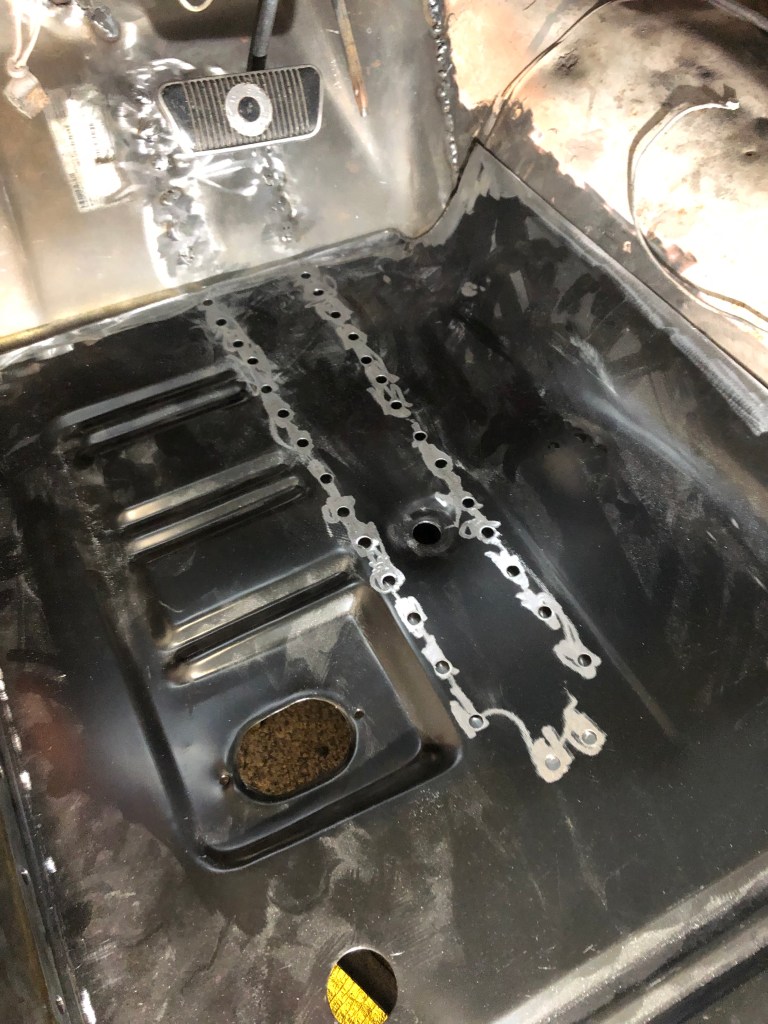


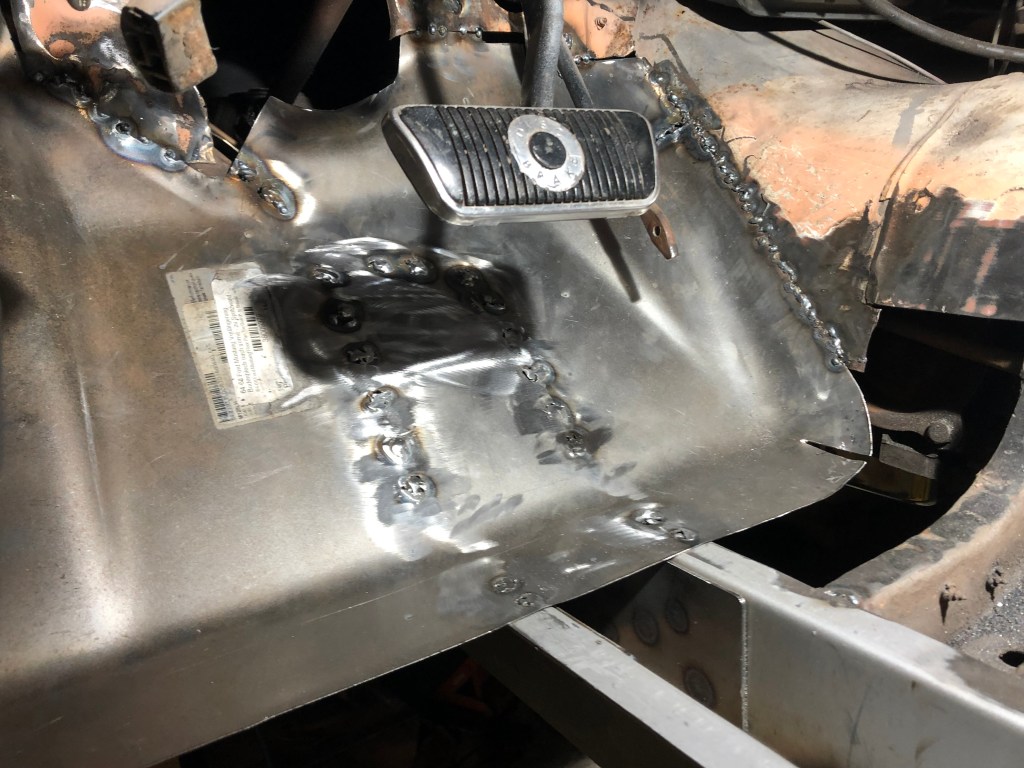
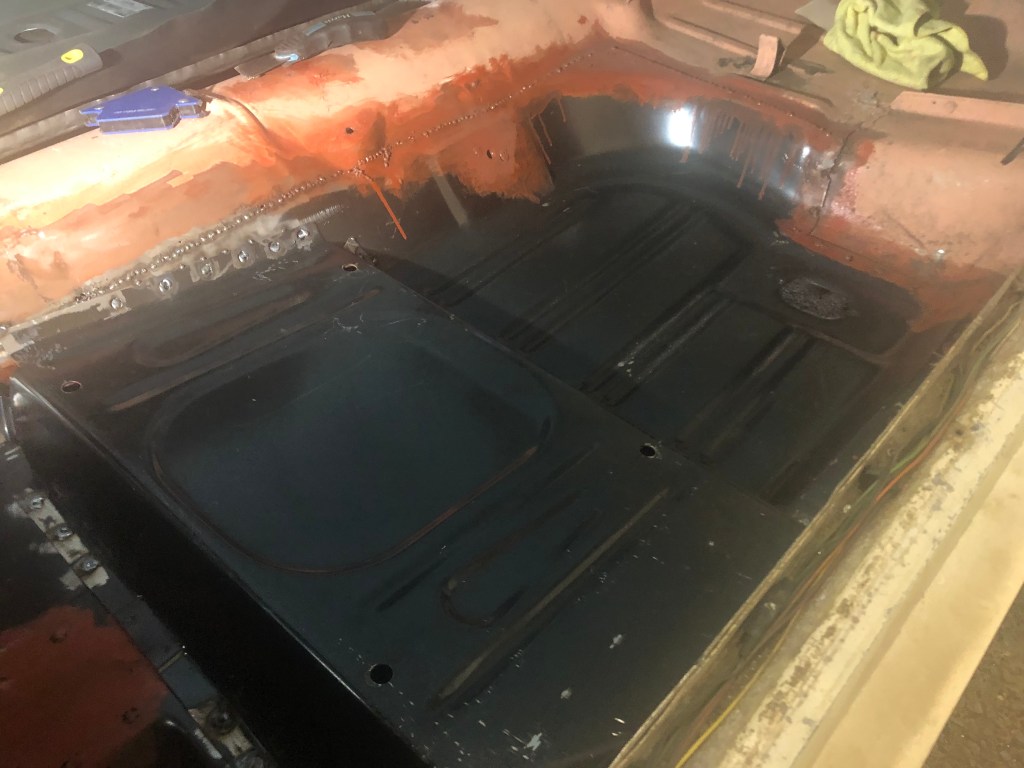
The welding went well and the new floor pan is in. I still have to tidy up the area where the front of the pan meets the toeboard and transmission tunnel. I also painted a few spots with anti-rust undercoat.


I’ve also begun prepping the seat platform by drilling the spot weld holes. I still need to finish tidying up the firewall around the steering column before I weld in the platform but I test fit the seat to check everything lined up, which it did!


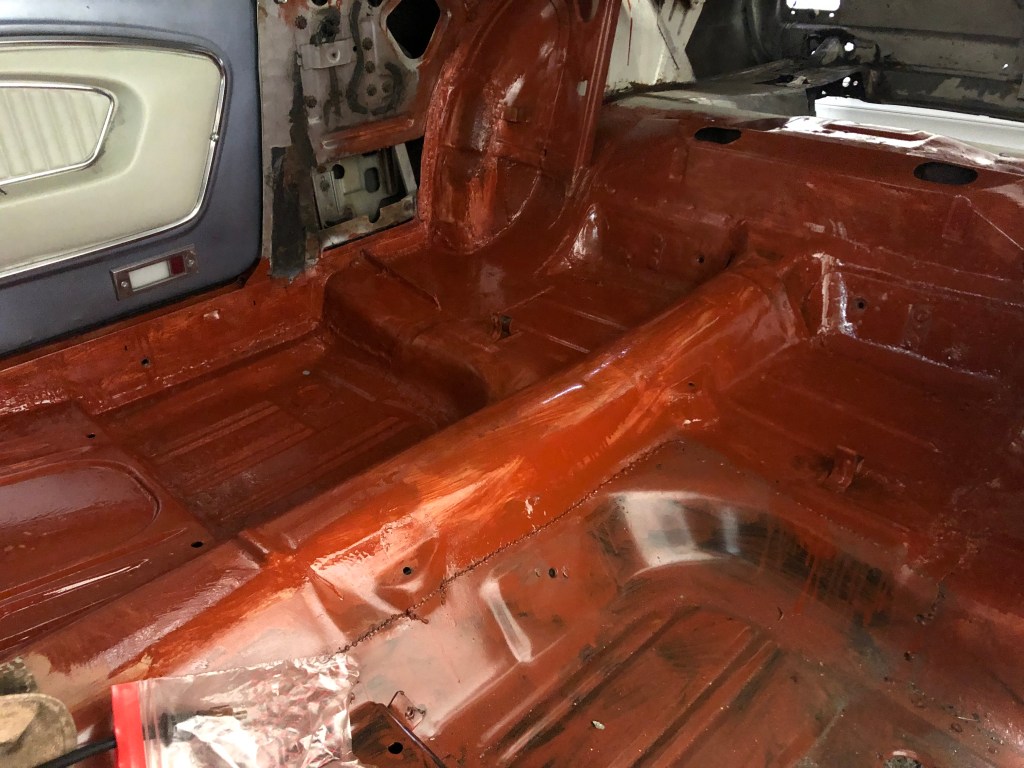
After sorting out the firewall area I coated the panel that would be under the seat riser with anti-corrosive paint before welding in the riser. It fit very well and I’m pleased with how it came out, especially as it feels very sturdy. Once the metal had cooled I painted the entire pan and riser with the anti-corrosive paint. Next I need to get under the car and use a cutting wheel to remoe some of the excess metal before painting & seam sealer is applied.


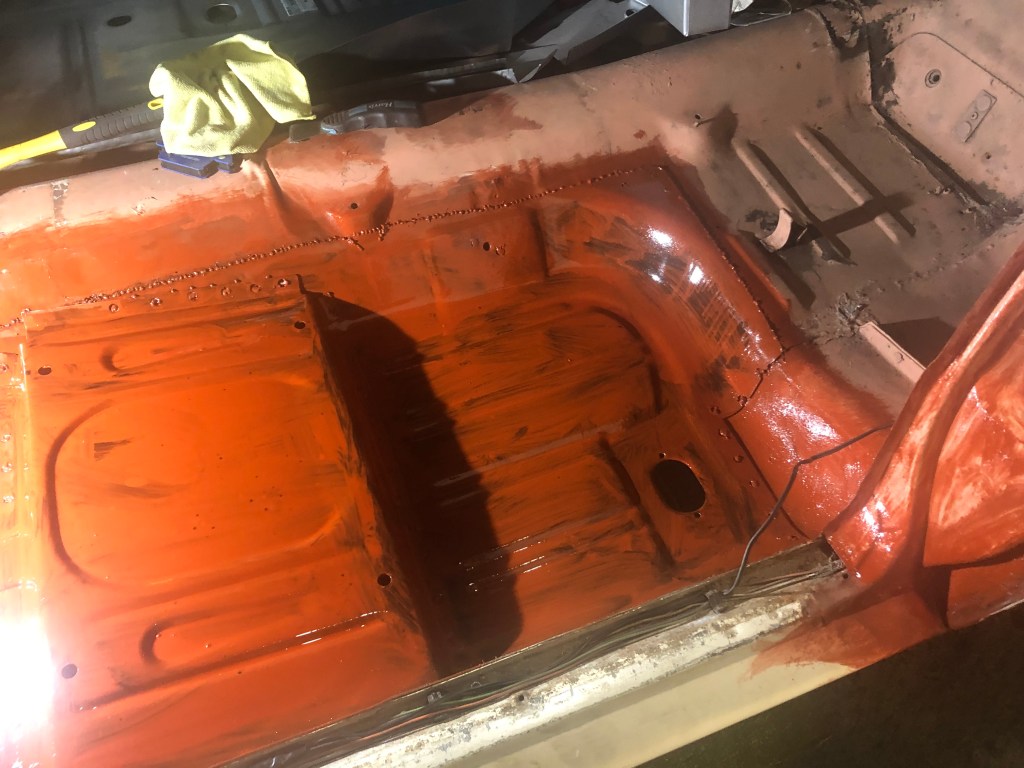
I decided to prep the rest of the floor in readiness for seamsealer. I removed loads of dirt & surface rust before brushing on rust prevention undercoat.

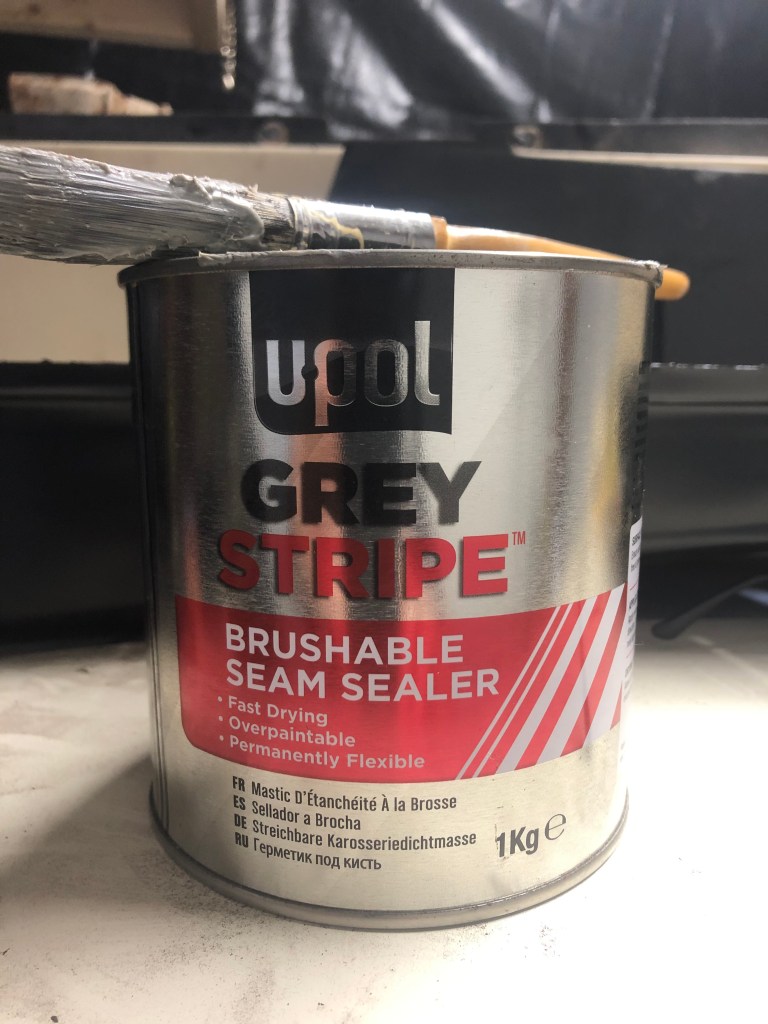
Once dry I added seam sealer to all the areas I had welded plus a few that I removed the ancient sealer from. One coat is apparently sufficient but I may go over some areas again.