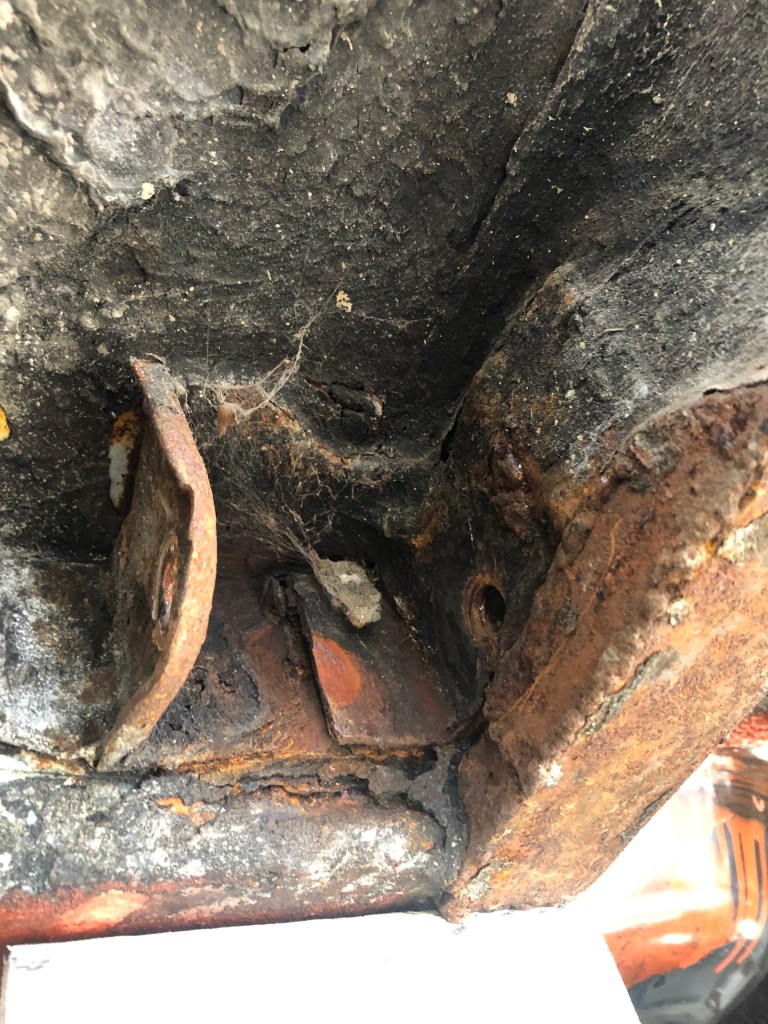
Both the driver & passenger side torque boxes have rust. I had hoped I could patch them but I can see that someone has already done that on the drivers side and the passenger side has holes near where the leaf spring connects. I’ve made the decision replace both of them. THe rest of the frame rail, other than the rear, which I am also replacing, is ok, therefore I bought the patch panel which includes the frame rail, leaf spring mount and a short section of frame rail from the only supplier I could find who stocked them, National Parts Depot. The only issue is that I had to pay a lot for shipping + customs fees.


The new torque boxes have arrived!
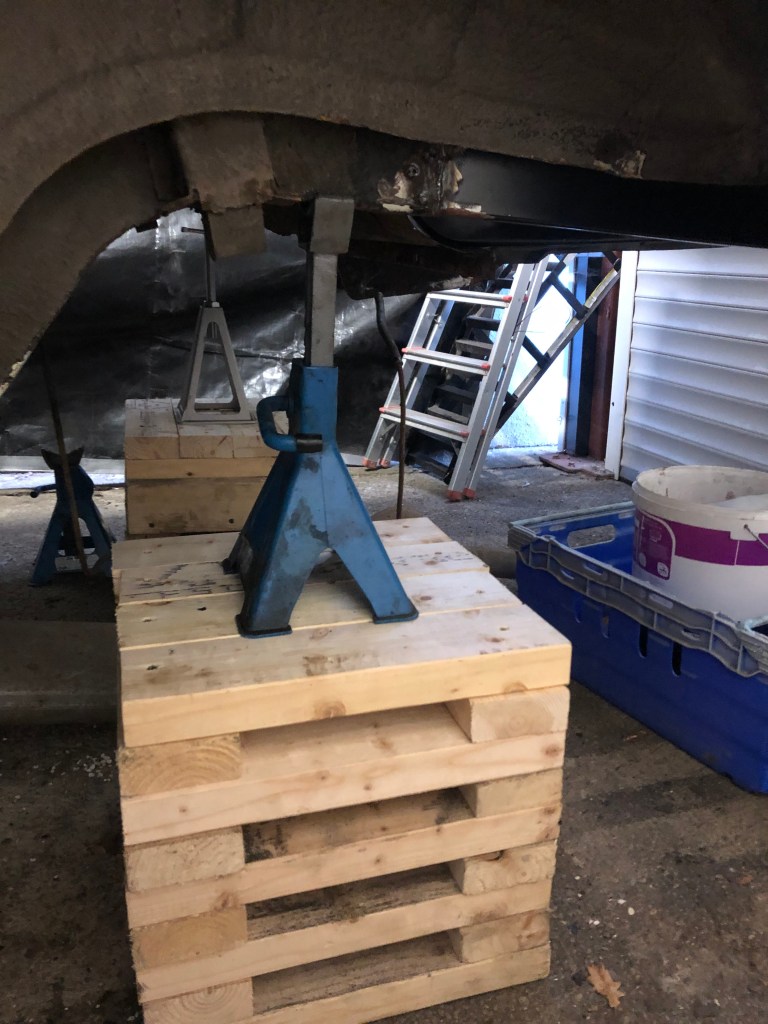
I had to figure out how to support the car as the axle stands are currently under the existing torque boxes. I ended up building a wooden i-beam and placed it just forward of the floor supports (where it doesn’t hit anything other than the outer rockers). I also added more levels to the rear wheel cribs and placed jack stands so the car would also be supported under the rear frame rails. The car is really solid but I will also place more blocks under the gap below the i-beam to the floor, for good measure.


I started by drilling pilot holes in the floor pan so that I can drill out the spot welds I put in only a few months ago! . I then used a flap disk to remove the paint from behind the torque box to try and find the spot welds to the frame…and thats when the fun began.
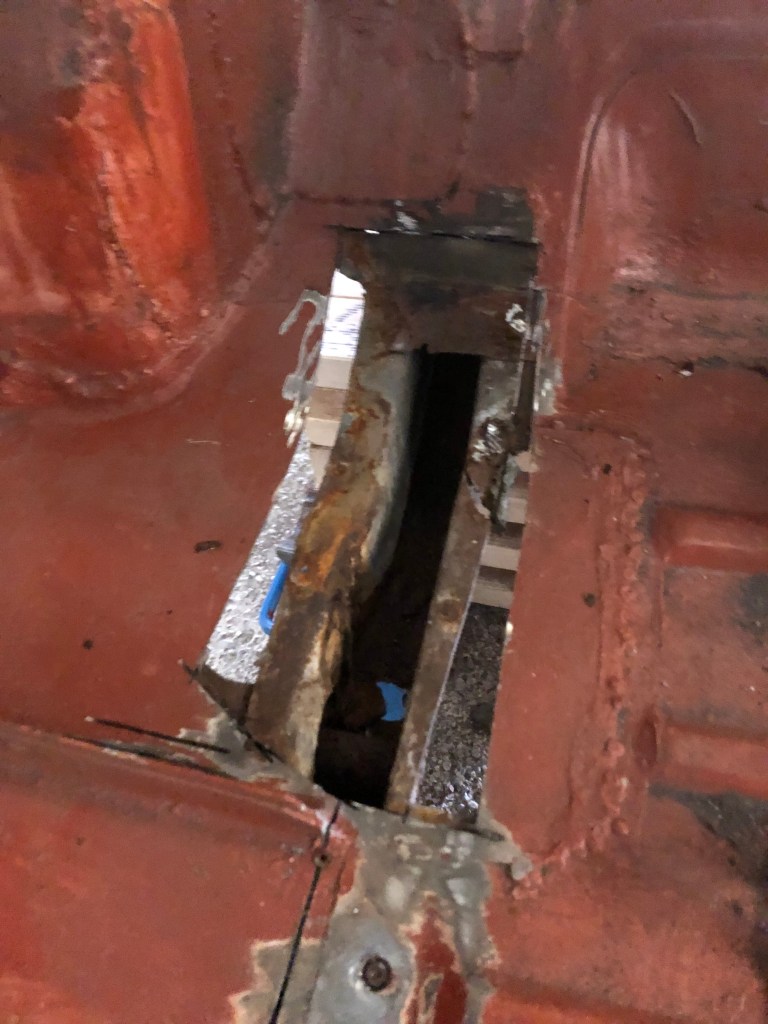
It seems this part of the floor has been replaced at some time, I suspect new steel was put straight over the old rusty floor (its been that way for every other panel). I drilled a few holes from beneath, though the frame rail flange and then attacked underneath with an angle grinder and a cutting disk


My feeling was right. There was new sheet metal from the rear of the torque box. None of it spot welded to the frame rail. Its as if someone was just trying to hide all the issues before selling the car….
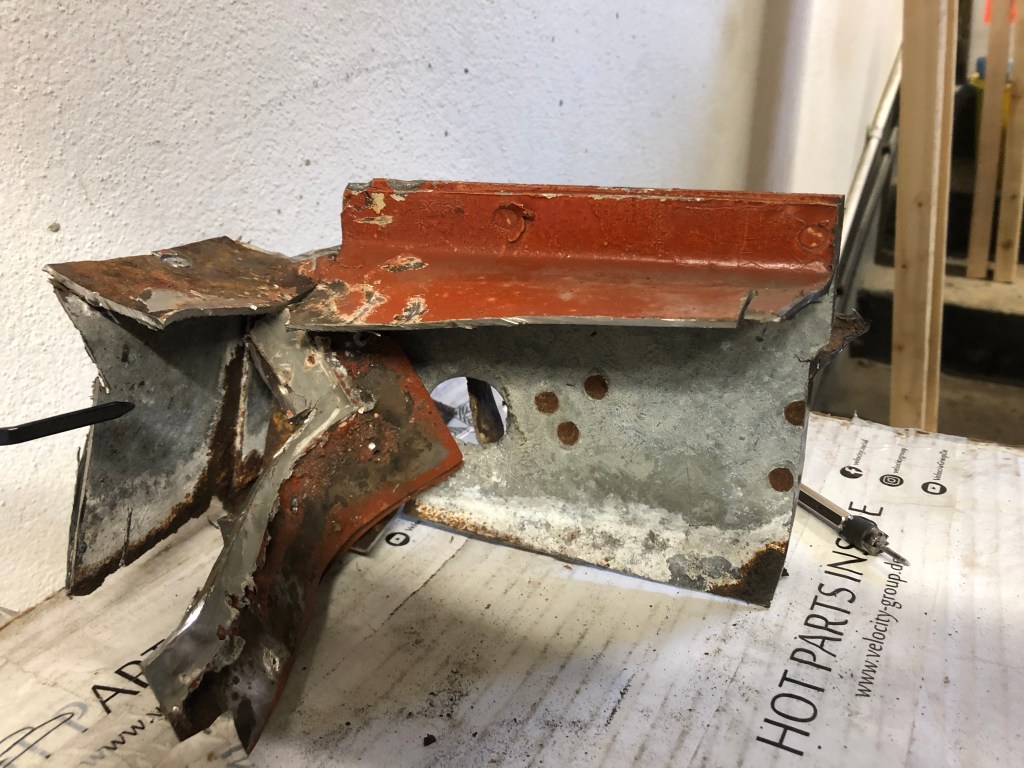
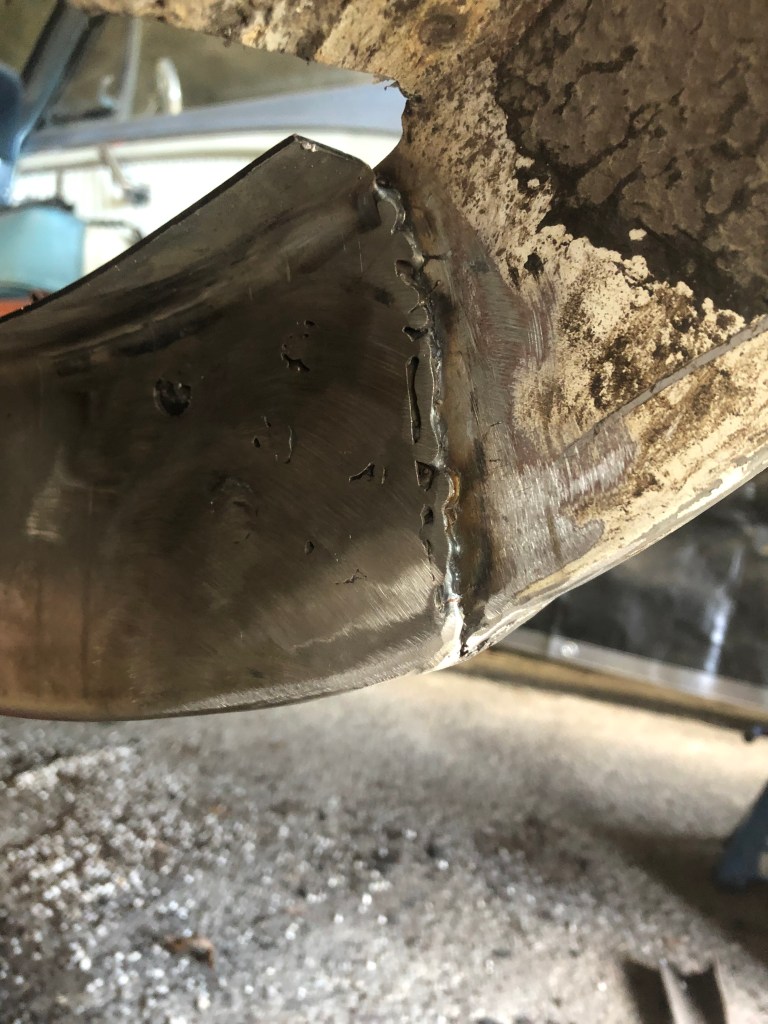
I spent nearly 4 hours getting the torque box out. After about two I realised I could use my plasma cutter…only to find that it has a commando style power socket, and I didn’t want to cut that off to wire a normal plug. I then resorted to my tried and trusted method. Smacking the living sh1t out of it with a hammer, grinder & cutting disk until I had it all out.

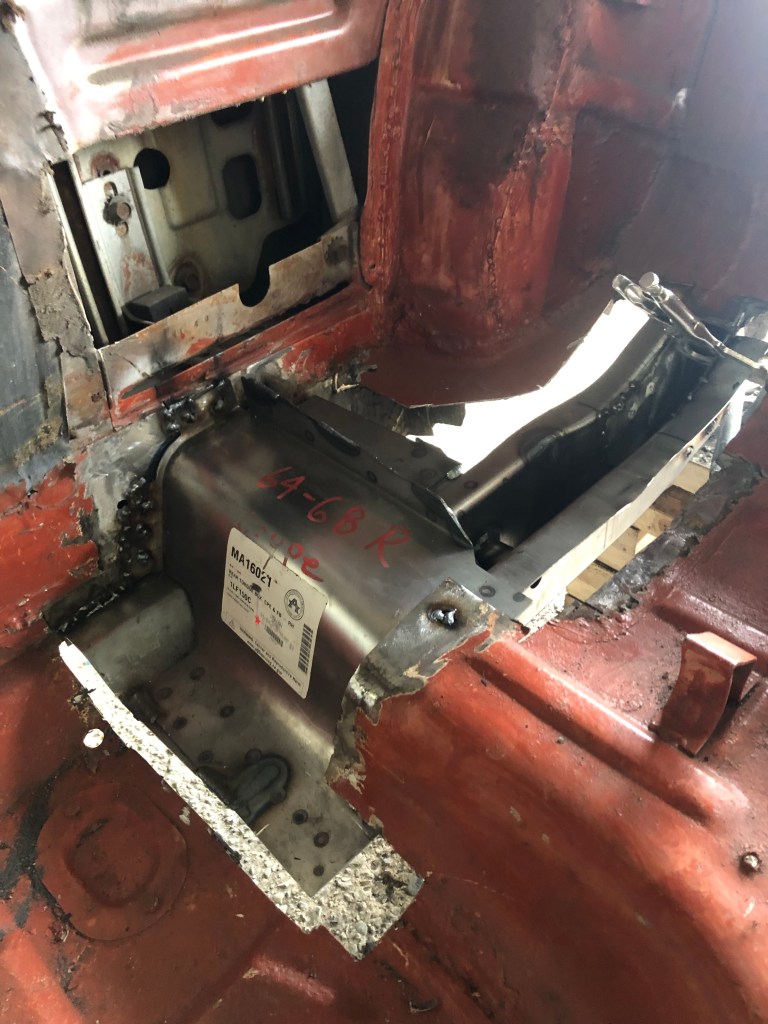
I test fit the new one and it’s pretty close. I also seem to have been lucky and received parts that are slightly wider than the original frame, meaning they slide over the remaining frame. After a bit of tweaking I had the old frame fitting the new frame pretty good so I have started cuting plug weld holes. I’m a bit concerned that I might end up blowing holes through the old frame rail as its very thin. I think I will also weld a brace on the outside when done for extra strength. I’d rather it be strong than pretty.


I think I have a good idea how to ensure that both sides are lined up. I’ll buy a length of small diameter dowel which will allow me to put it through the bolt holes on both torque boxes. As long as the dowel slides effortlessly both sides should be level. I still have a lot to do before then though!
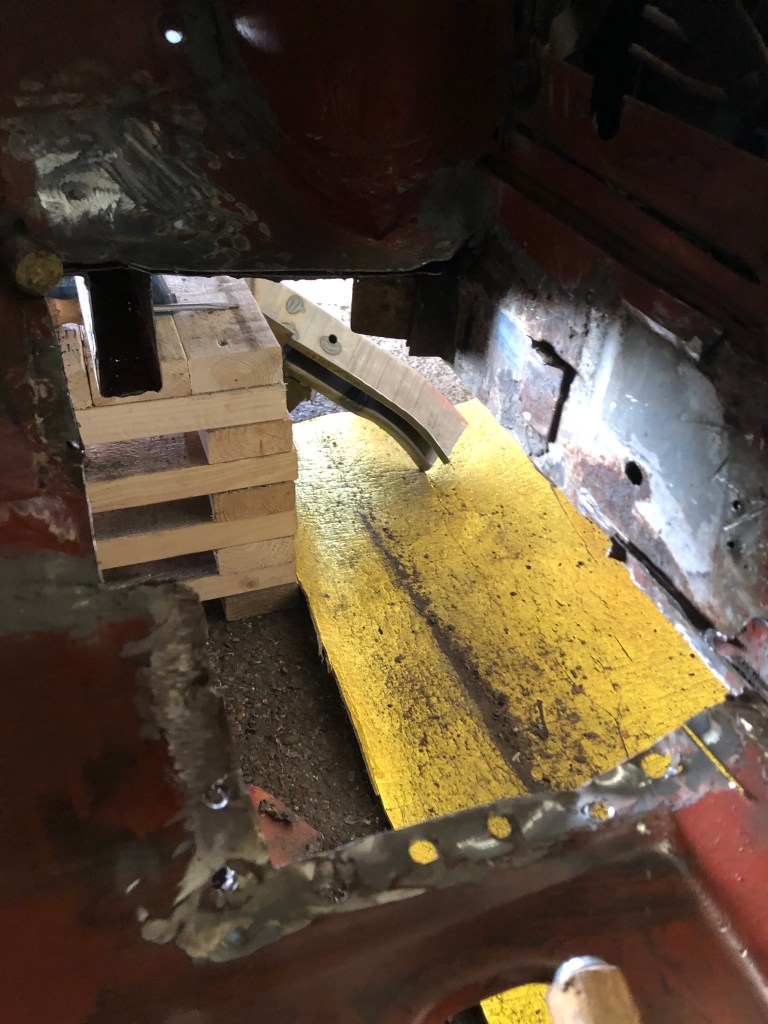
I found that I had to bend the rocker flanges in a little but otherwise it was a good fit. After clamping it in place I welded it in. Its not looking pretty around the floor pan area (where the old plug welds were) but it does feel very solid. After grindin down the welds on the frame rail I will need to fill a few pin holes but other than that I can move onto the passenger side now.


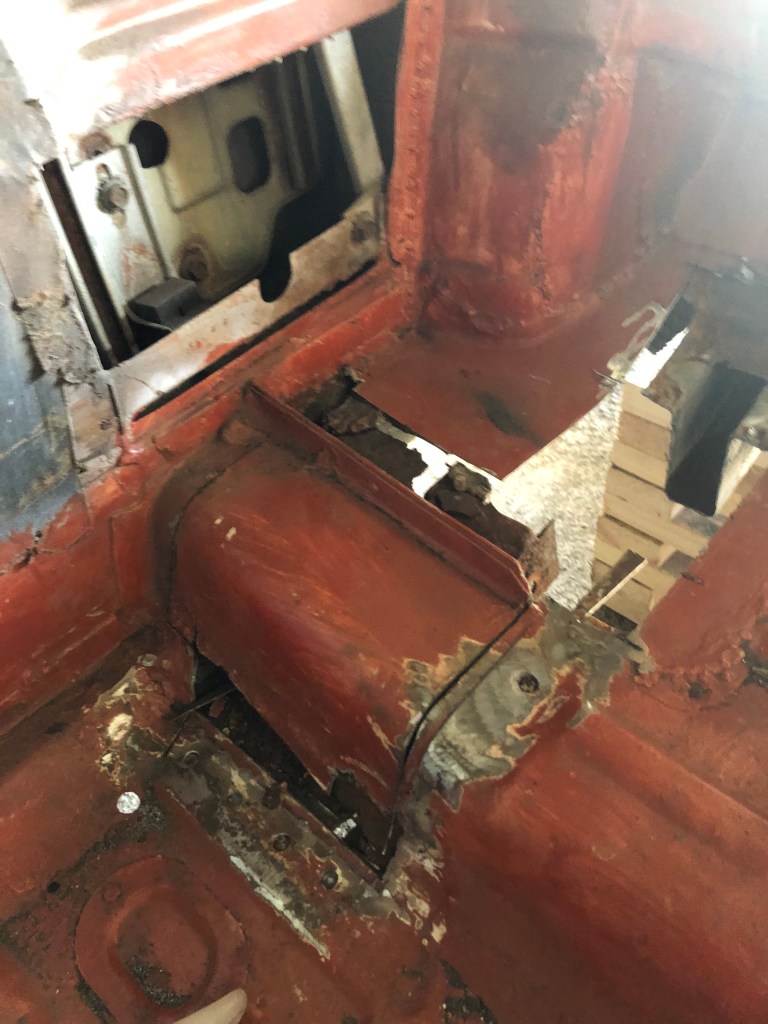
Amazing what you find when you actually look. I can’t believe I hadn’t spotted how much of a patch job the torque box areas were on this car. The passenger side has a patch on the lower slope as well as sheet metal over the rusty stuff on top. To my amazment it did look like there were some spot welds through the newer steel to the frame but these popped loose really easily so it seems a previous owner just welded new steel straight onto rusty rubbish….


A lot of cutting later and the passenger side torque box was out and the new one welded in place. What was interesting (worrying) was that when I lined up the leaf spring holes of the passenger & driver, the torque box on the passenger side was further forward by about 4cm. I adjusted for this before welding it in place but this means there is a gap from the rear of the floor pan to the slope of the torque box.
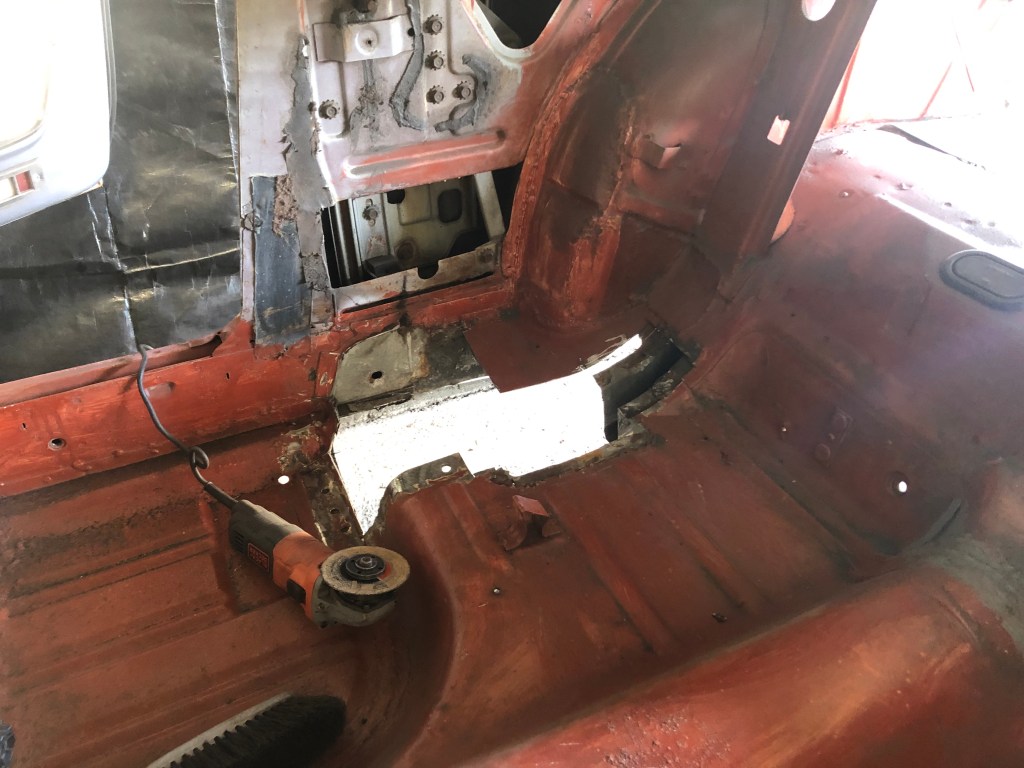


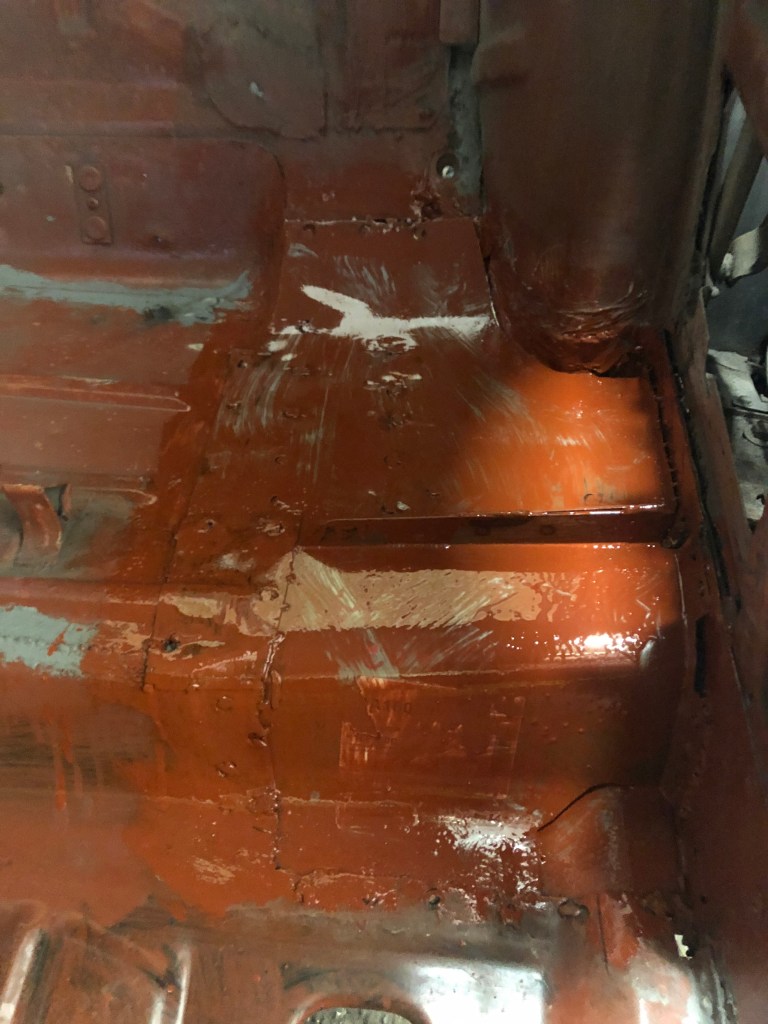
I then turned my attention back to the drivers side, cutting a piece of steel from a floor pan I didn’t use in order to replace the sheet metal I had cut out. Once cut, shaped and welded in I gave it a coat of rust inhibitor. It’s not pretty but it will do the job and will provide more stability than the old thinner sheet metal did.

Then repeating the same on the passenger side.

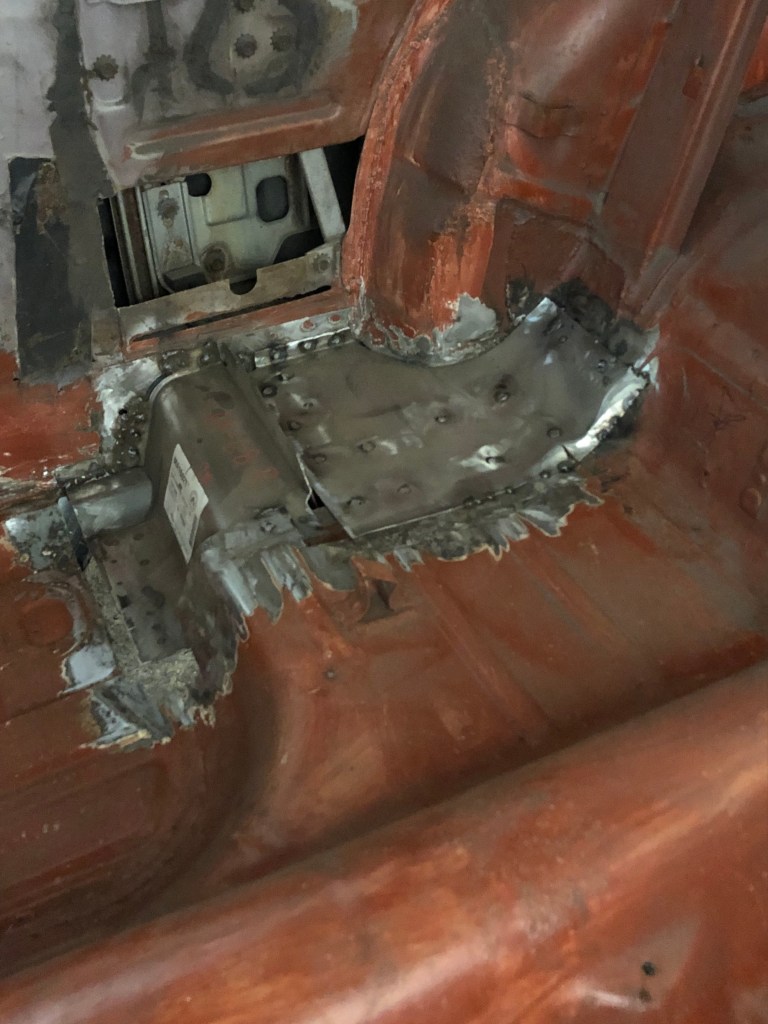
For the passenger side I have the extra complexity of welding another piece to the front of the torque box & the floor.


It’s a bit of a patchwork quilt but I finally have a complete floor again. Just the seam sealer to add. Finally starting to see good progress. On to the next project!
