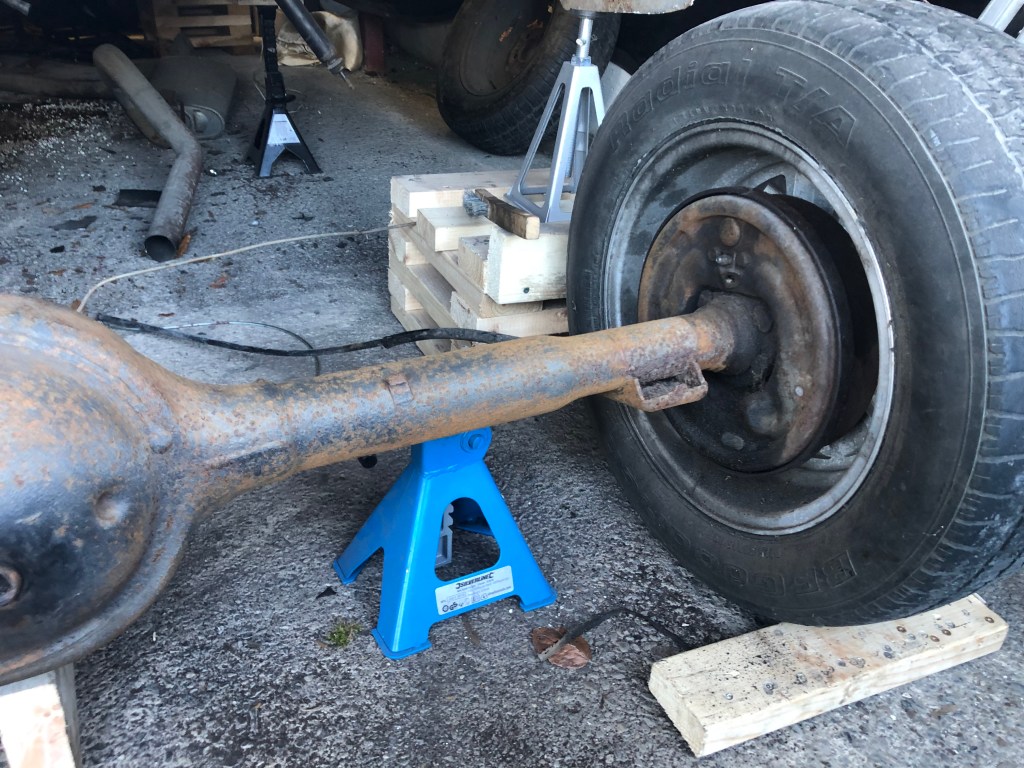
In order to work on the rear frame rails I first have to remove the rear end. This is a perfect time to recondition it. As the car was already on wheel cribbs I first cut some timber to allow axle stands to take the weight via the rear torque boxes. Once in place I jacked the rear end up enough to remove the wheel cribbs so the car could be lowered onto the axle stands.


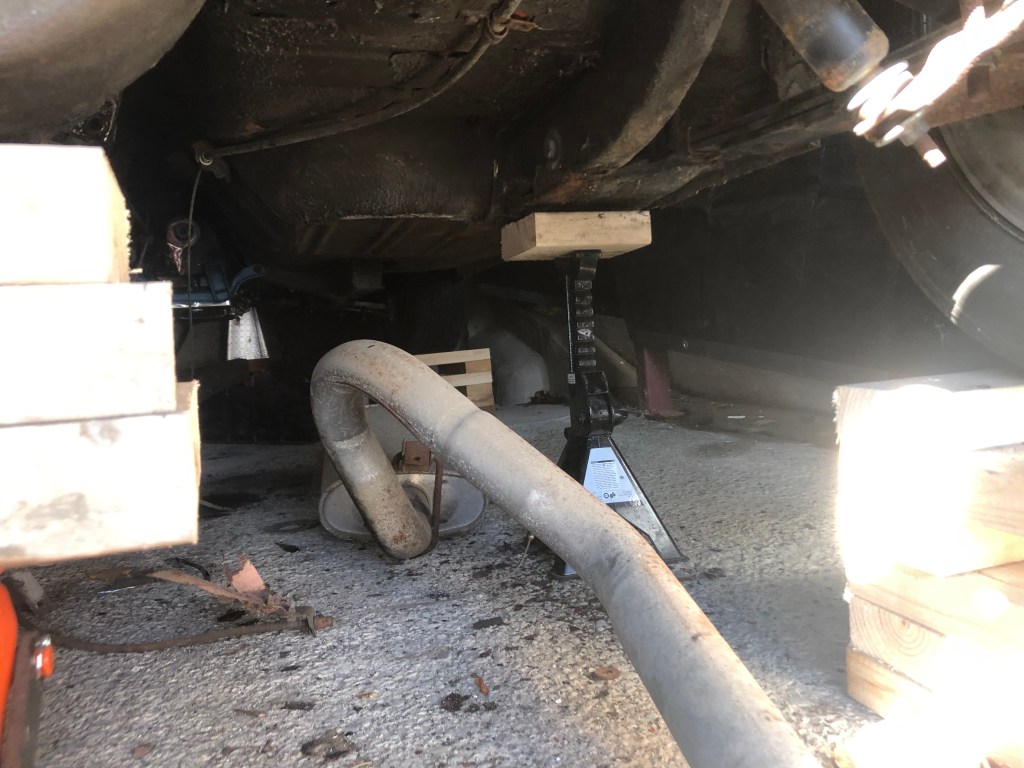
Once the car was on the axle stands I cut the old brake hose (as I’ll be replacing it) and positioned another set of axle stands under the diff in readiness to take the load.
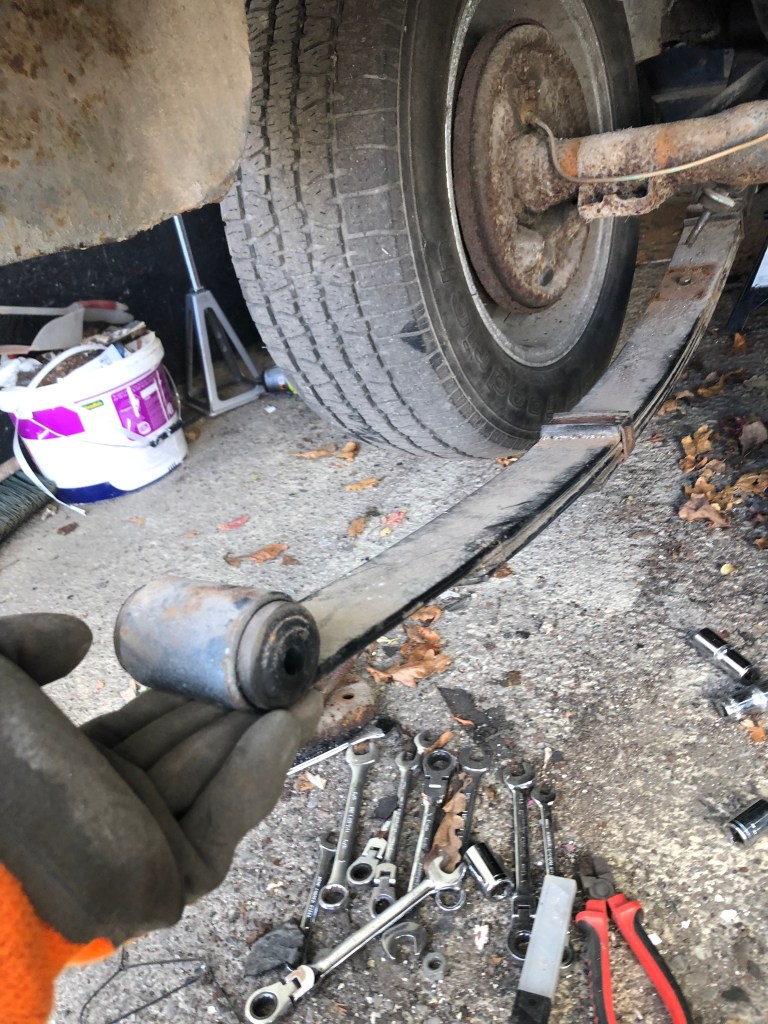
To remove the leaf springs I first removed the nut holding the shock to the plate on both sides of the car. Then I removed the u-bolt nuts on each side. This left the diff sitting on the springs. To allow the springs to be removed I first jacked up the rear end (with the aid of some timber blocks) meaning that the leafs were hanging without any additional weight. I then removed the rear shackle nuts, pushed the shackle bolts through the frame and allowed the rear of the springs to drop to the ground.


Once this was done on both sides I lowered the diff onto the axle stands. Note: I decided not to remove the wheels as leaving them on allows me to move it around easily (I’ve just had a hernia operation!).
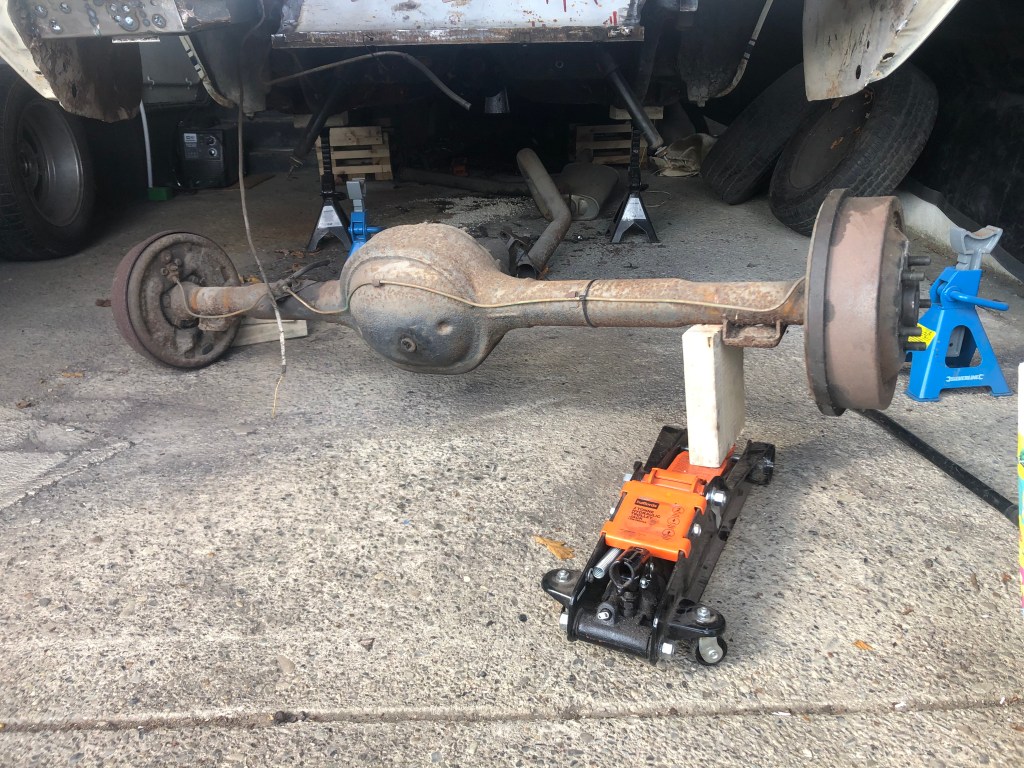
I then removed the forward leaf spring nuts from both sides which allowed me to drop (with a little persuasian) both springs to the ground. The leaf springs are only 6 years old but they do have some surface rust which I will clean up before reinstalling. I then jacked up the diff, lowered the axle stands and then lowered the jack, allowing the tyres to rest on the ground. I placed a block under the pinion to keep the diff level.


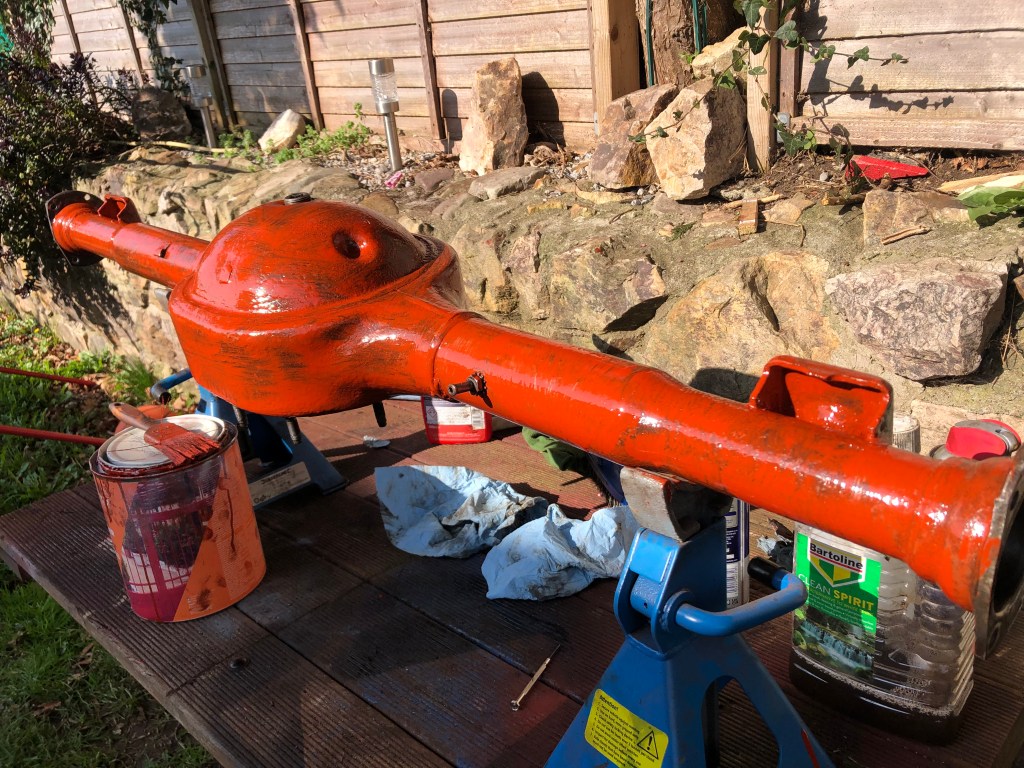
I had to remove both wheels, allowing me to drag the rear end out from undert the car. I then put the wheels back on to help move it around which helps with sanding. Loads of surface rust. I found the original red oxide colour on the main pinion plate plus the factory mark of “8”.


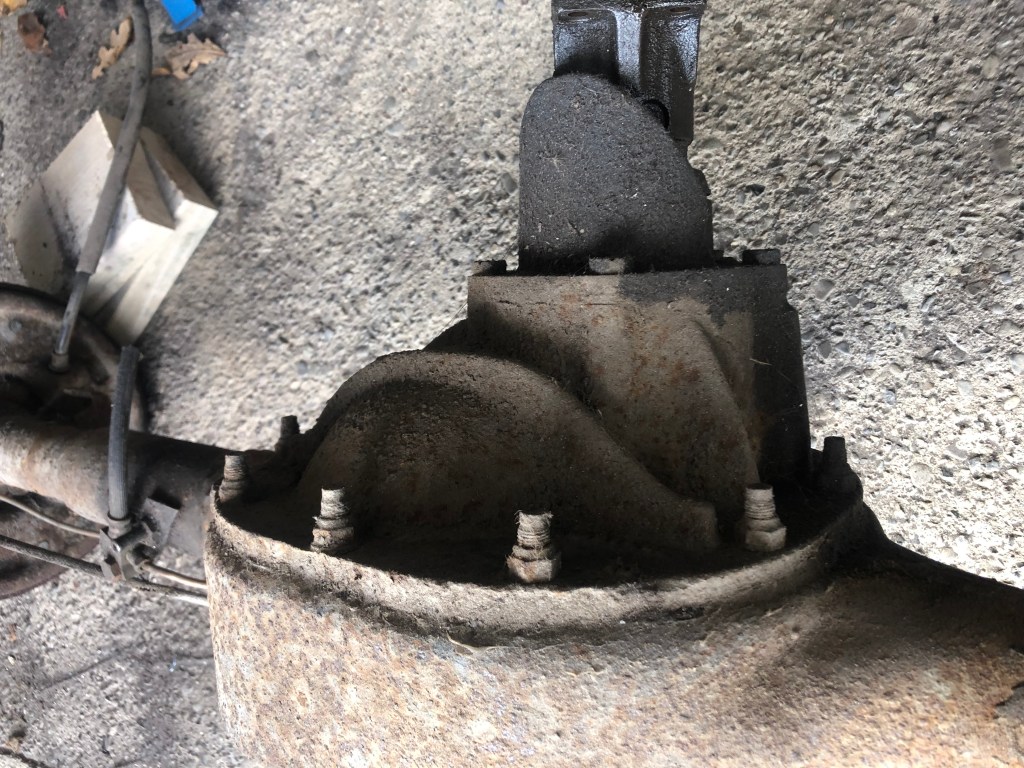
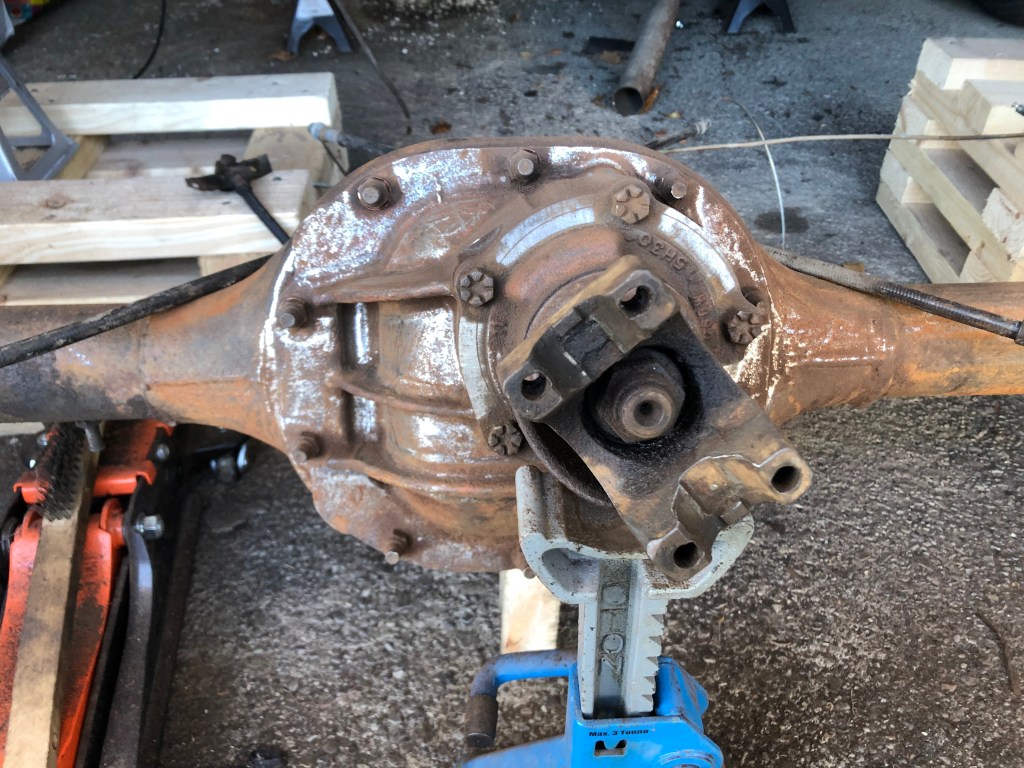
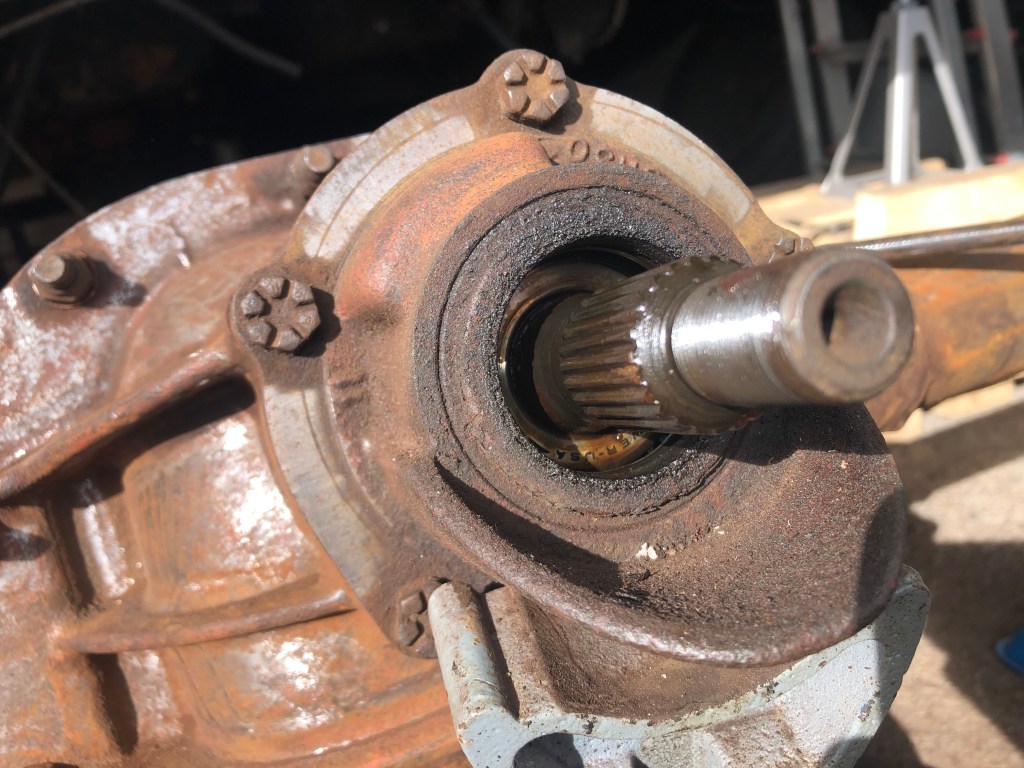
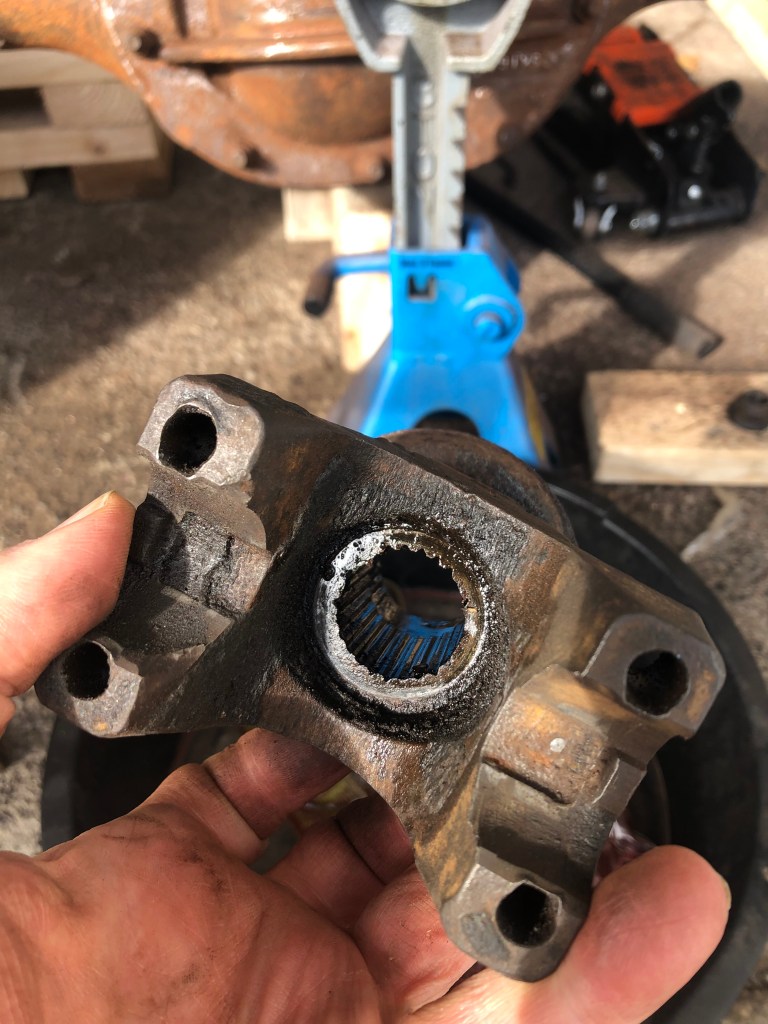
After taking note of how many threads were showing (3) I removed the pinion nut. I was able to then use a hammer (I didn’t have a puller) to persuade the pinion flange to come away from the pinion retainer. I then removed the 5 bolts holding the retainer to the carrier housing. Once thing I found was that the there was no oil sling (a large washer) that should sit behind the pinion seal on top of the bearing. This is now on order 🙂


Before I can remove the carrier housing I need to remove both axles. Thankfully the 10 bolts holding it to the axle housing came off ok with the impact wrench. This allowed me to crack the seal and let the gear oil drain out. I then removed the 4 bolts holding the passenger side backing plate to the axle flange. I was expecting to need to use a slide hammer to remove it, but it slid out without much trouble.


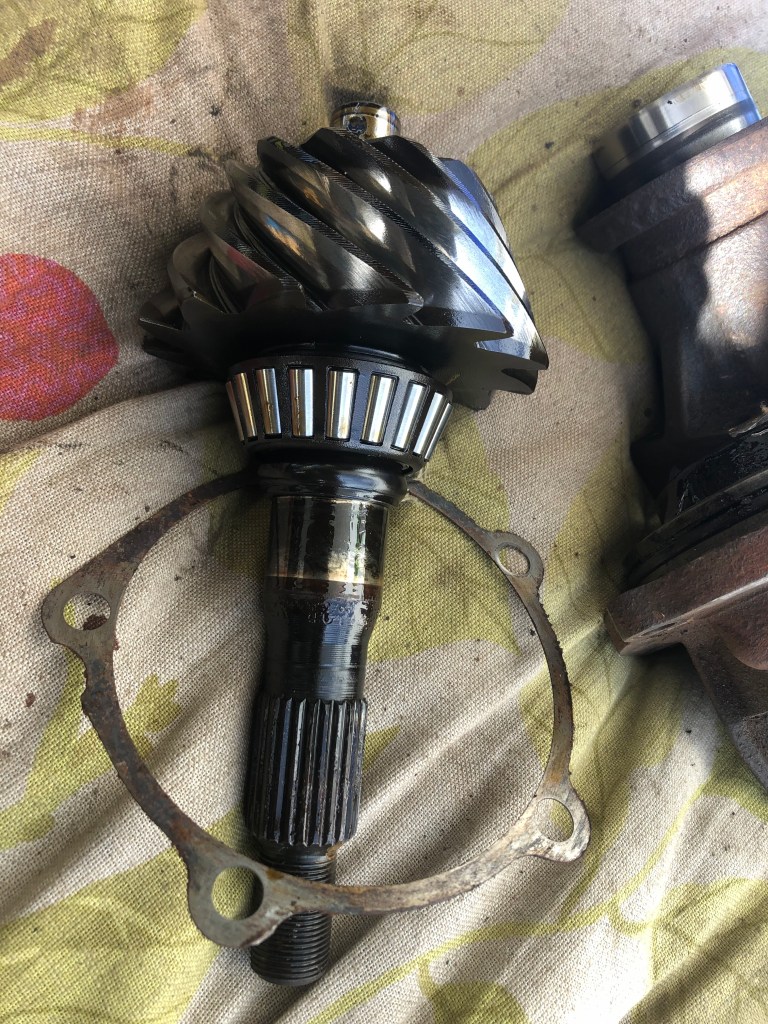
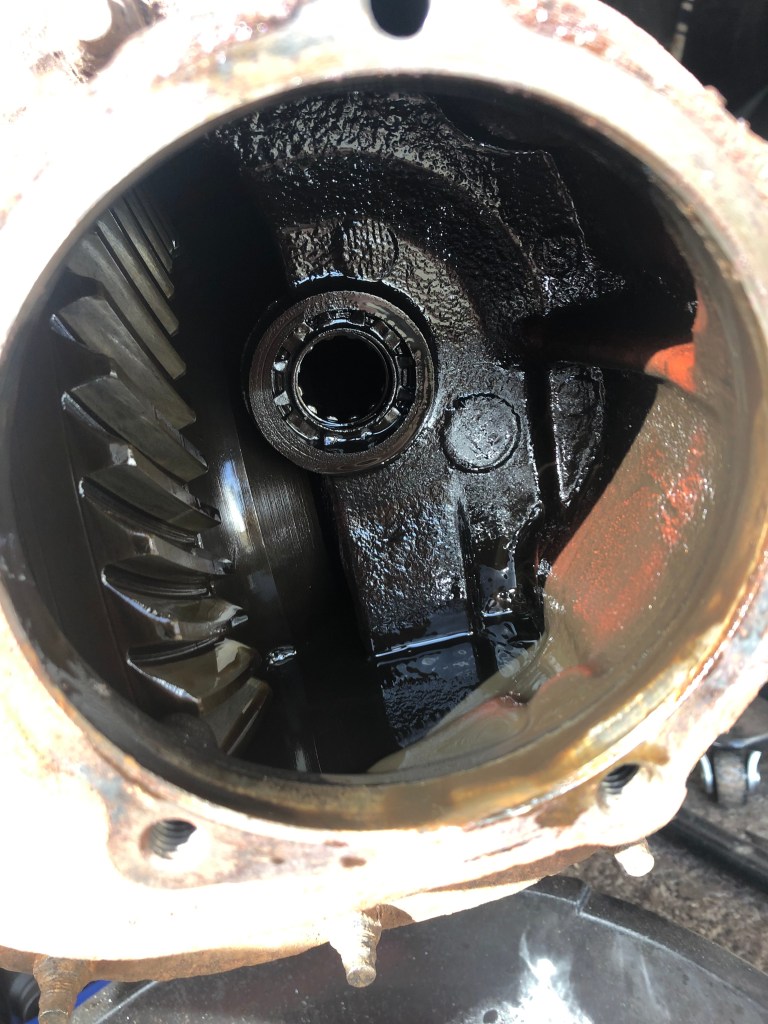
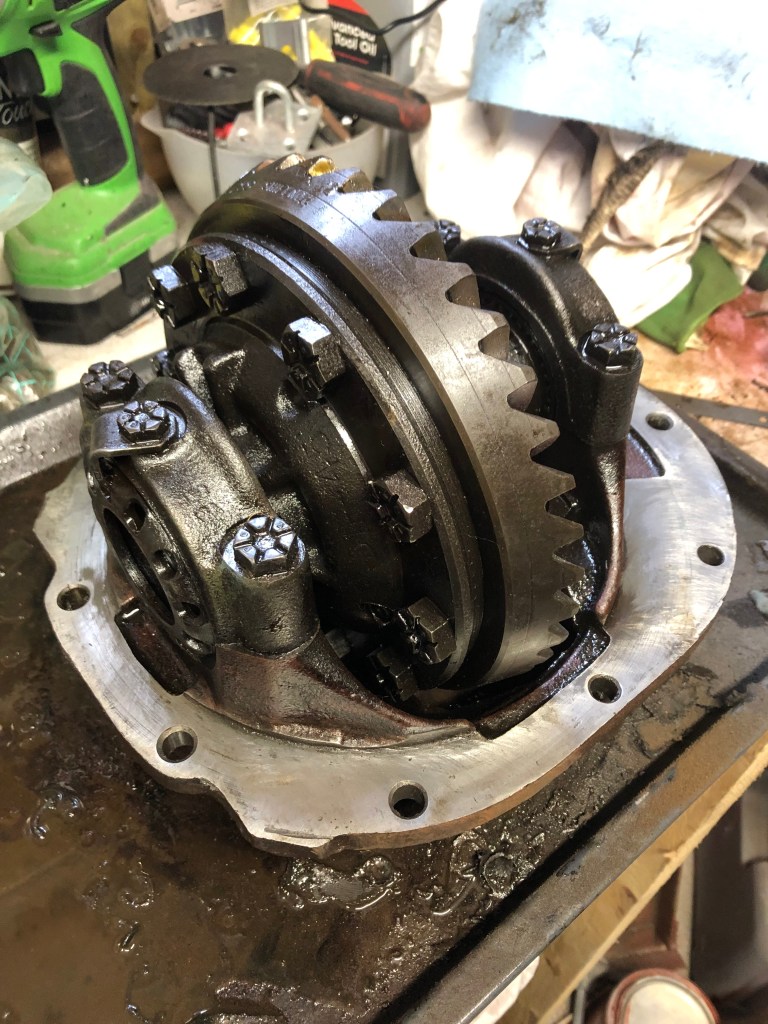
After using the slide hammer on the driver side I was able to remove the axle and then remove the carrier and gears. I counted the number of teeth on the main gear and also the pinion and determined that this rear end has a gear ratio of 3:0 (33/11).


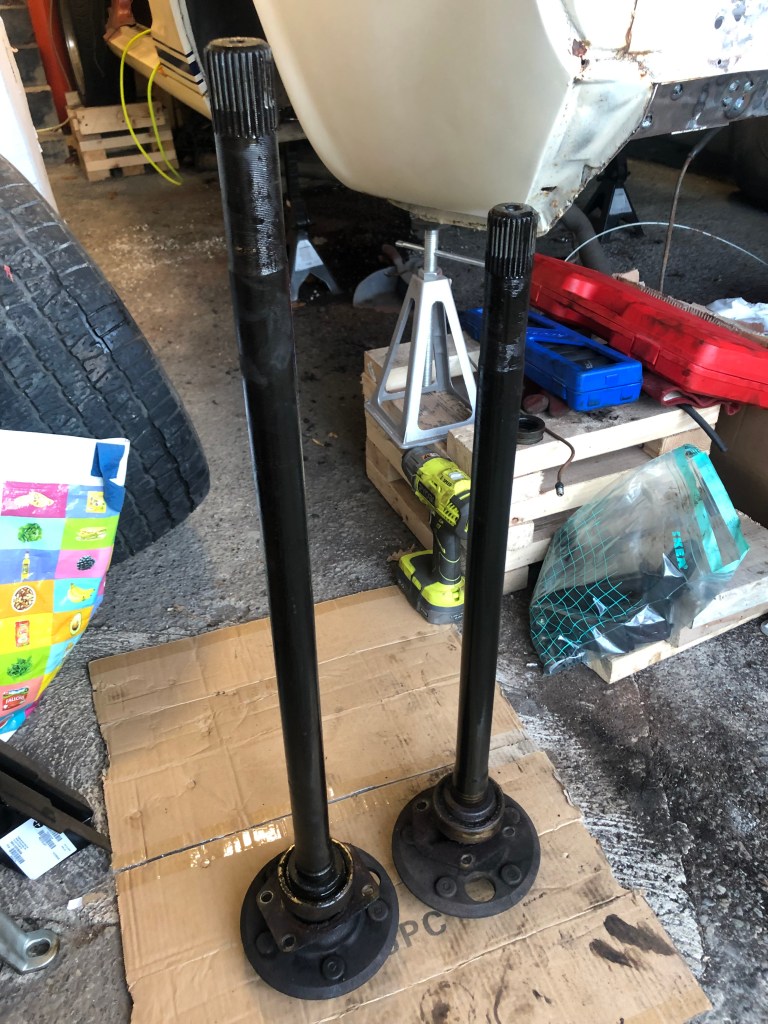
The slide hammer set also had some gear/seal pullers which I used to remove the two axle seals.


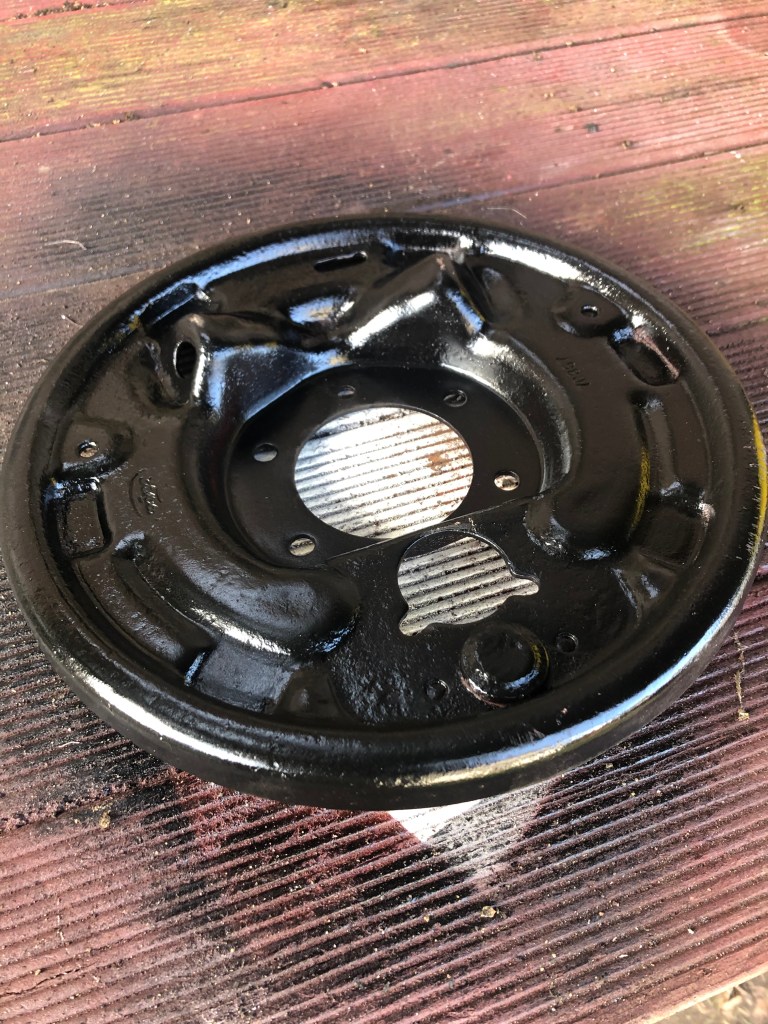
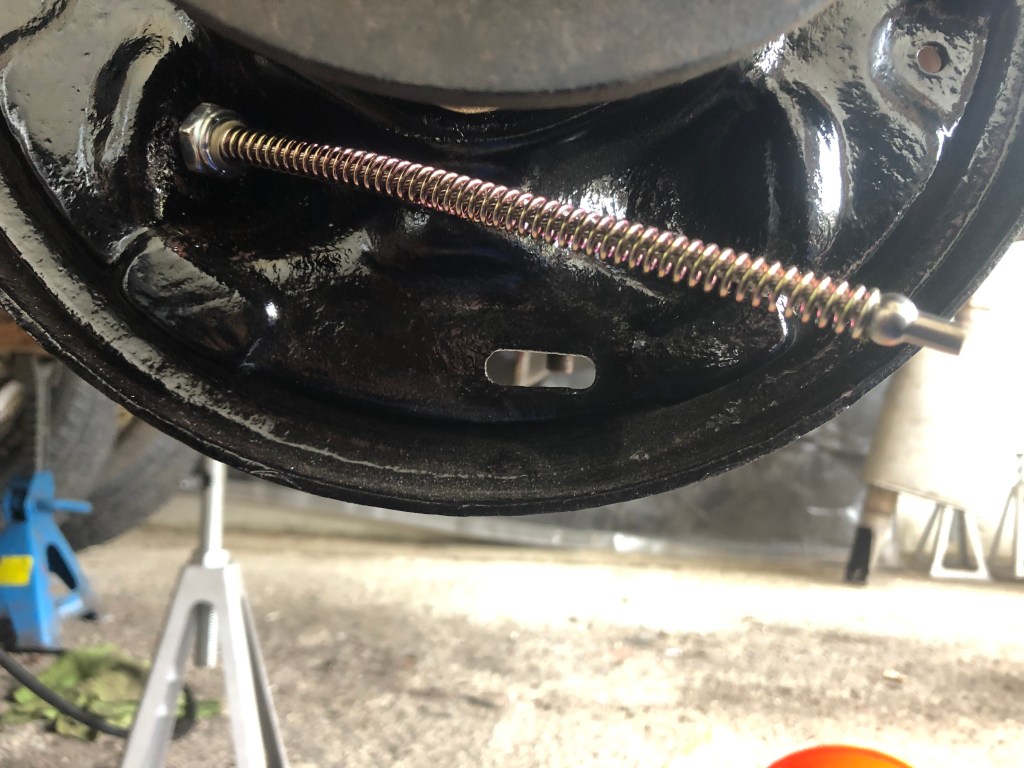
I then turned my attention to removing the brake fitttings. I used the special tool to remove the springs (wearing a face shield just in case). Then I removed the e-brake cable from inside the backing plate. With this done the backing plates and axle housing can be cleaned and painted.


After a lot of sanding and cleaning I was able to give the drivers side backing plate a coat of primer and then a few coats of black engine enamel. Before I can do the same for the passenger side I need to fix the deep grooves in the contact pads. Once done I’ll prime & paint also.


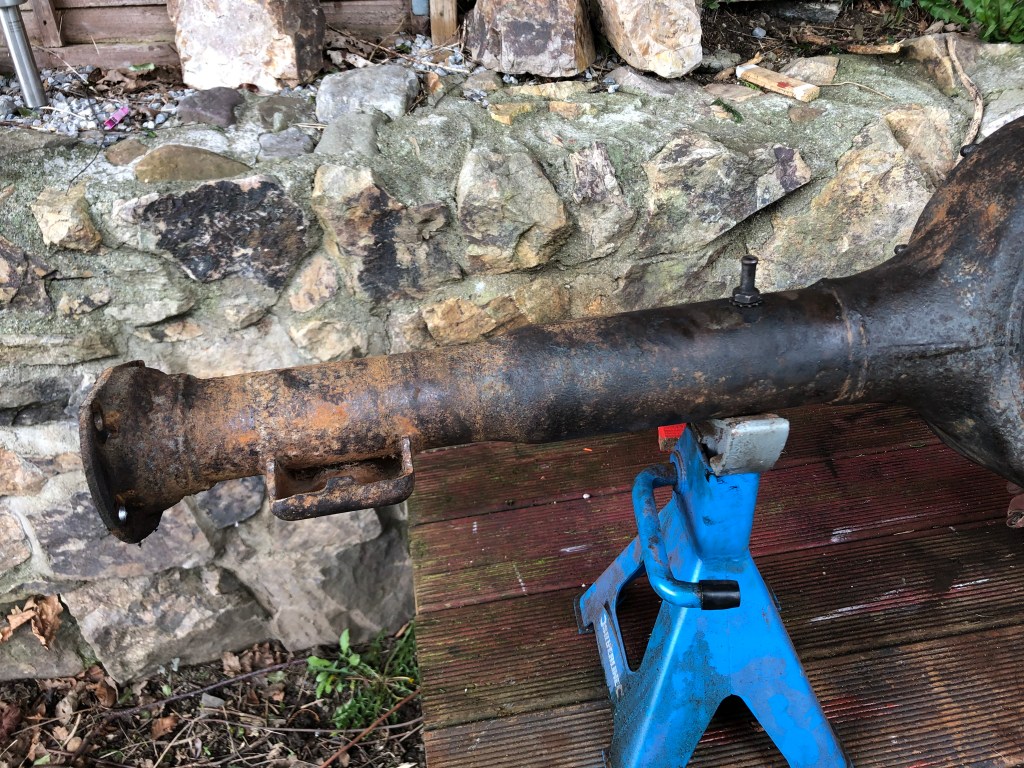
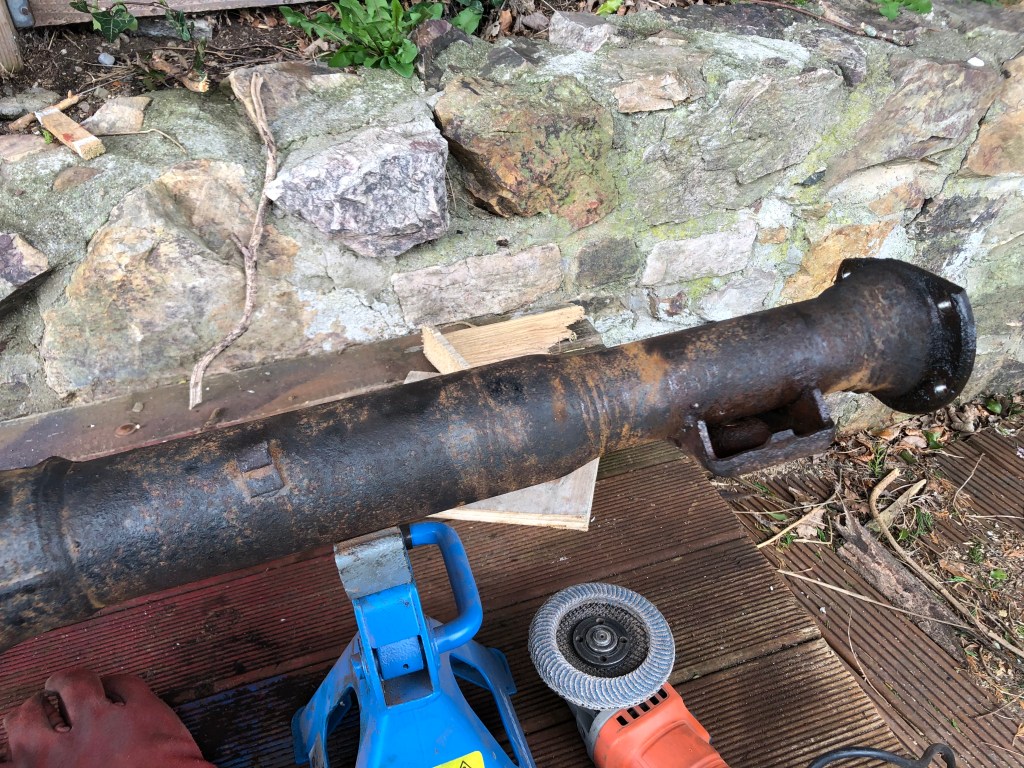
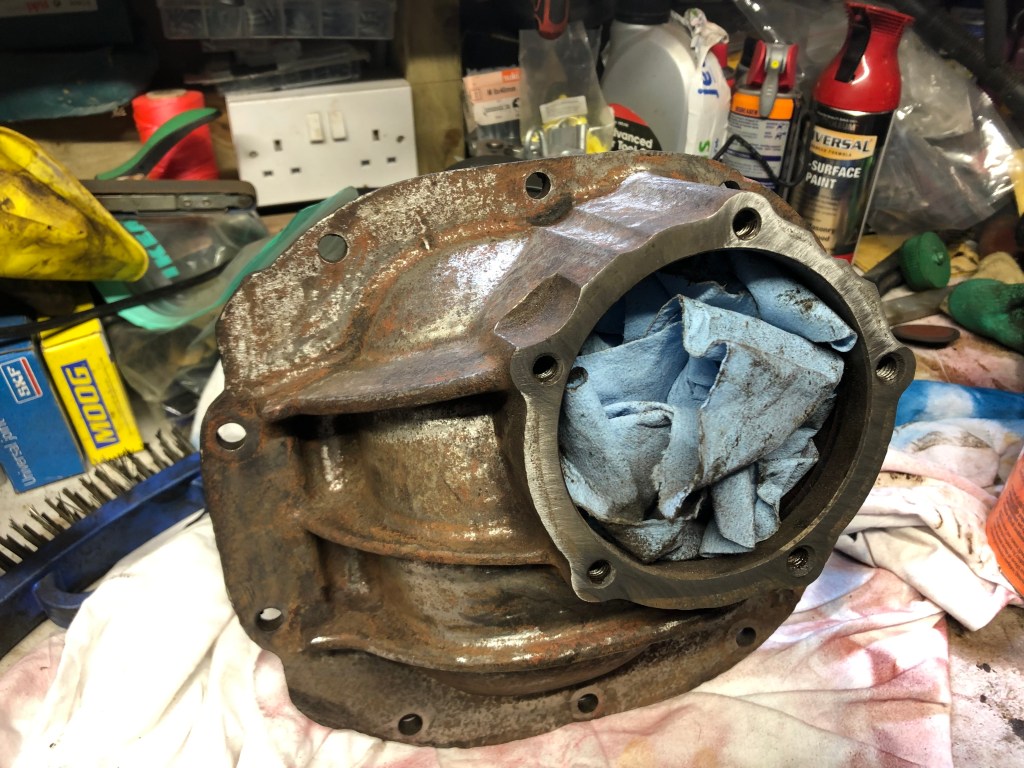
The main housing was actually far worse than I thought. I decided to use a flap disk to get the worst of it off, not pressing too hard, just enough to remove the old rust & dirt. I used some shop towels to soak up the remains of the gear oil from inside but I will also need to push some rags through to clean it all out. There is loads of crud in the tubes so I bought a cheap toilet brush which fit perfectly in the tube. I then used lots of white spirit and after a few dozen times pushing the brush through it came out pretty clean.

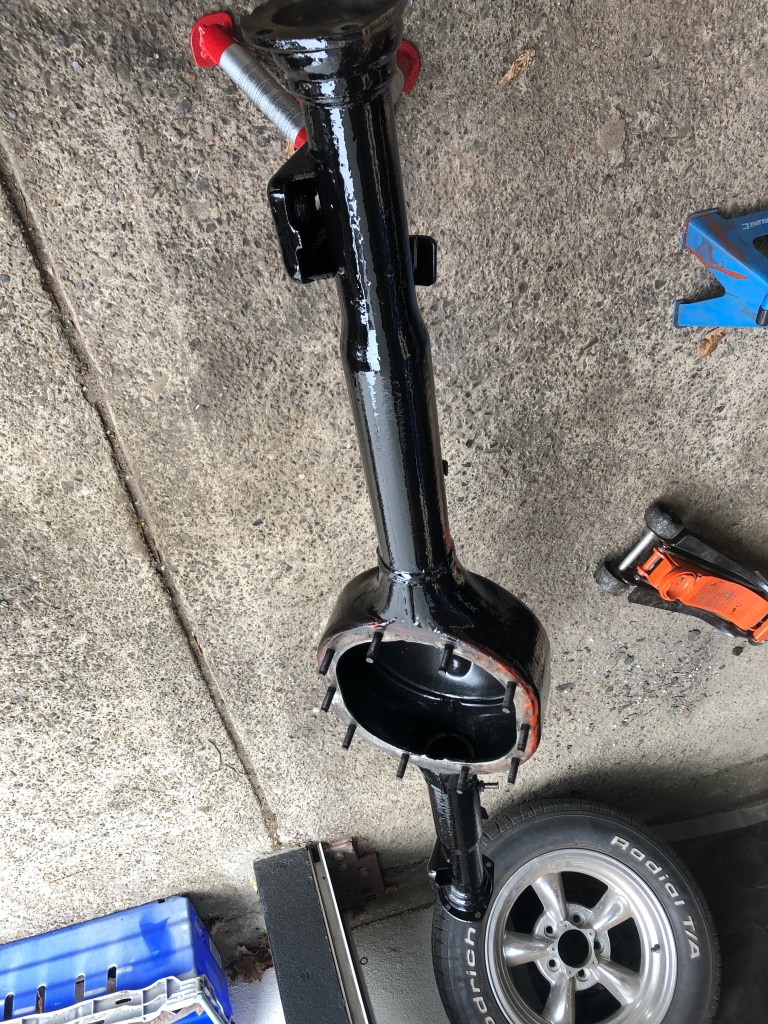
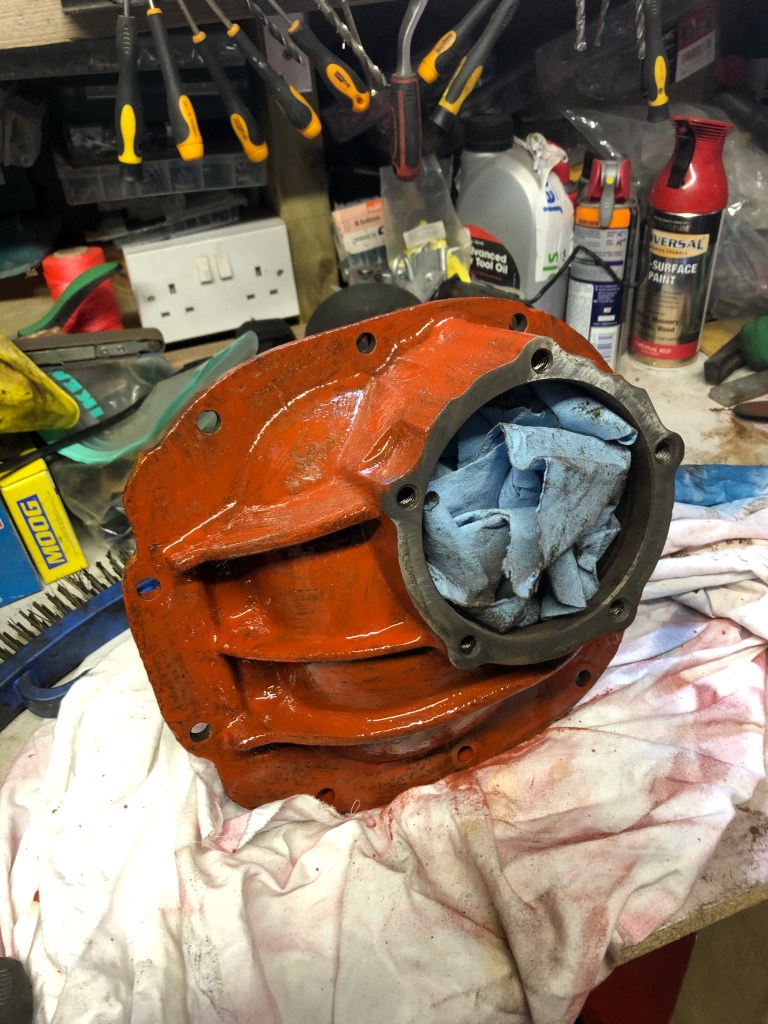
I’ve cleaned and sanded as much as I can and before any further rust sets in I decided to coat it in the anti-rust primer.

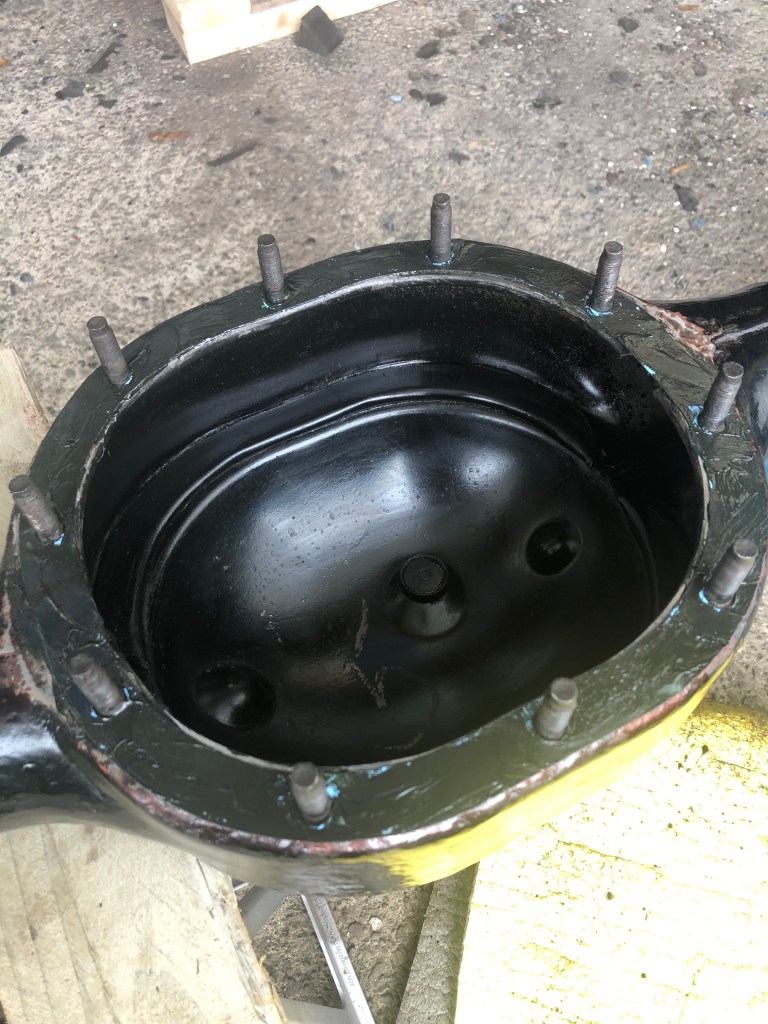
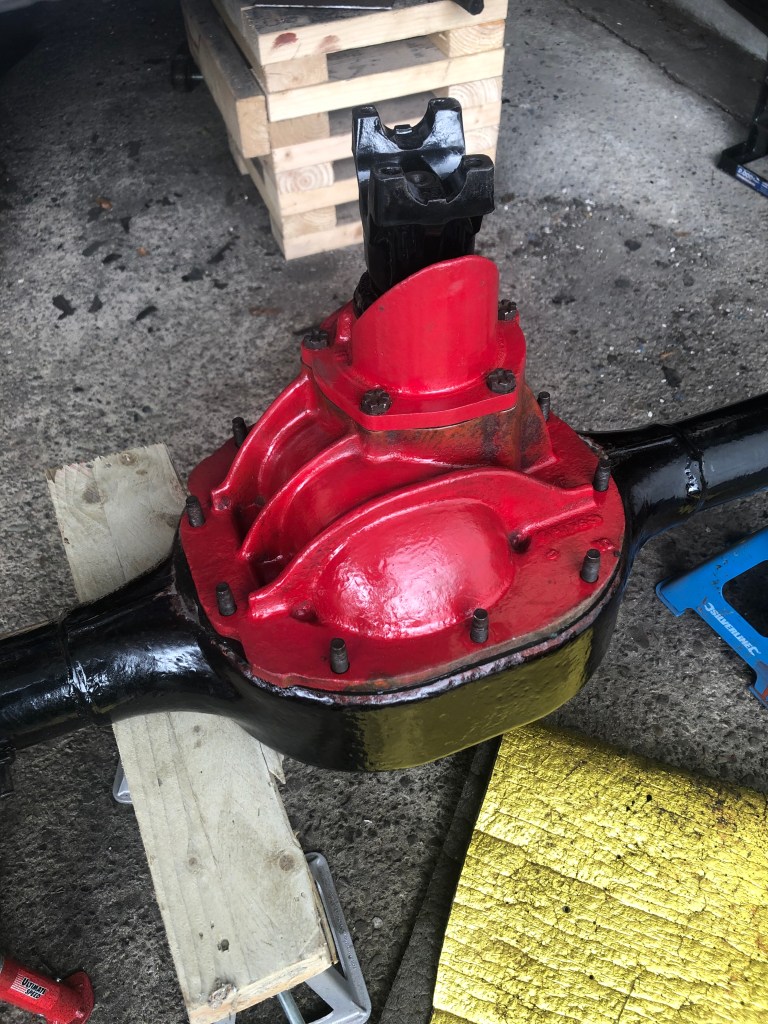
A few coats of gloss black engine enamel later and its looking good. I also started work on the 3rd member, cleaning off the old gasket and lightly sanding the mating surface.
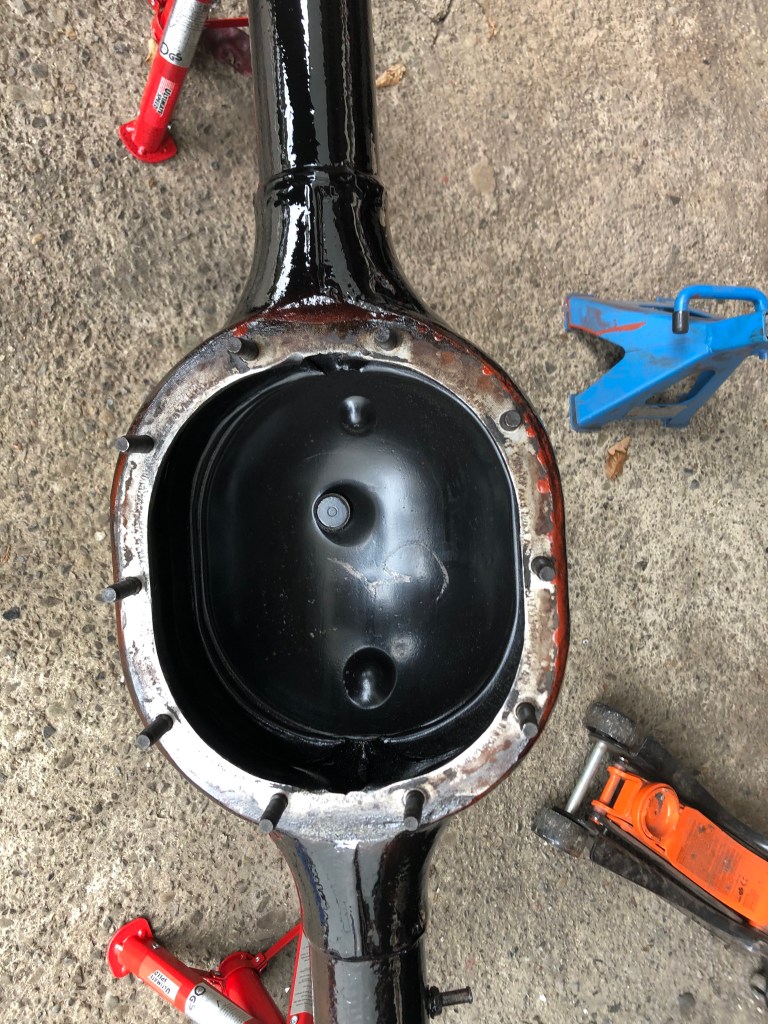


After sanding as much surface rust as I could from the pumpkin, pinion bearing housing & flange I gave them a coat of rust inhibiting primer.


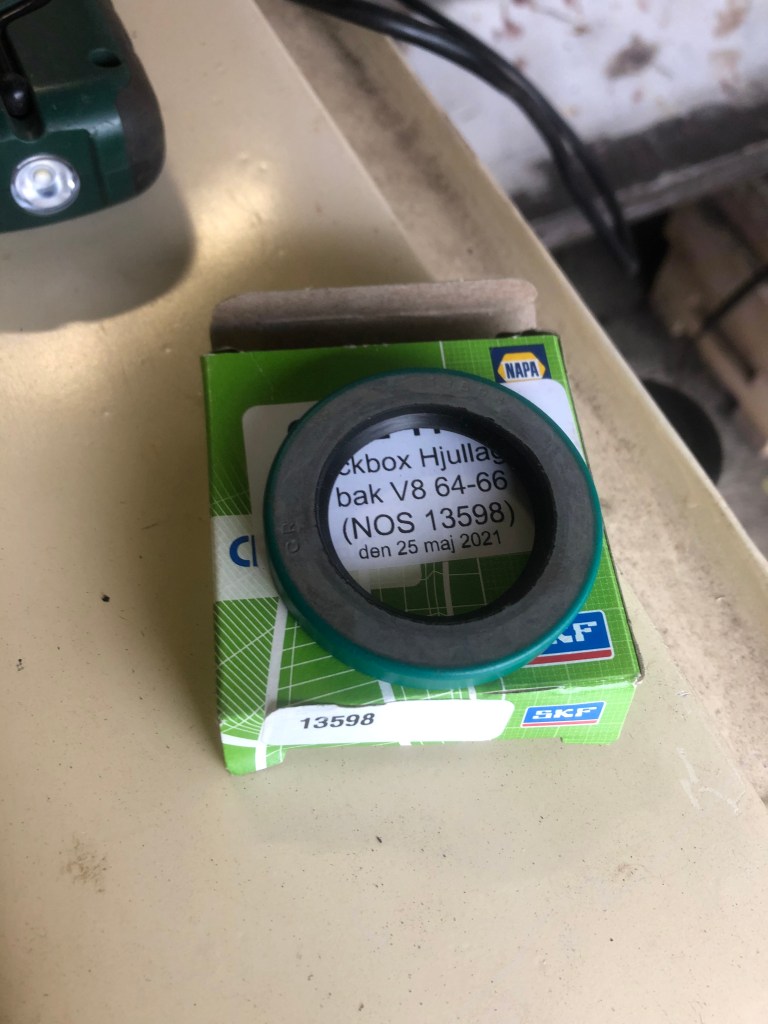
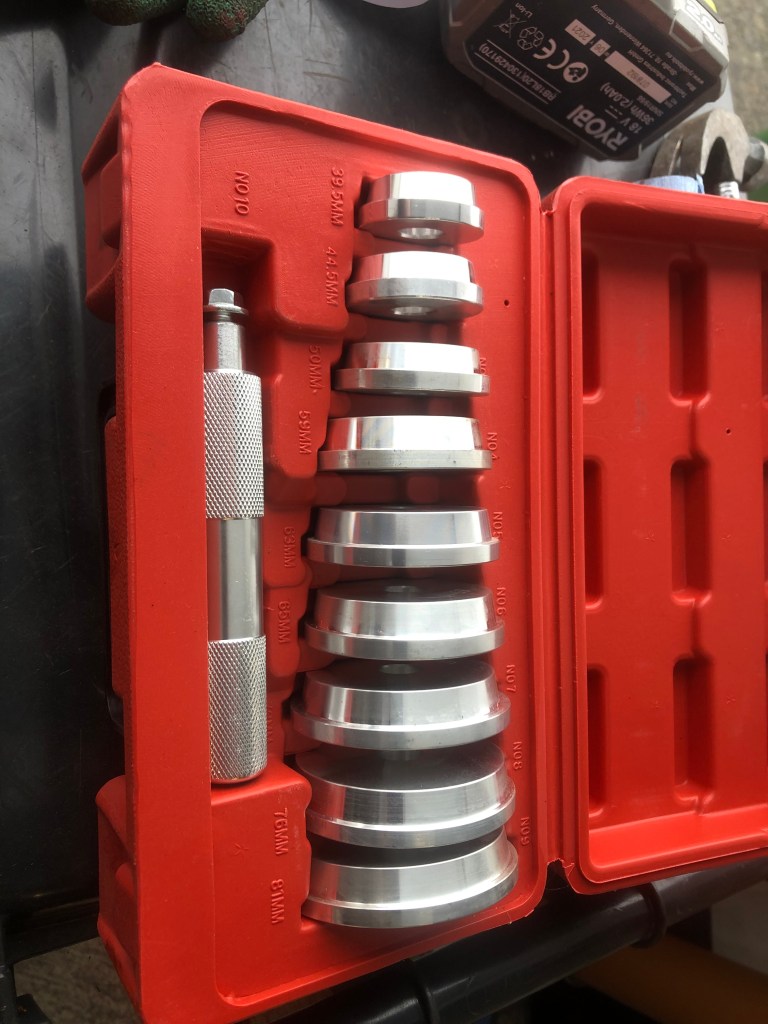
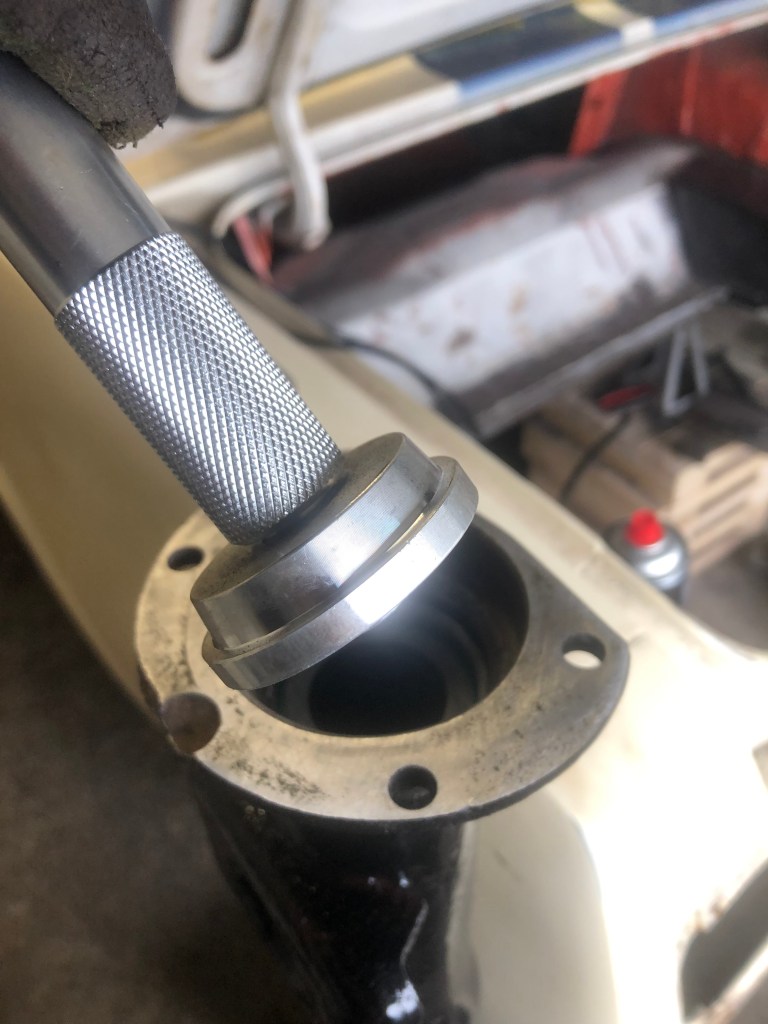
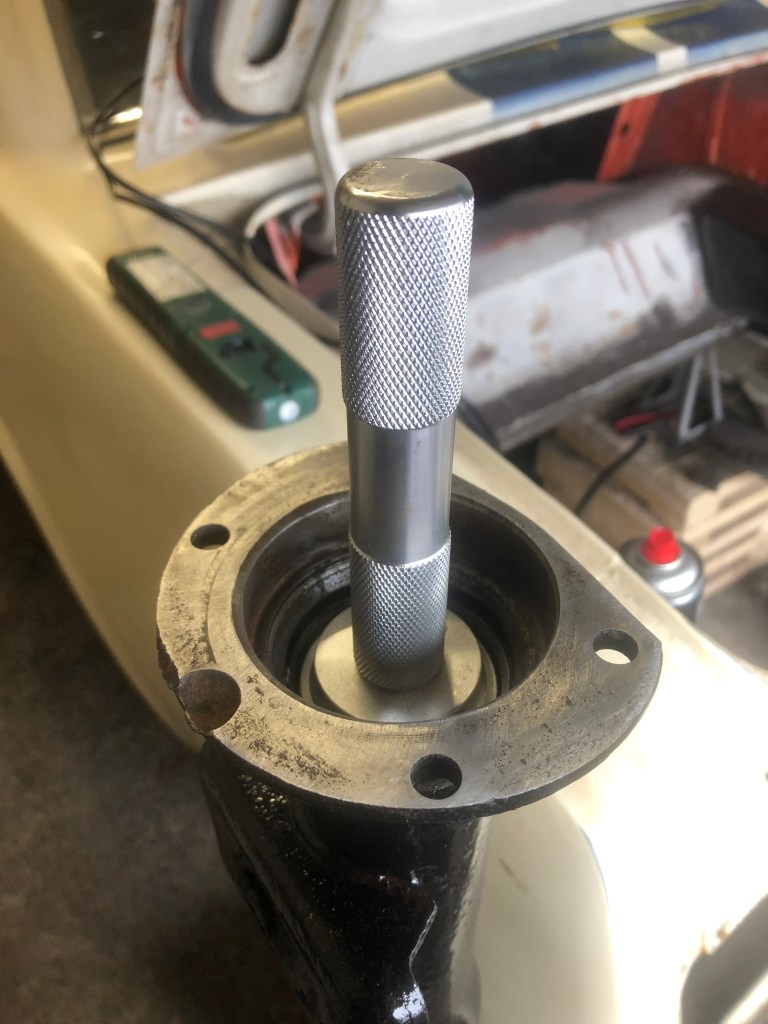
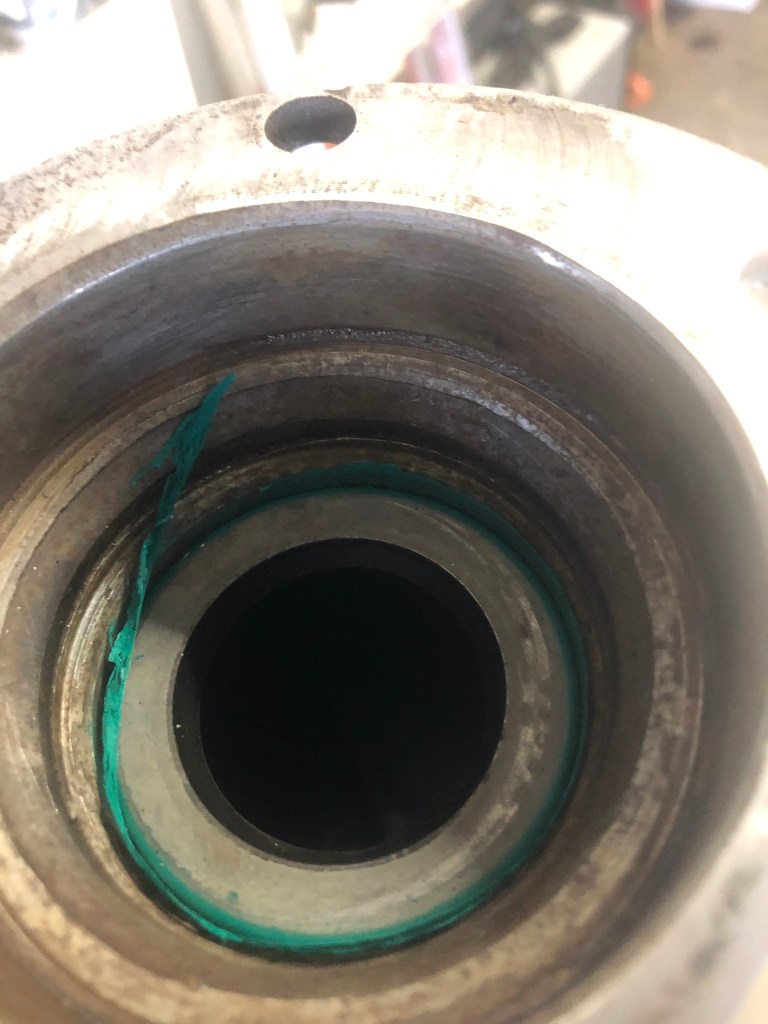
Whilst waiting for everything to dry I lightly sanded the mating surfaces on the diff in readiness for the pumpkin to be reinstalled and the wheel backing plates. Then I installed the new axle seals using the axle seal kit I bought from amazon. I’m glad I did as it made the installation a breeze!
Moving back to the diff I gave the pinion housing and main carrier a coat of rustoleum red. Once dry I reassembled and installed it back on the housing with a new gasket and a thin layer of silicon. I installed the new set of copper washers and nuts & torqued them to spec in a star pattern. Then I torqued the 5 pinion housing nuts to spec (first putting some gasket sealer on the threads as the nuts actually go through into the oil.


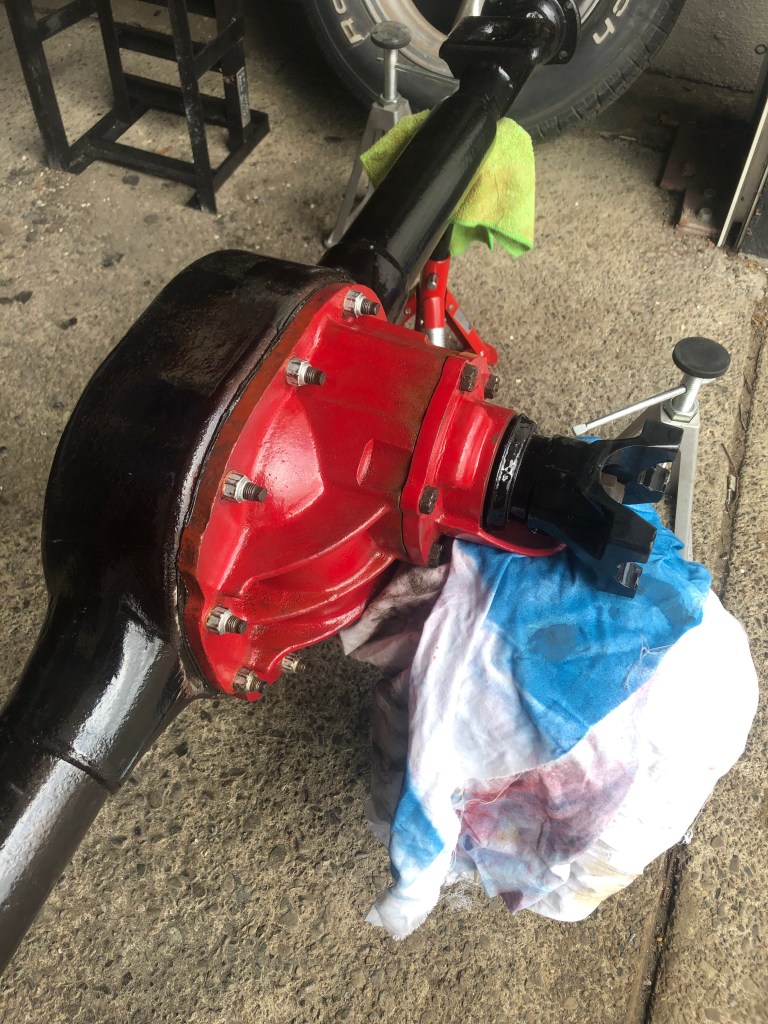
I hand tightened the new pinion nut but found I couldn’t get it to where it was showing 3 threads (as it was before dissasembly) so I used the impact very carefully which did the job. Although the new nut has a coating of loctite (or something similar) I added some silicon to the pinion threads to help reduce the likelyhood of future leaks.


I determined that the best way to reinstall the back end was to first put the leaf springs in place and then jack up the diff until I could manhandle it into place. This worked well.


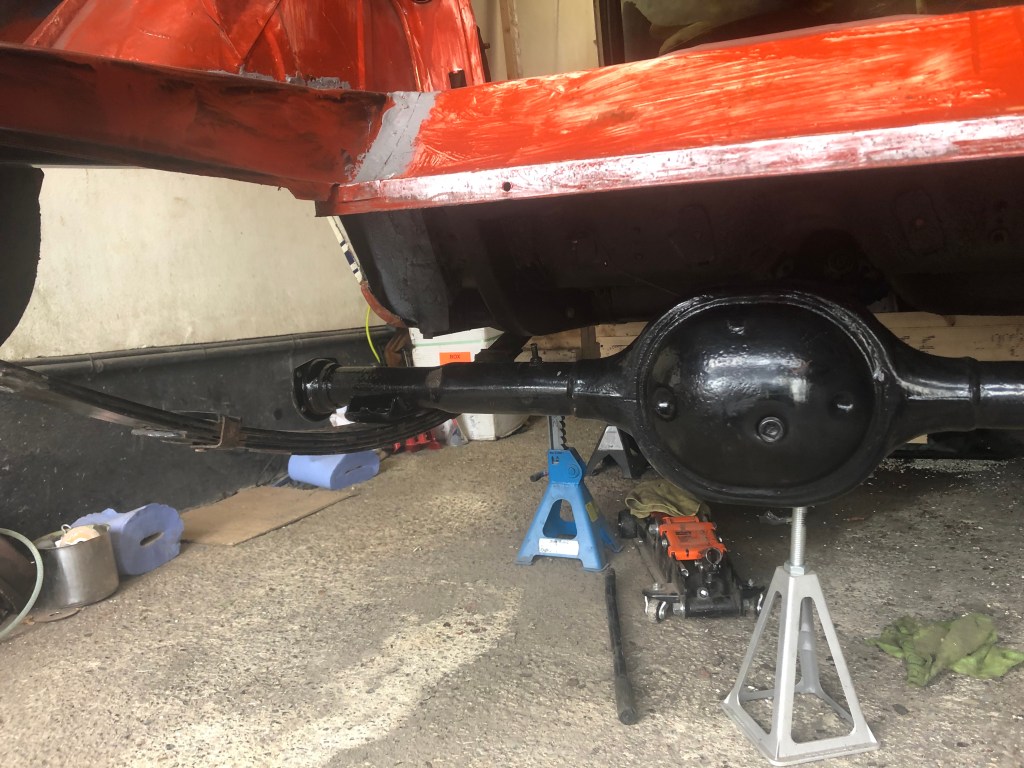


One thing I forgot to do was to paint the u-bolts and plates so I’m now waiting for those to dry before I can secure everything 😦 – Luckily its a bank holiday weekend so I hope to have this finished tomorrow 🙂


Things are moving along now!
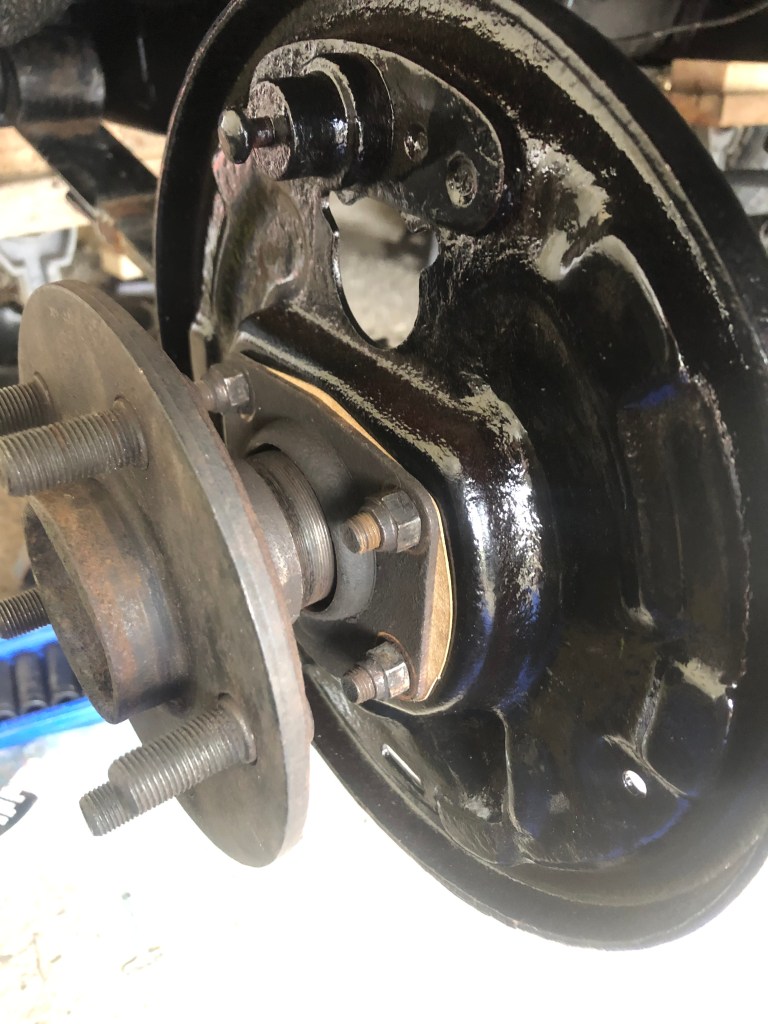
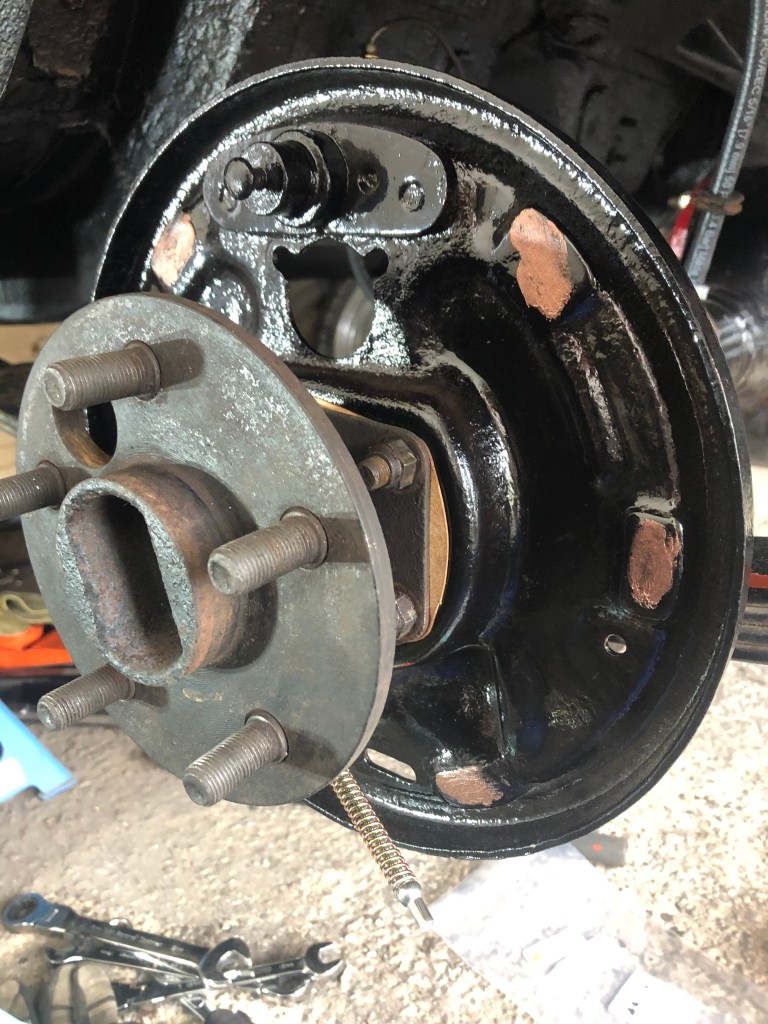
Reinstalling the backing plates, installing the new lokar e-brake cables & reassembly the brakes on both sides completed.


I could have re-installed brakes before installing the axle but doing it this way meant nothing could accidentally get in the tube.
Before installing the brakes I dabbed some copper grease on each of the raised pads to stop any squeaking. The passenger side went smoothly also.

With the brakes done I put the drums back on, fitted the wheels and was able to lower the car back onto wooden cribbs. I can now work safely under the car. No more jack stands for a while.
