The e-brake worked when I first got the car. After a while it felt very ‘sloppy’ and then eventually it did nothing at all. I decided to replace the main mechanism, front & rear cables.


Removing the parking brake required the removal of one nut in the engine bay (there were meant to be two!) and two under the dash (Only one was there also!) Once this was done I removed a ‘dowel pin’ (You can just see it above the handle in Fig2) which meant I could push the brake cable up and remove it from the assembly.
I decided to install the new mechanism using the existing cable, just in case the issue was actually the old mechanism. The first thing I found is that the orientation of the top bracket to the fixing bolts was different on the new unit, meaning attaching the top nuts was virtually impossible. I could drill new holes in the firewall but decided to see if I could ‘brute force’ install it.
Update – I haven’t worked on the e-brake for months. I’ve decided to replace the original with a floor mounted Lokar hand brake, which is a much better design.
I eventually found a kit on Ebay, which has just arrived. For those that are interested, the kit is made up of the following parts:
- Lokar EHB-7000F Floor Mount Emergency Hand Brake, Chrome Finish
- Lokar 70-EHBF Floor Mount E-Brake Boot w/ Stainless Ring
- Lokar EC-80FU Floor/Dash Mount Emergency Brake Cables

I’m going to mount it on the transmisison tunnel between the seats but before I do I need to figure out how it all fits together. Thankfully the driveshaft is out of the car at present so I have loads of room.

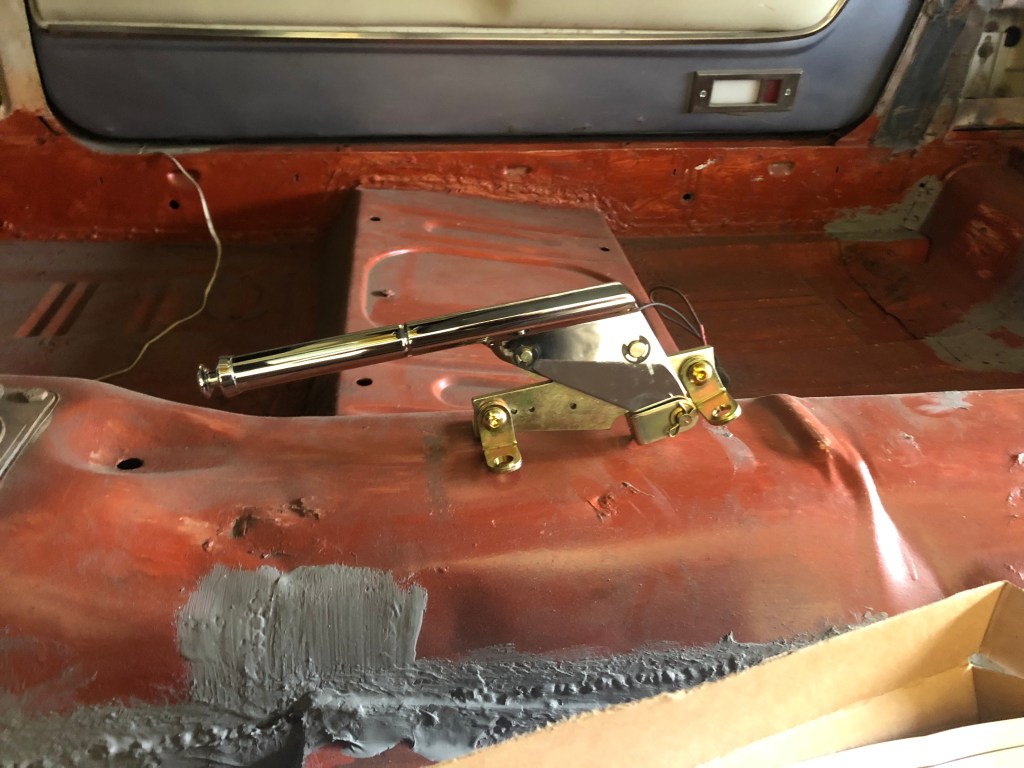

The rear end is back in the car so I connected the new cables to the backing plates. Theres quite a lot of spare wire but I’m told that when I hook everything up and adjust it, it will shrink. I also cut the hole in the transmisison tunnel for the hand brake. I’m concerned that the mechanism will hit the drive shaft so I’m going to reinstall it and see what the clearance is like before installing.


I test fit the mechanism but was concerned that it was going to hit the driveshaft. To be sure I reinserted the driveshaft yoke and held it up at the u-bolt level and was pleased to find there was sufficient room.

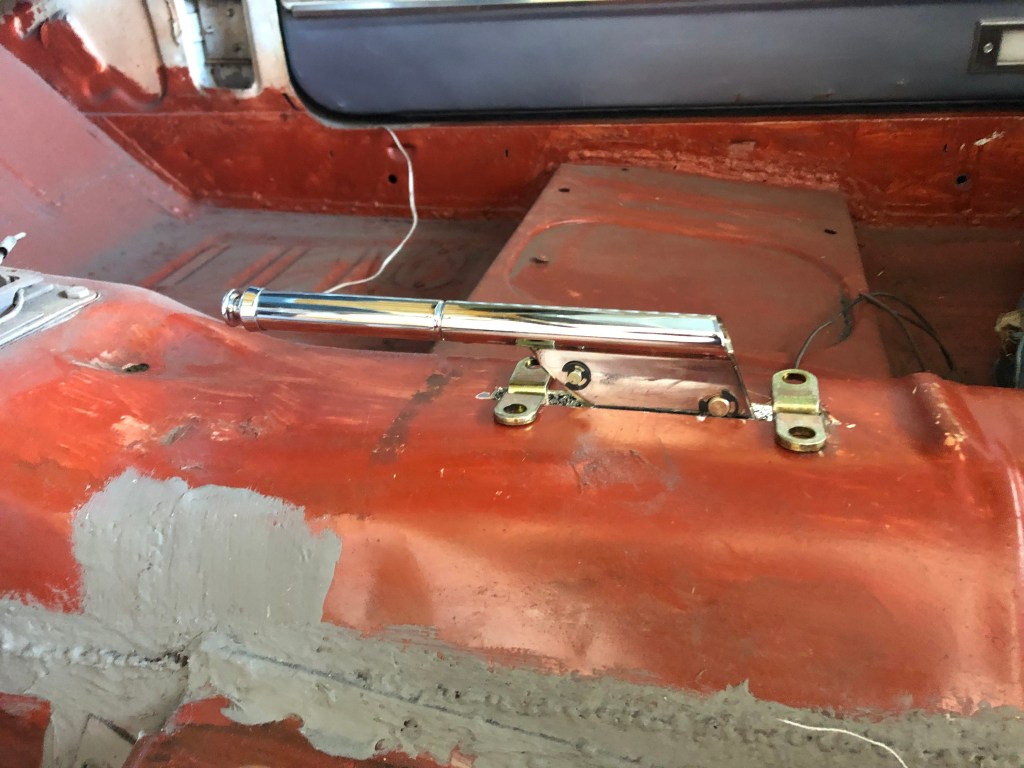

The tension block is connected to the clevis which in turn is connected to the bottom of the hand brake. I mounted the tension block about 30cm back from handbrake. You are expeted to cut the cables to size, which you have to be careful with as one wrong cut and its lots more $$$$. Thankfully it all fits together well. It’s just mocked up at present but I will fine tune and tighten everything up next.


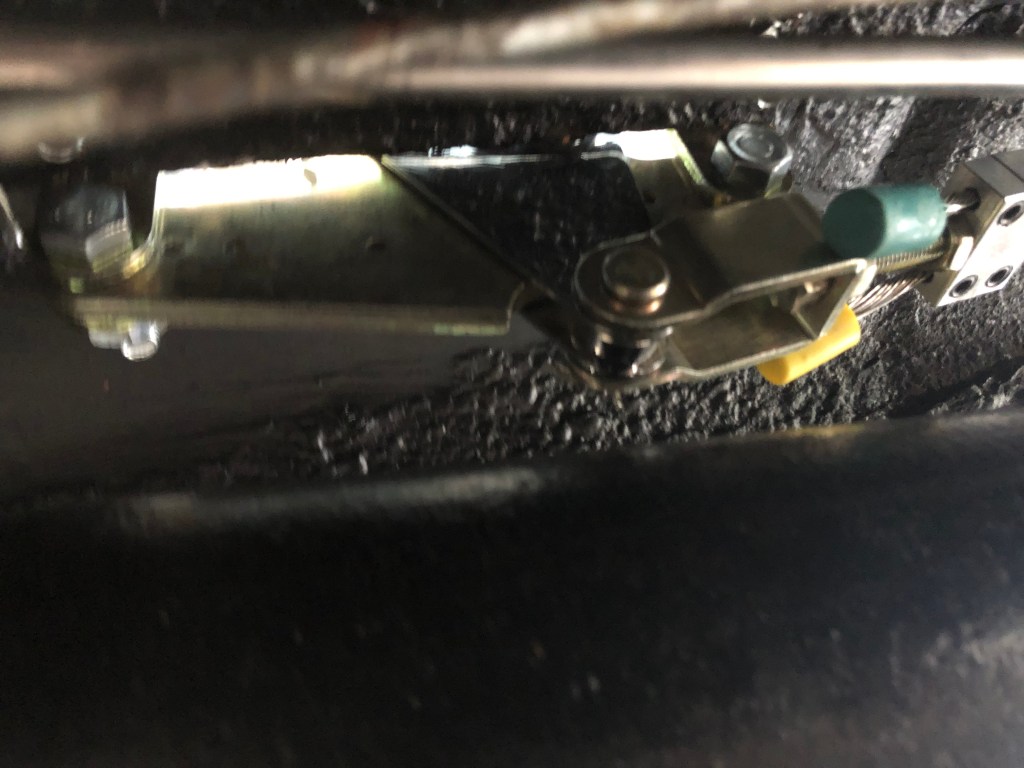
After a lot of fiddling the new e-brake is working! – The main issue I was having was that the hex bolts that hold the wire were not done up tight enough and slipped when I engaged the brake. After cranking them down using a socket wrench, I was able to lock up the rear wheels!
As you can see there is about 3cm of space between the bottom of the brake mechanism and the driveshaft. Hopefully this will be enough!