This was one of those jobs that I had put off but turned out to be very satisfying.
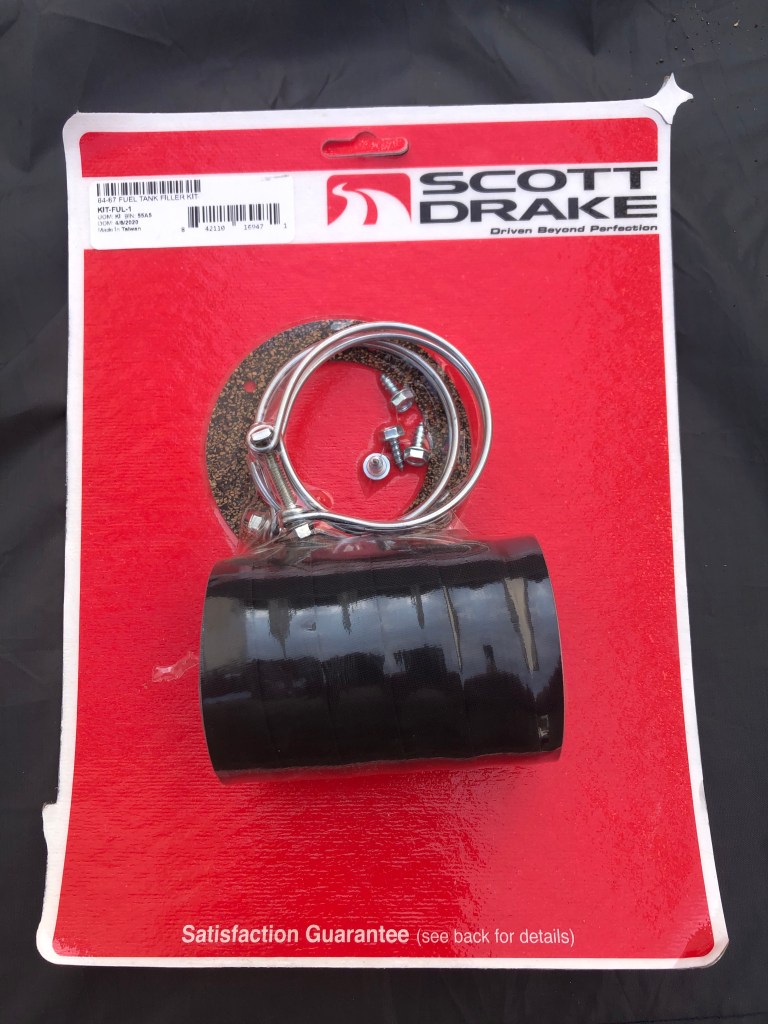

I purchased the kit from CJ’s and as you can see by the above picture, not only was the filler area in need of real clean but only one screw (and the cap bolt) was holding the filler in place!
The first thing to do was to remove the filler cap itself, which is done by removing the bolt from within the boot, just below the filler tube (Fig1). Then remove the screws holding the filler pipe flange to the body (Fig3). Then loosen the two hose clamps and separate the hose from the filler pipe and tank, being careful not to drop in anything into the tank!
Remove the old hose from the pipe and pull the pipe out through the rear of the car

Fig1

Fig2 
FIg3 
Fig4 

The gasket was completely shot and oddly two of the screw holes had been filled, although I was able to clear them with a small sharp screwdriver.

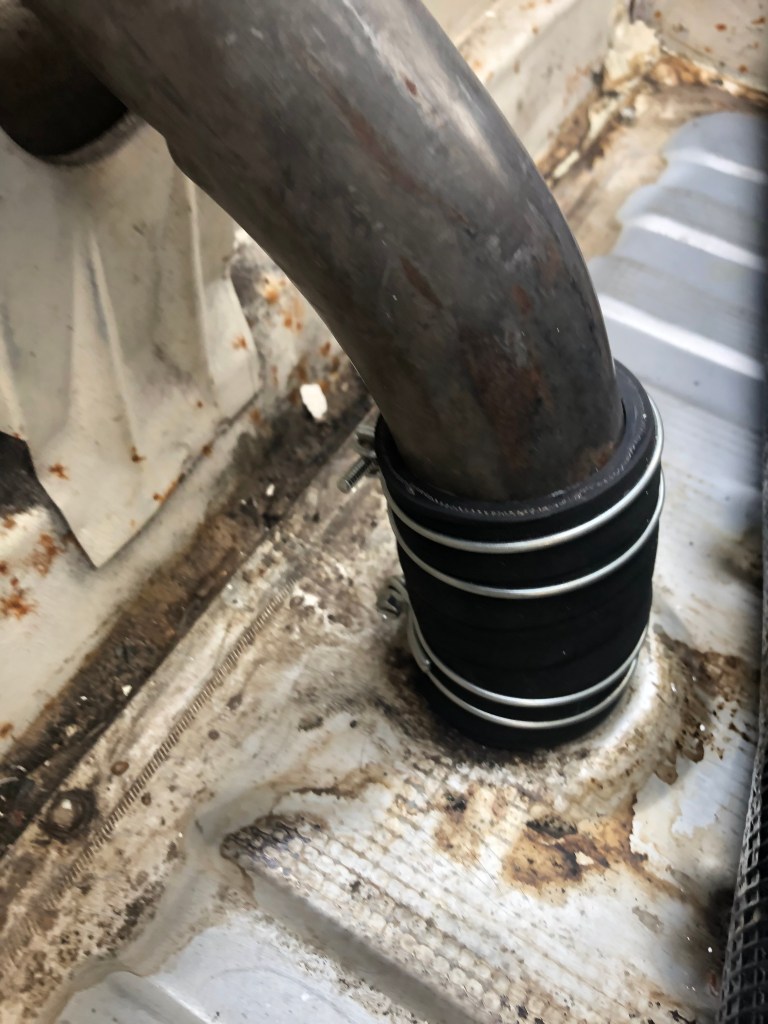
Once I had cleaned the area I added the new gasket to the filler and slid it through the hole. I then attached the new hose (with the clamps on loosely) and connected it to the tank. I then reinstalled the cap bolt and 4 new screws, securely fixing the pipe to the car body. Then I tightened the new clamps on the hose. Job done!
