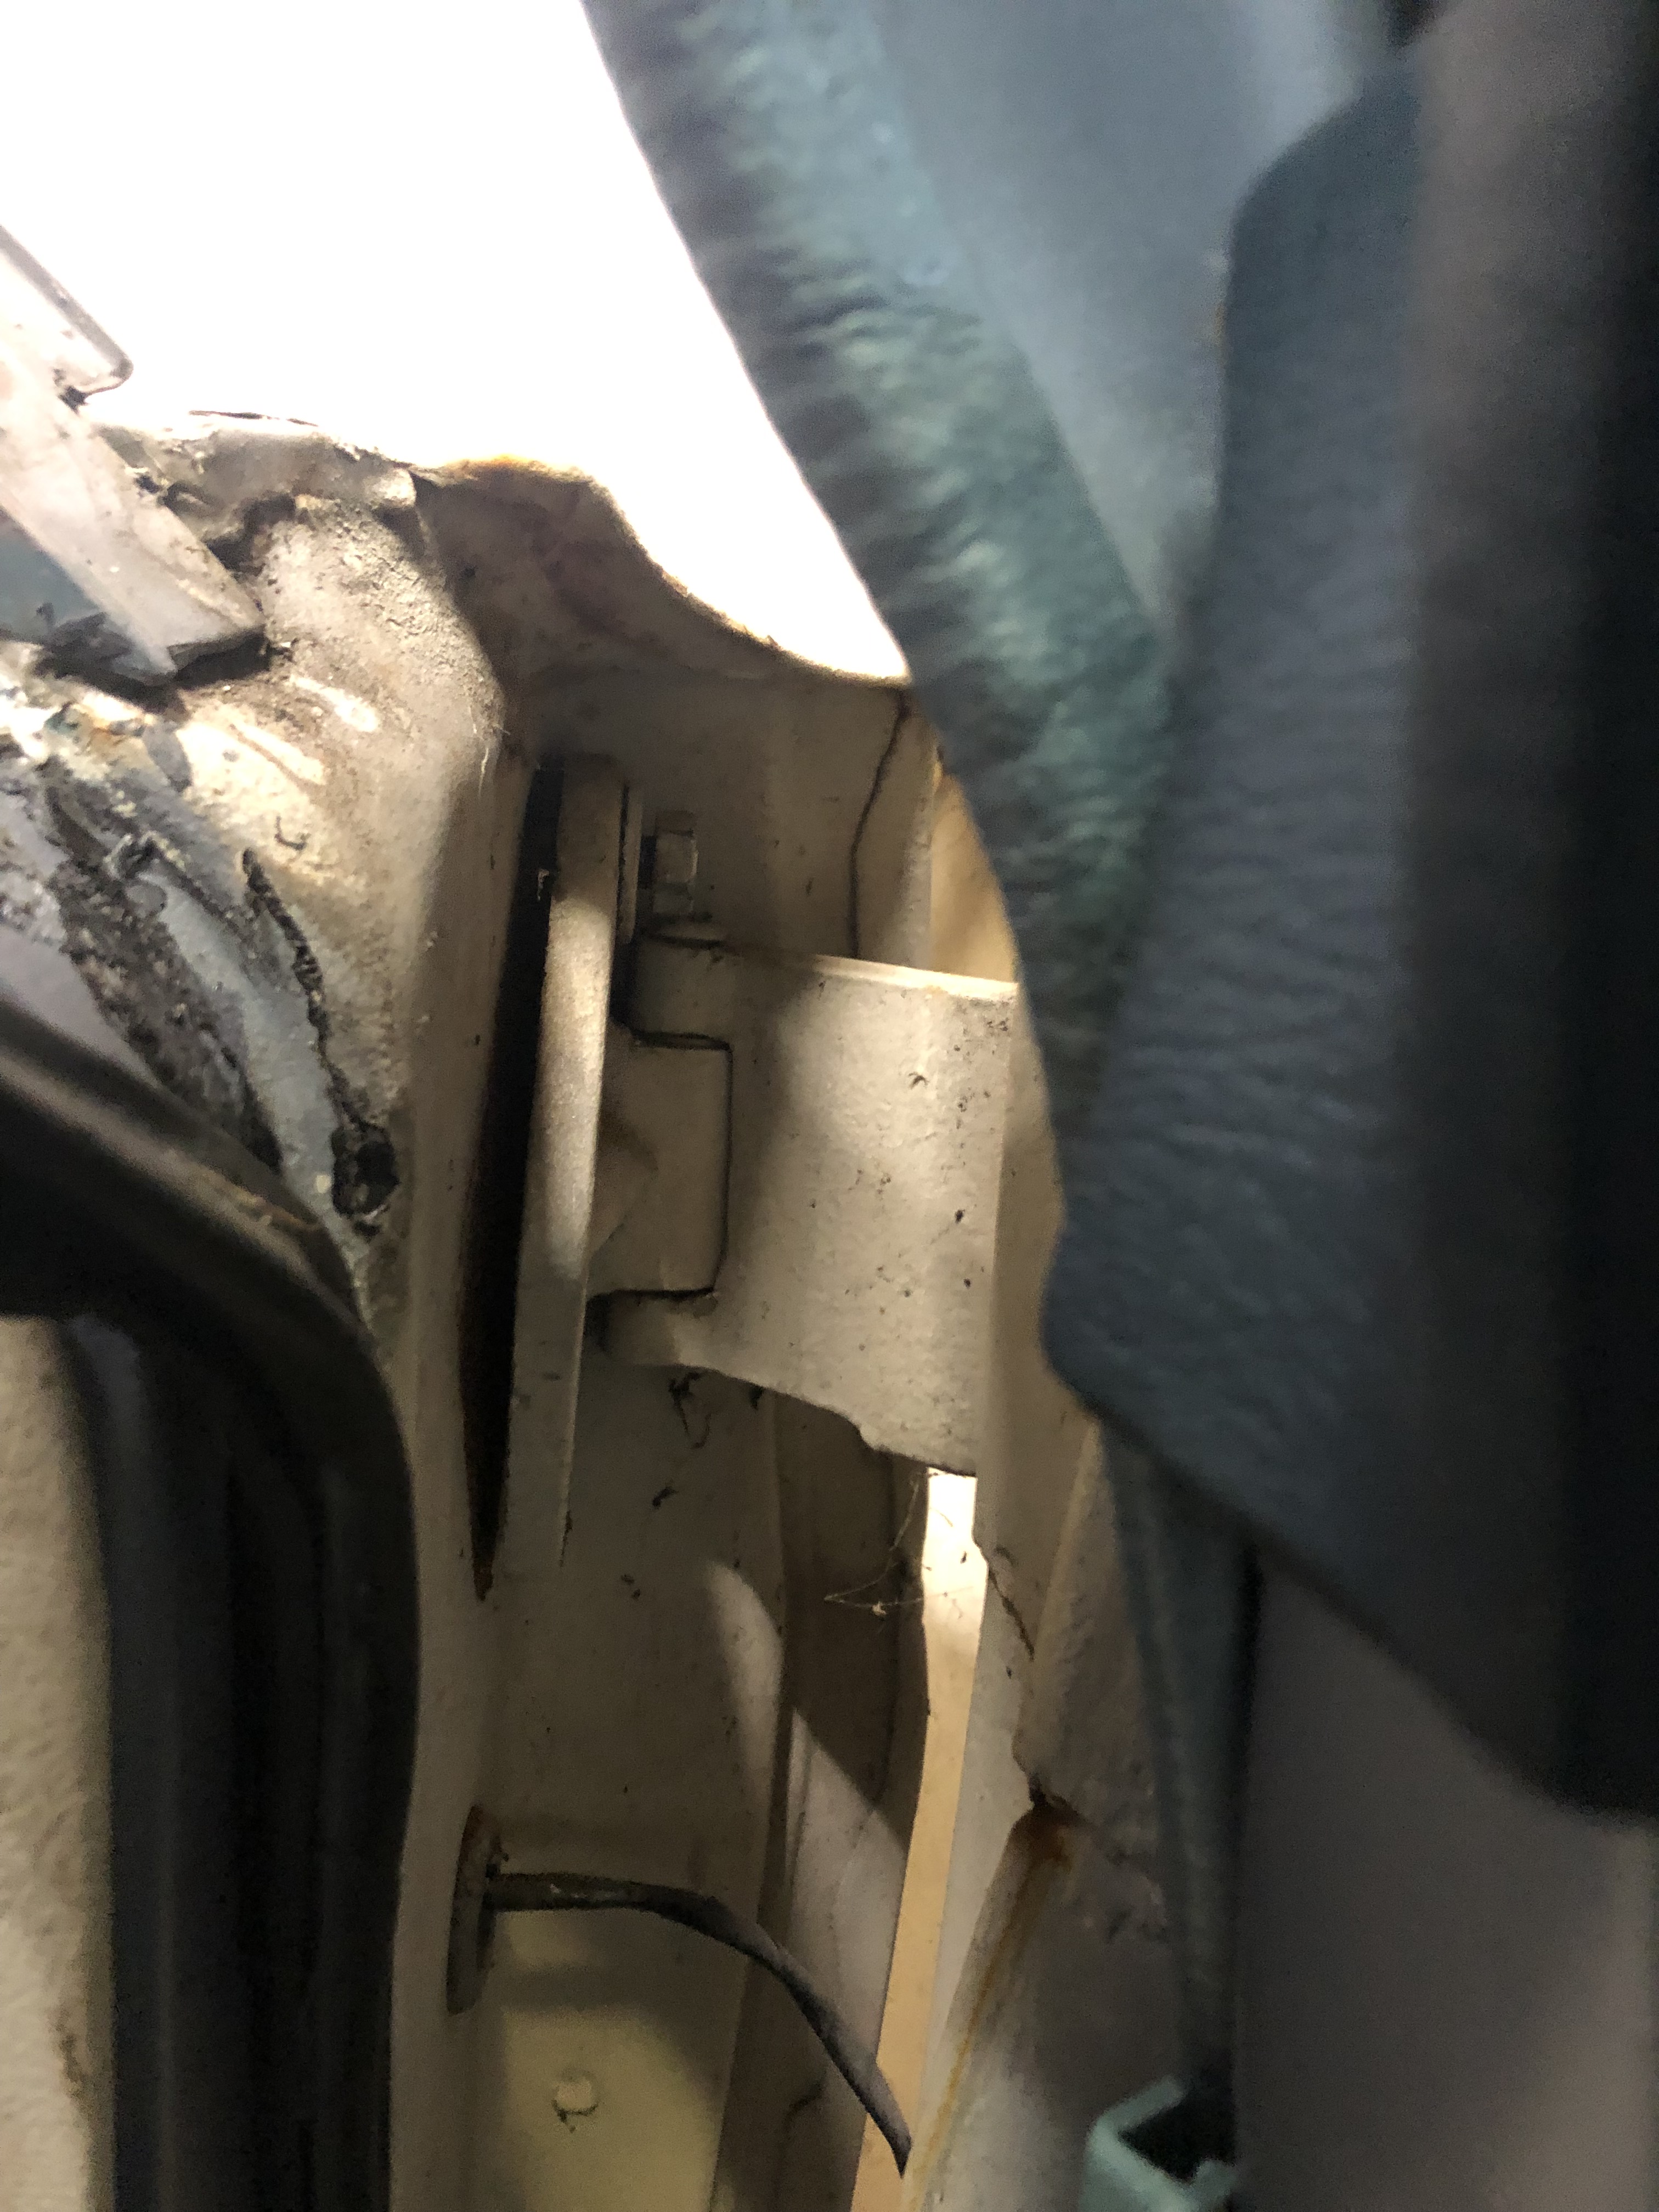
Every classic car owners nightmare. Whilst I was diagnosing the horrible whine (wheel alignment) I found some rather worrying rust issues on the car. I shouldn’t be surprised with it sitting in the Irish weather for the last 6 years.
The most worrying are holes in the passenger side frame. At the front and at the rear near the hanger for the leaf spring.
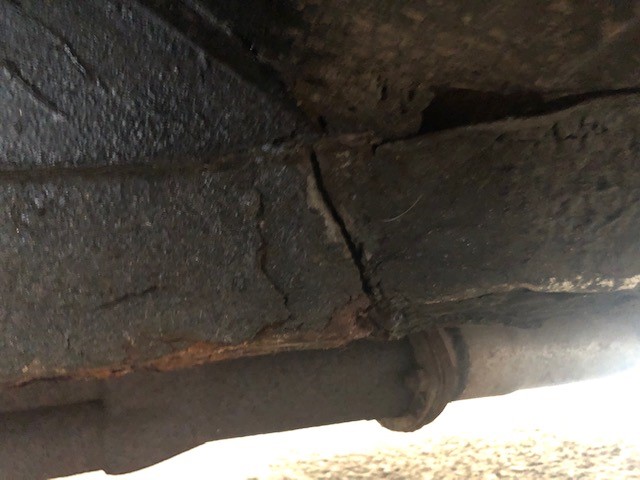
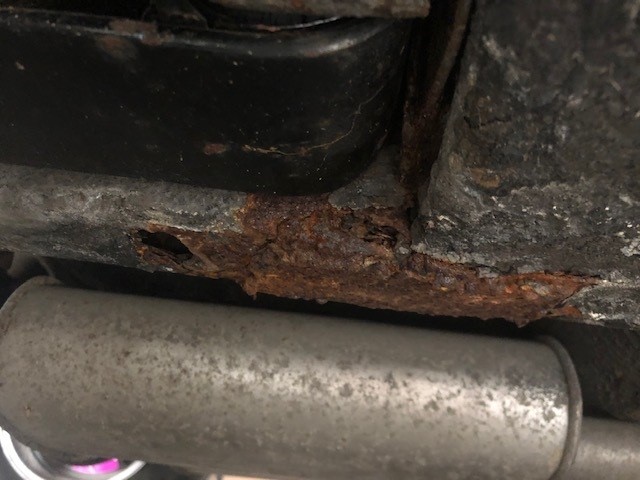
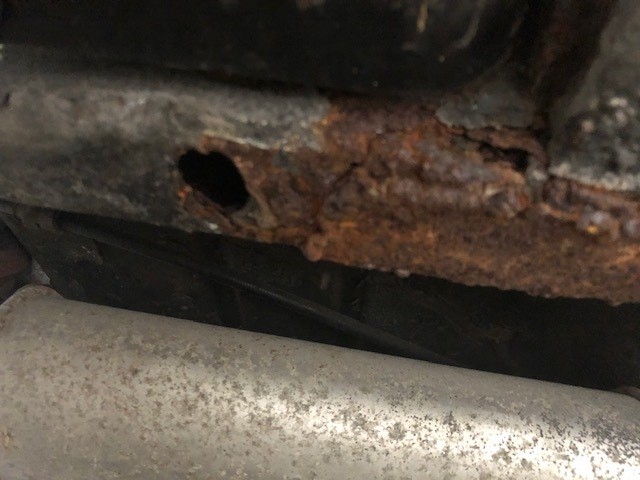
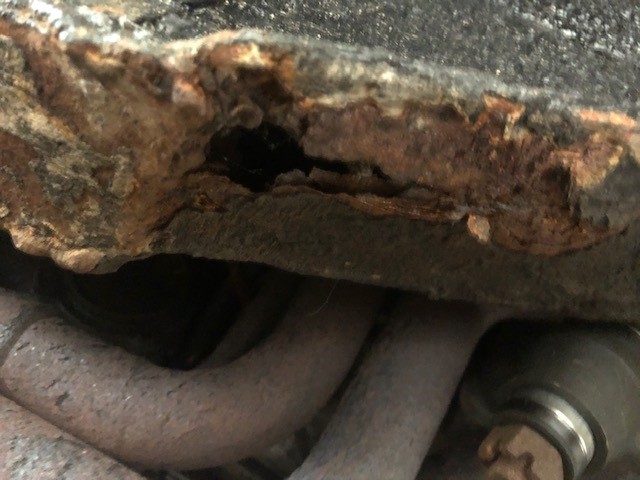
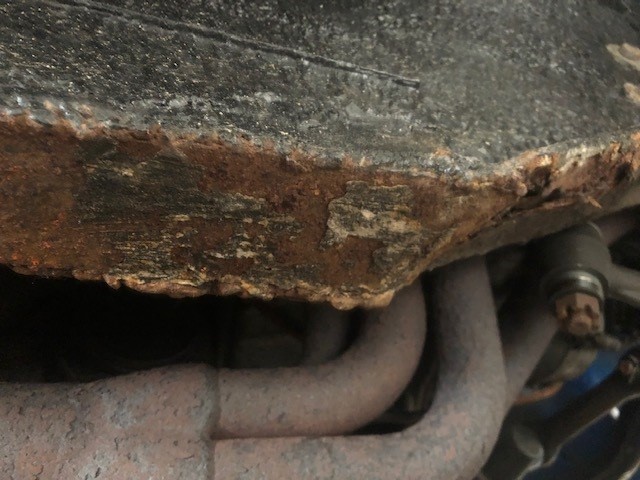
As you can see in the above pictures there is some pretty serious rust in the frame rails. I need to decide on the best way to sort this out because replacing frame rails is a huge job, requiring welding knowledge. In one way I’m keen to tackle it over the winter months now that I have a garage of sorts but if you can see rust there is always much much more you can’t see.
10th September 2021 – I’ve decided to tackle this myself. It’s daunting, especially as I’ve not done any welding before, but it’s all a learning experience. I’ve ordered new floor supports, lower frame patch panel & sub-frame connectors from CJ Pony Parts (shipping costs were more than the parts but it needs to be done). I now need to figure out what MIG welder to buy and then work out a plan for removing all the rot.
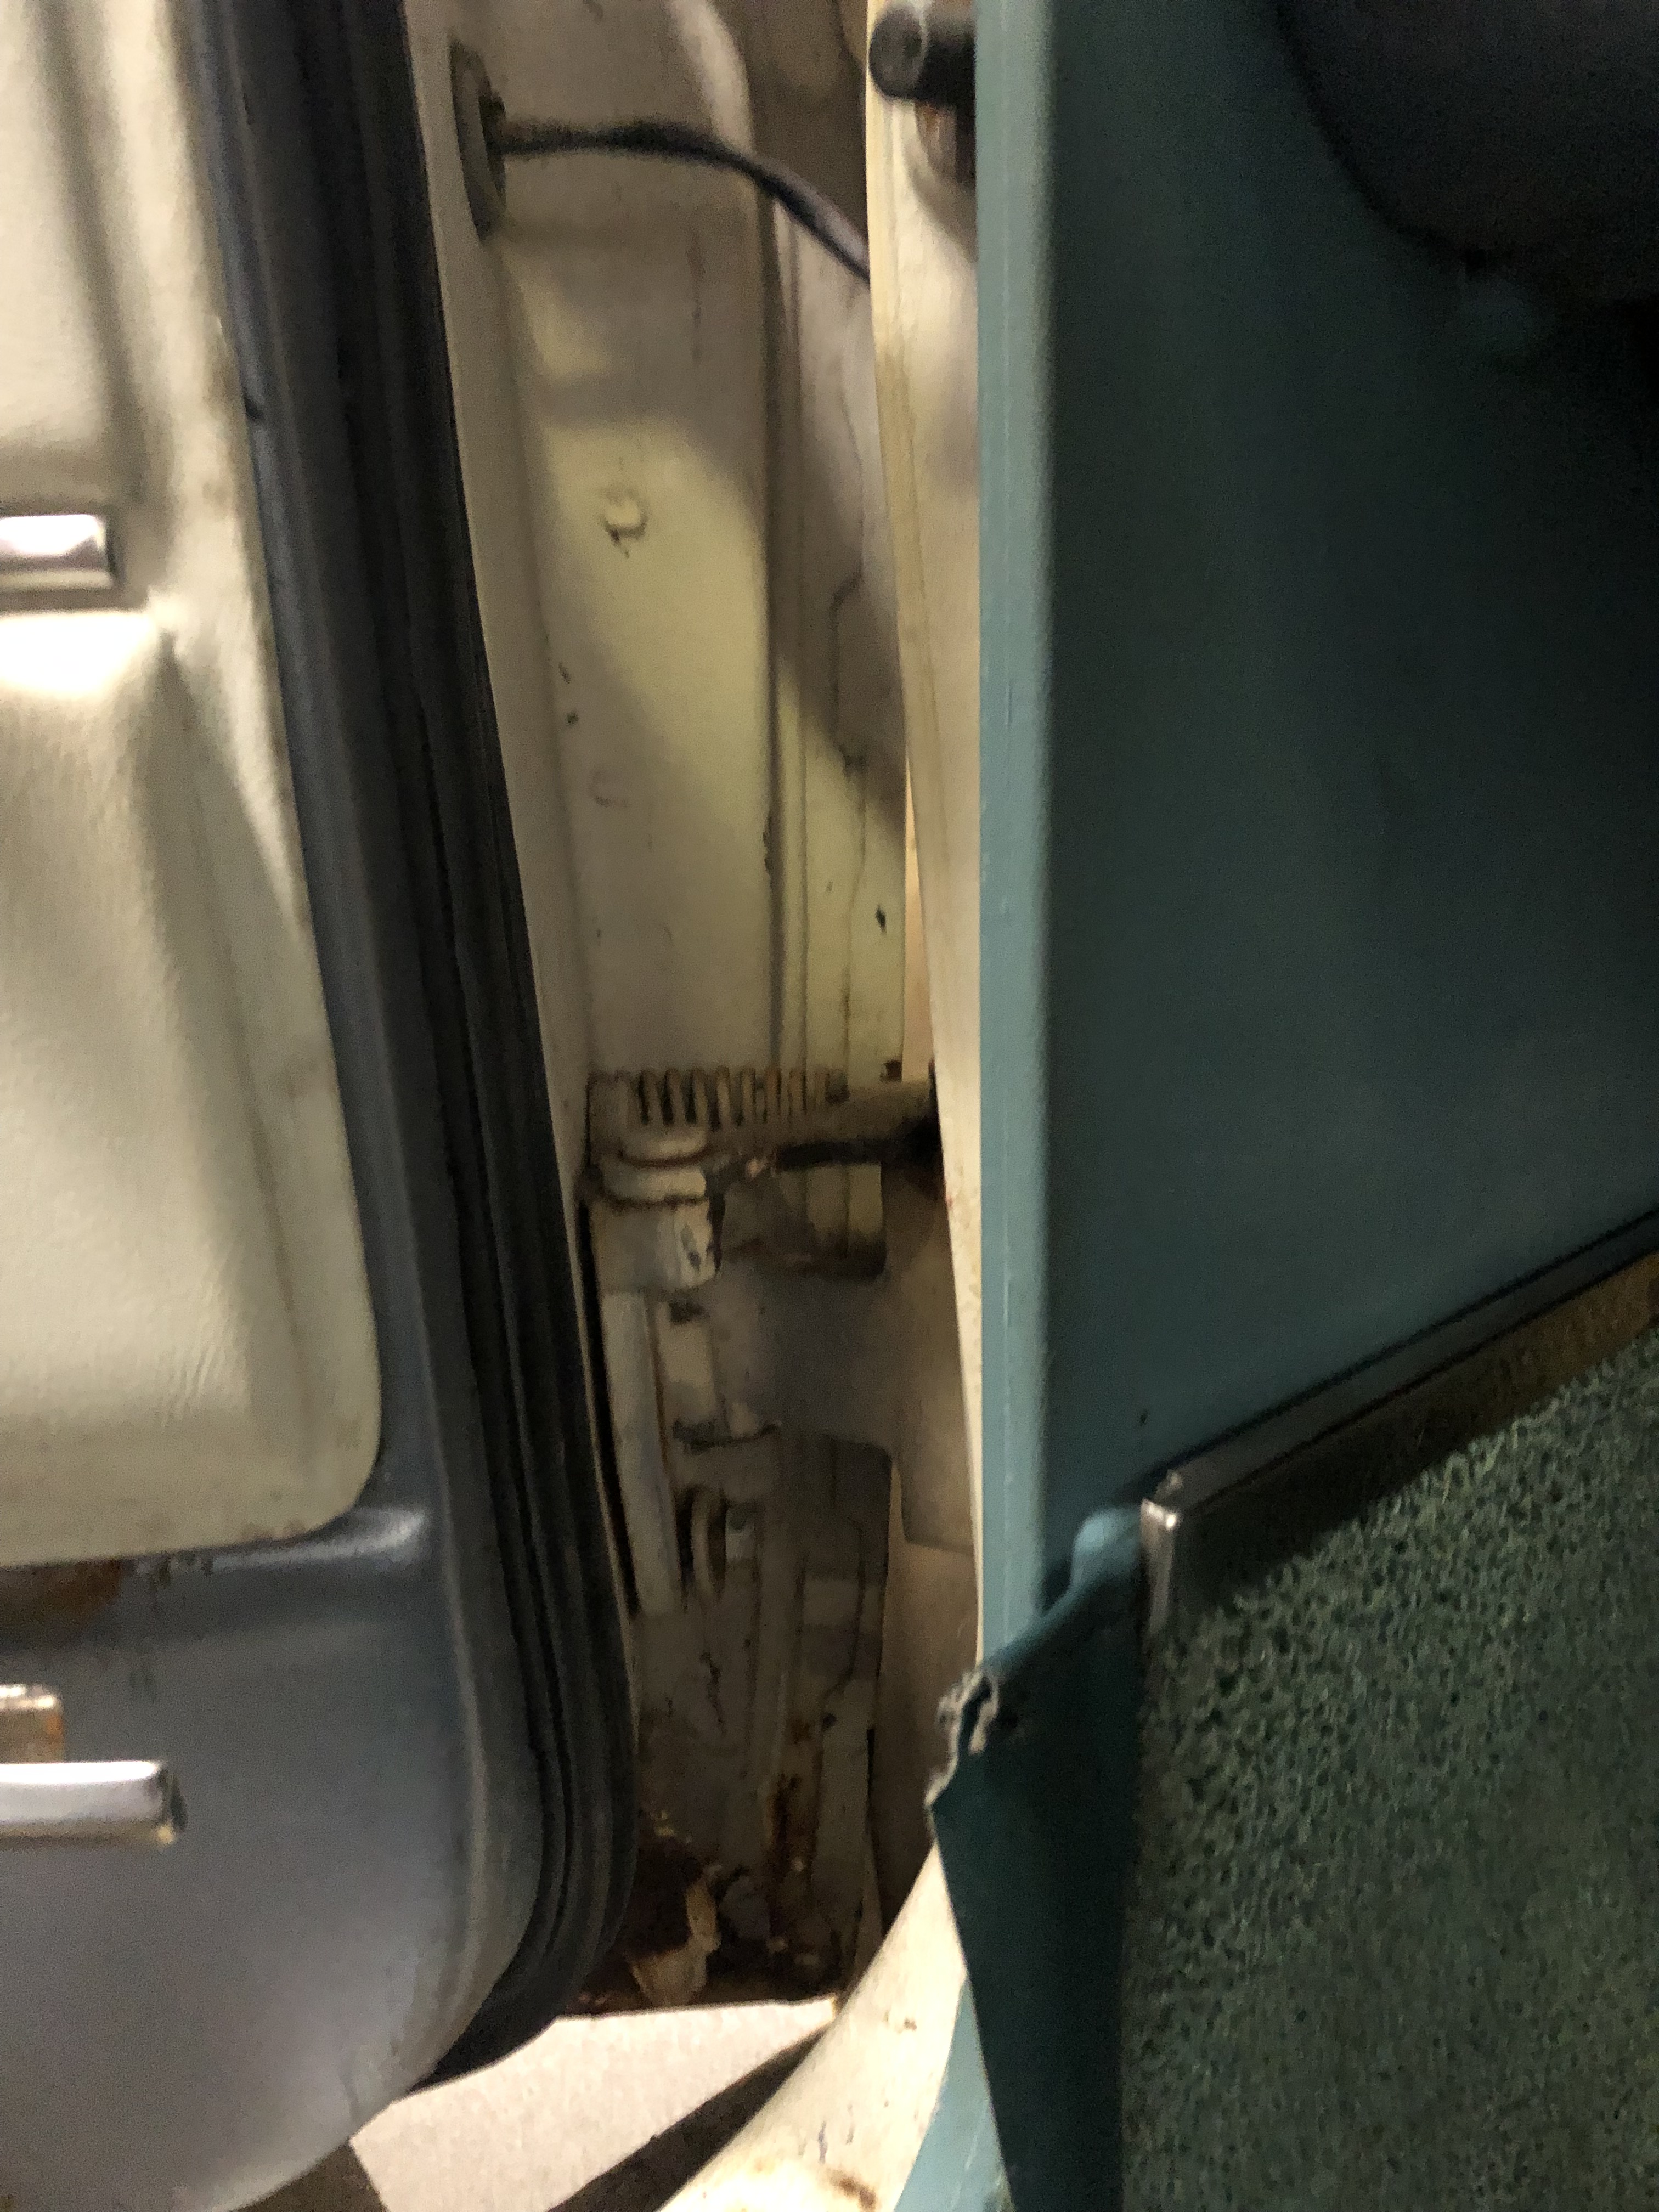
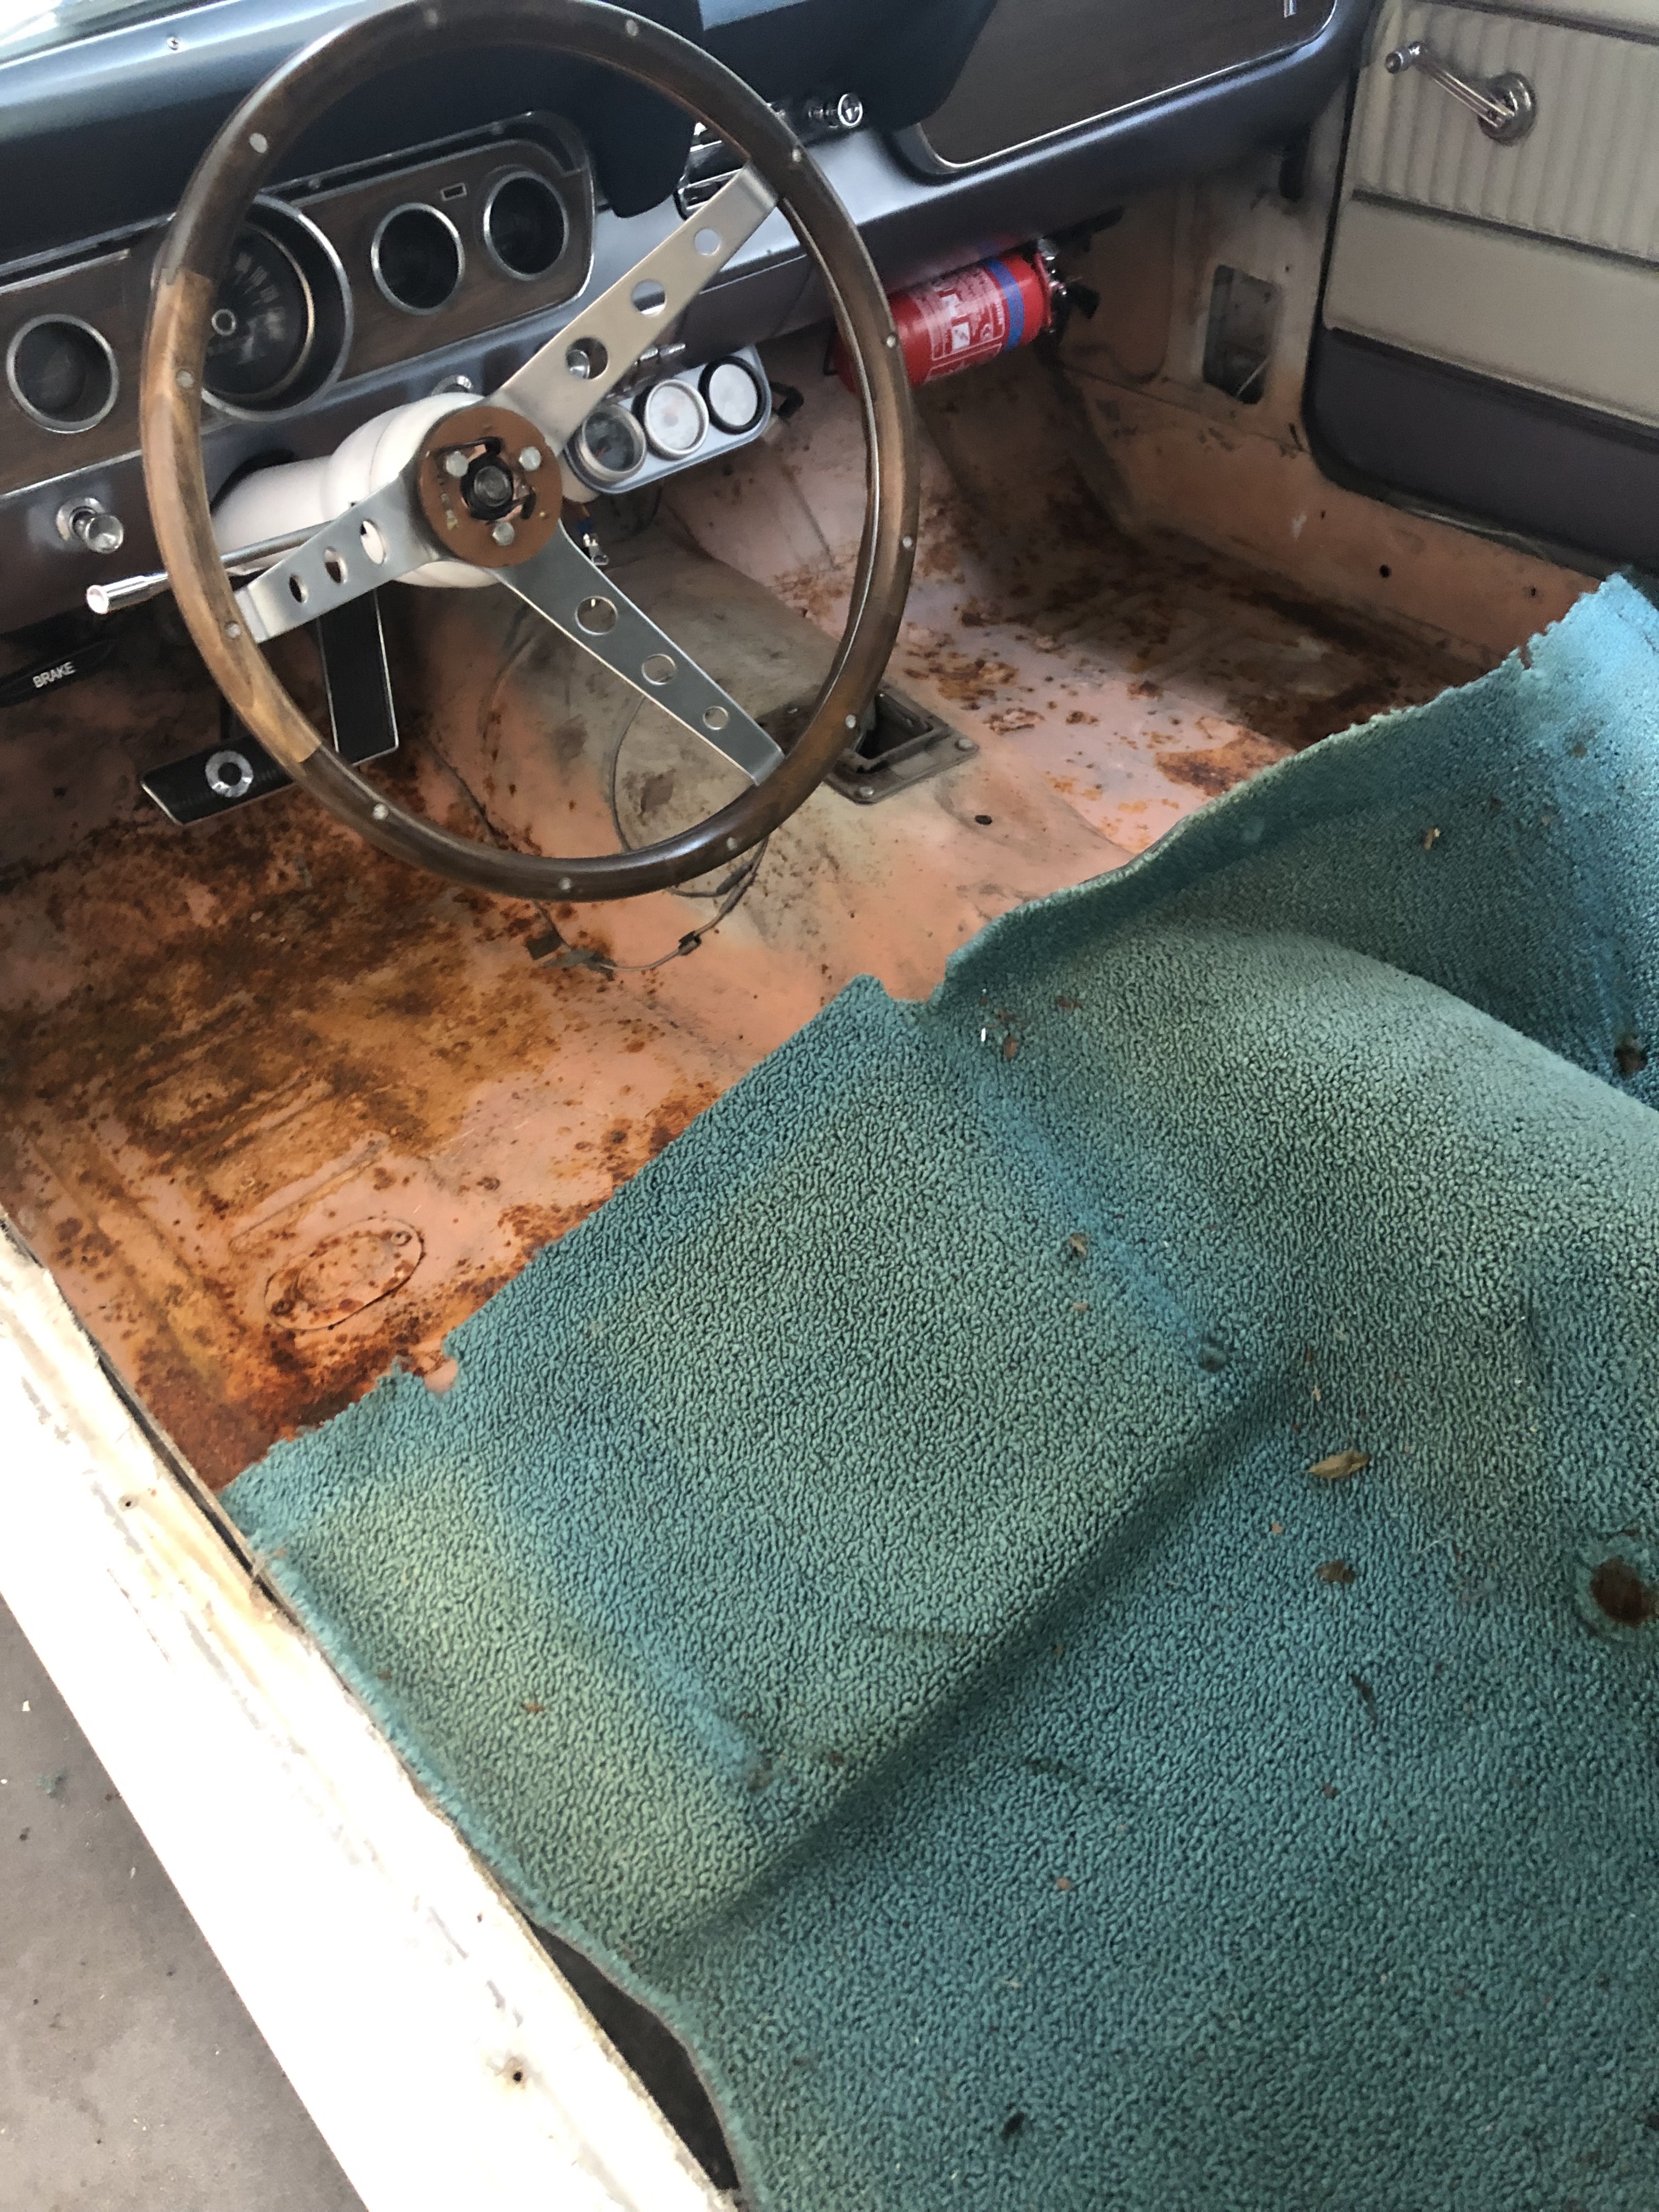
13th September 2021 – Well, it’s worse than I thought. The floor has twisted forcing the drivers side floor up. I’m in the middle of removing the seats and carpets to get a good look and then work out what can be done.
Tear Down
The first rust job I’m going to tackle is the replacement of the drivers side floor brace, which is an extension of the front frame rail. The one on the car is cracked at the firewall and pretty mangled. I suspect the floorpan is twisting because the chassis isn’t stiff enough. As a side note, 65/66 mustangs didn’t have front torque boxes to aid in chassis stiffness. I’ve decided not to try and fit one as my welding skills are non existent at present but I have ordered a frame rail extension kit which connects both front & rear frame rails together.
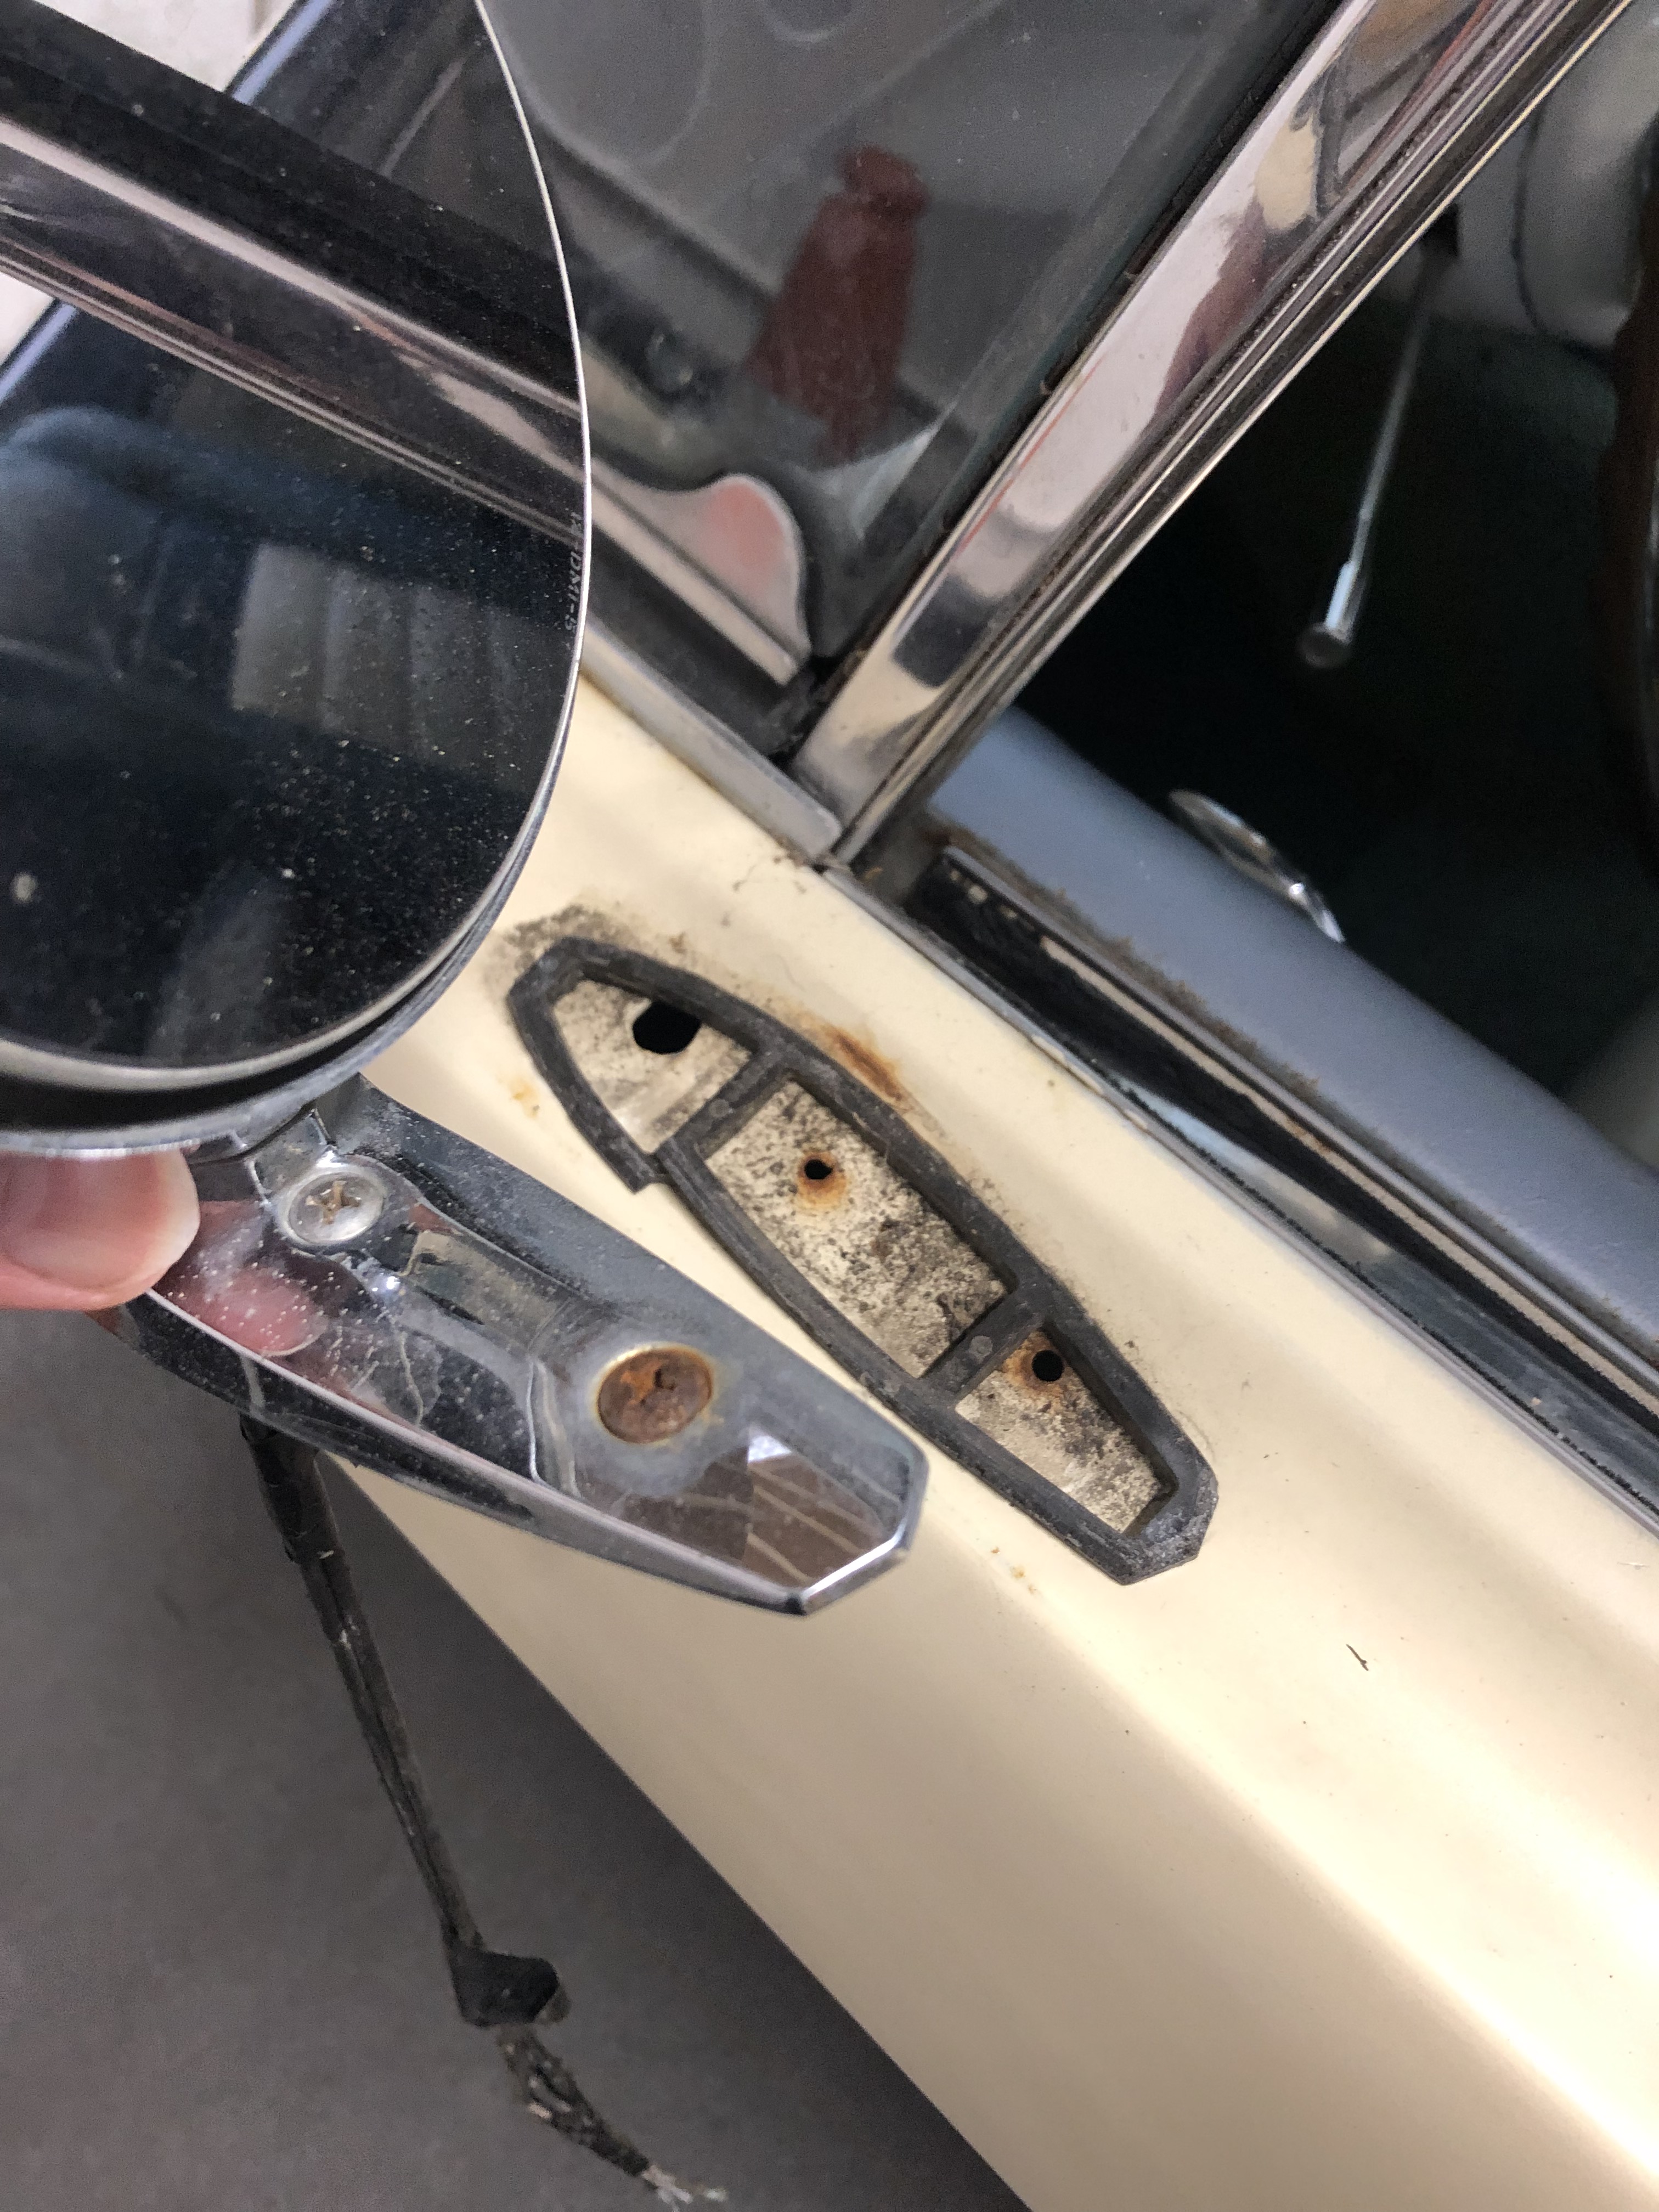
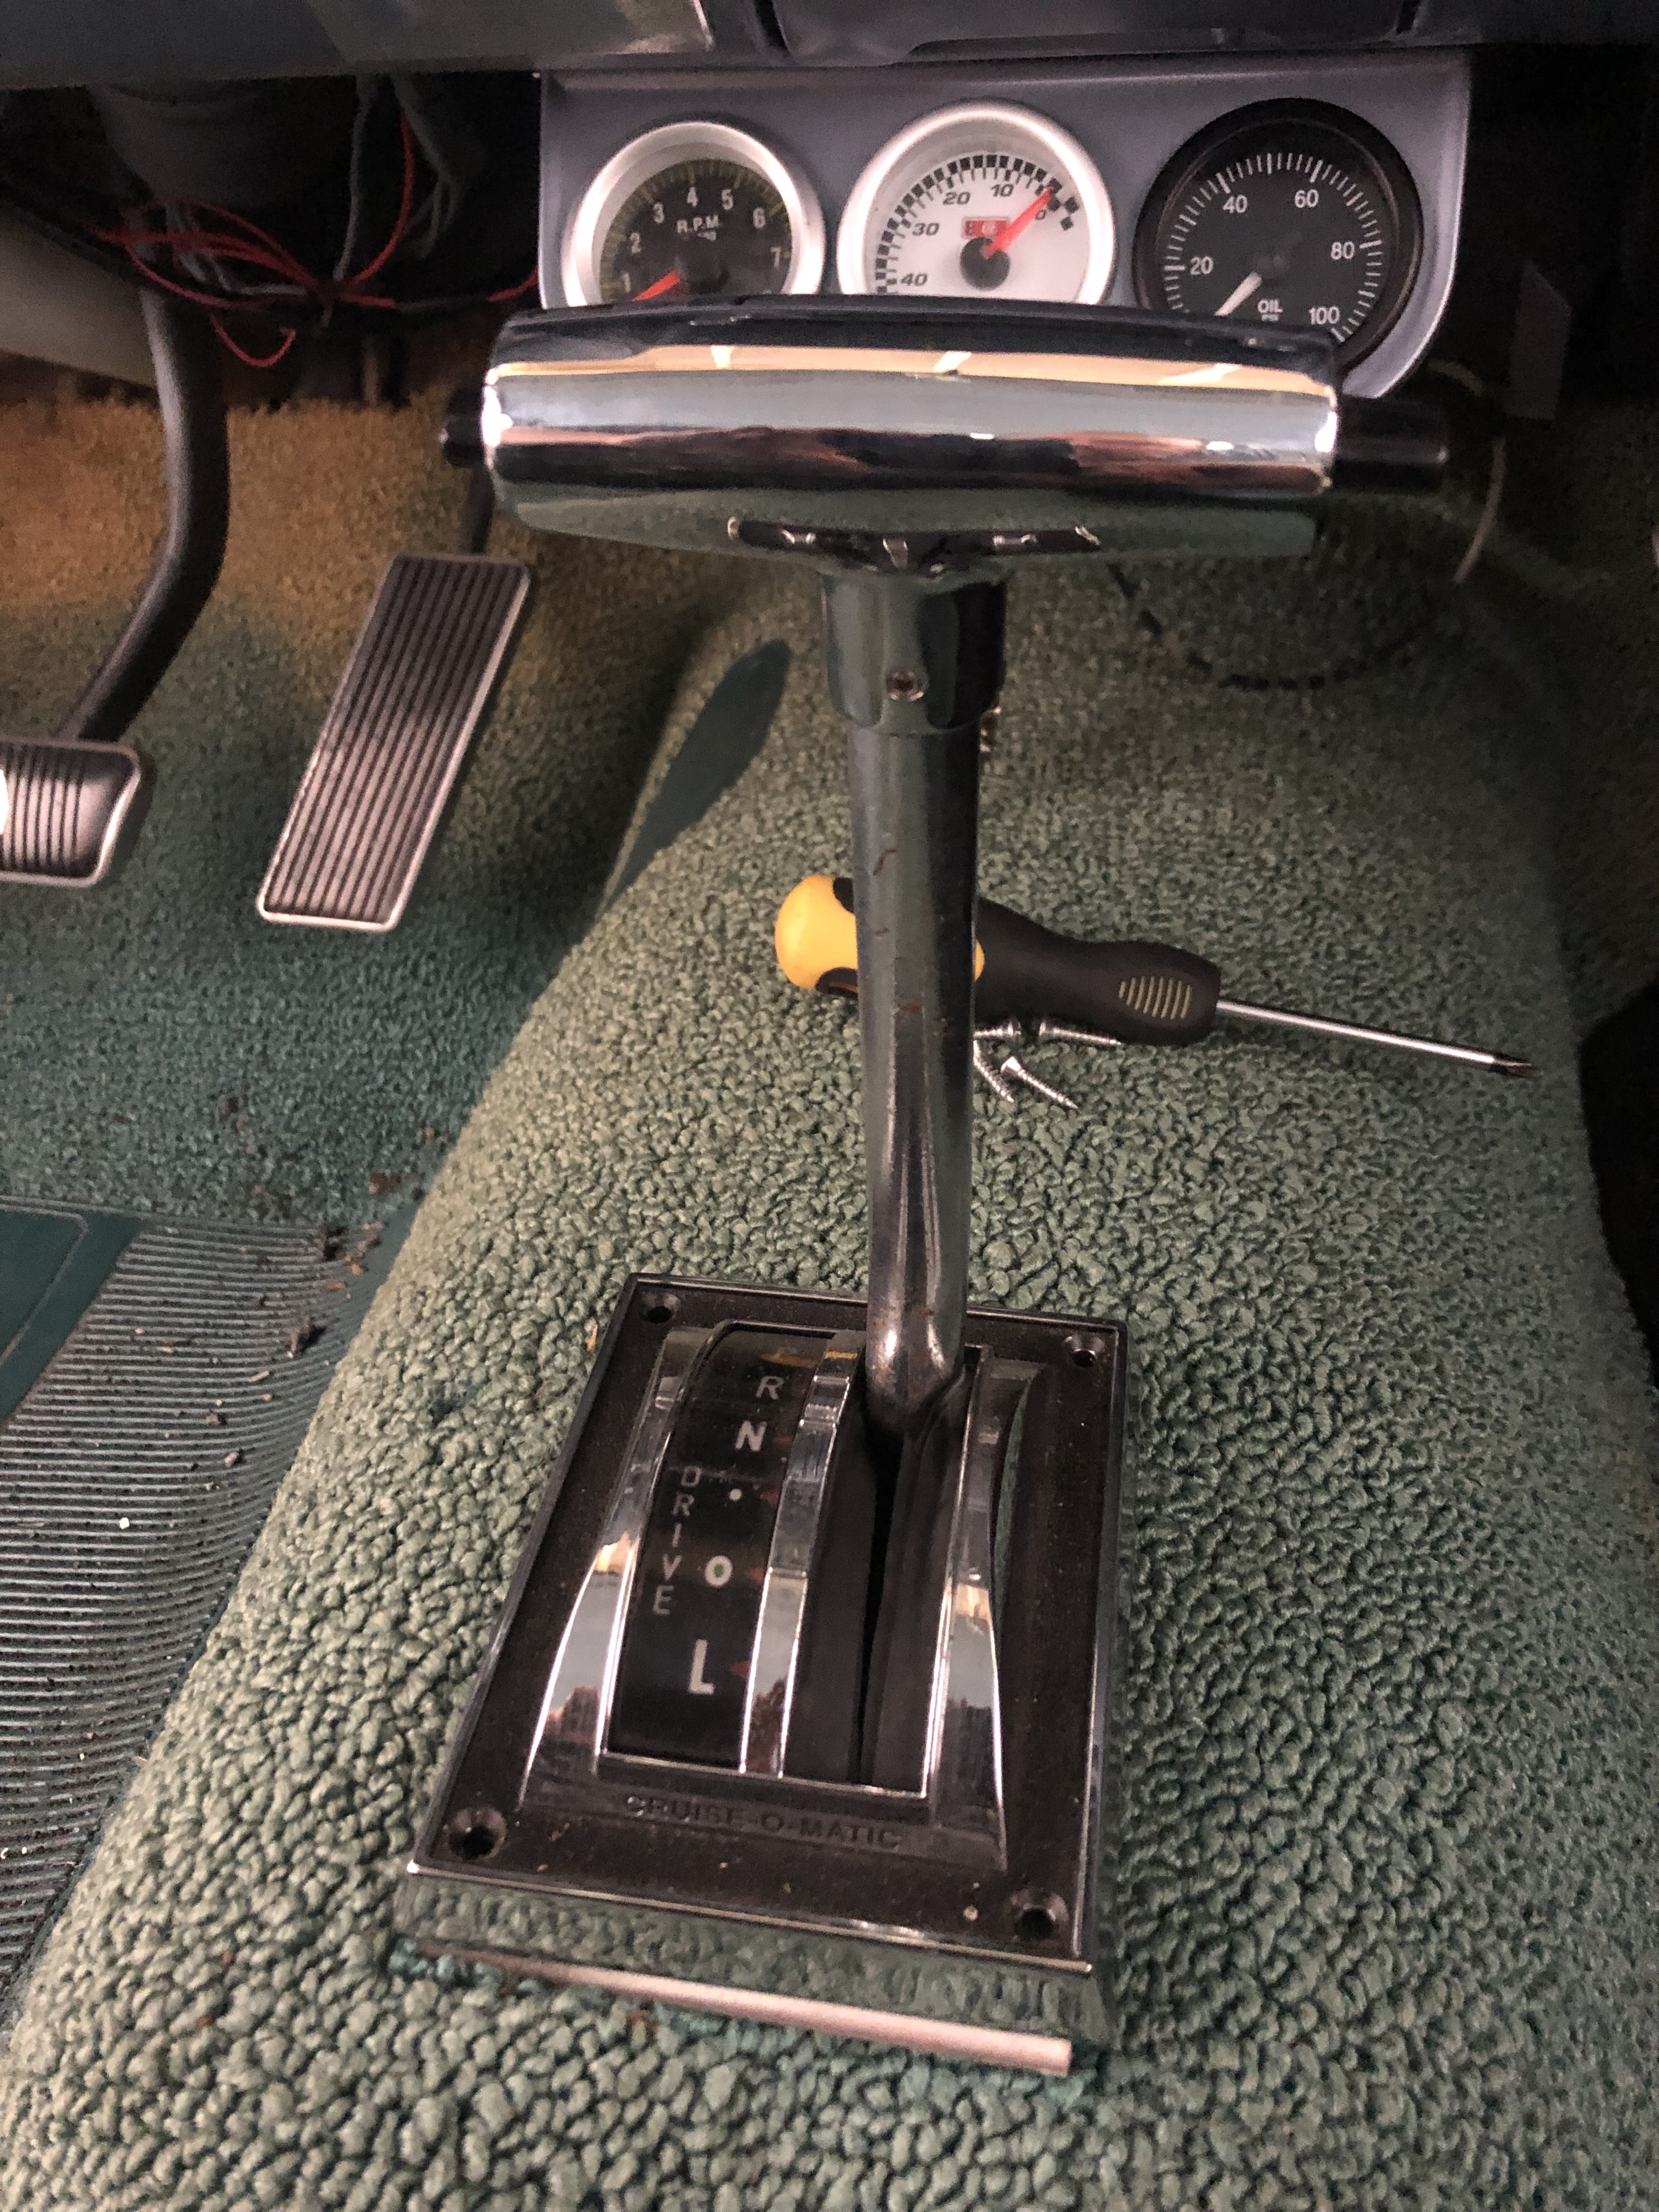
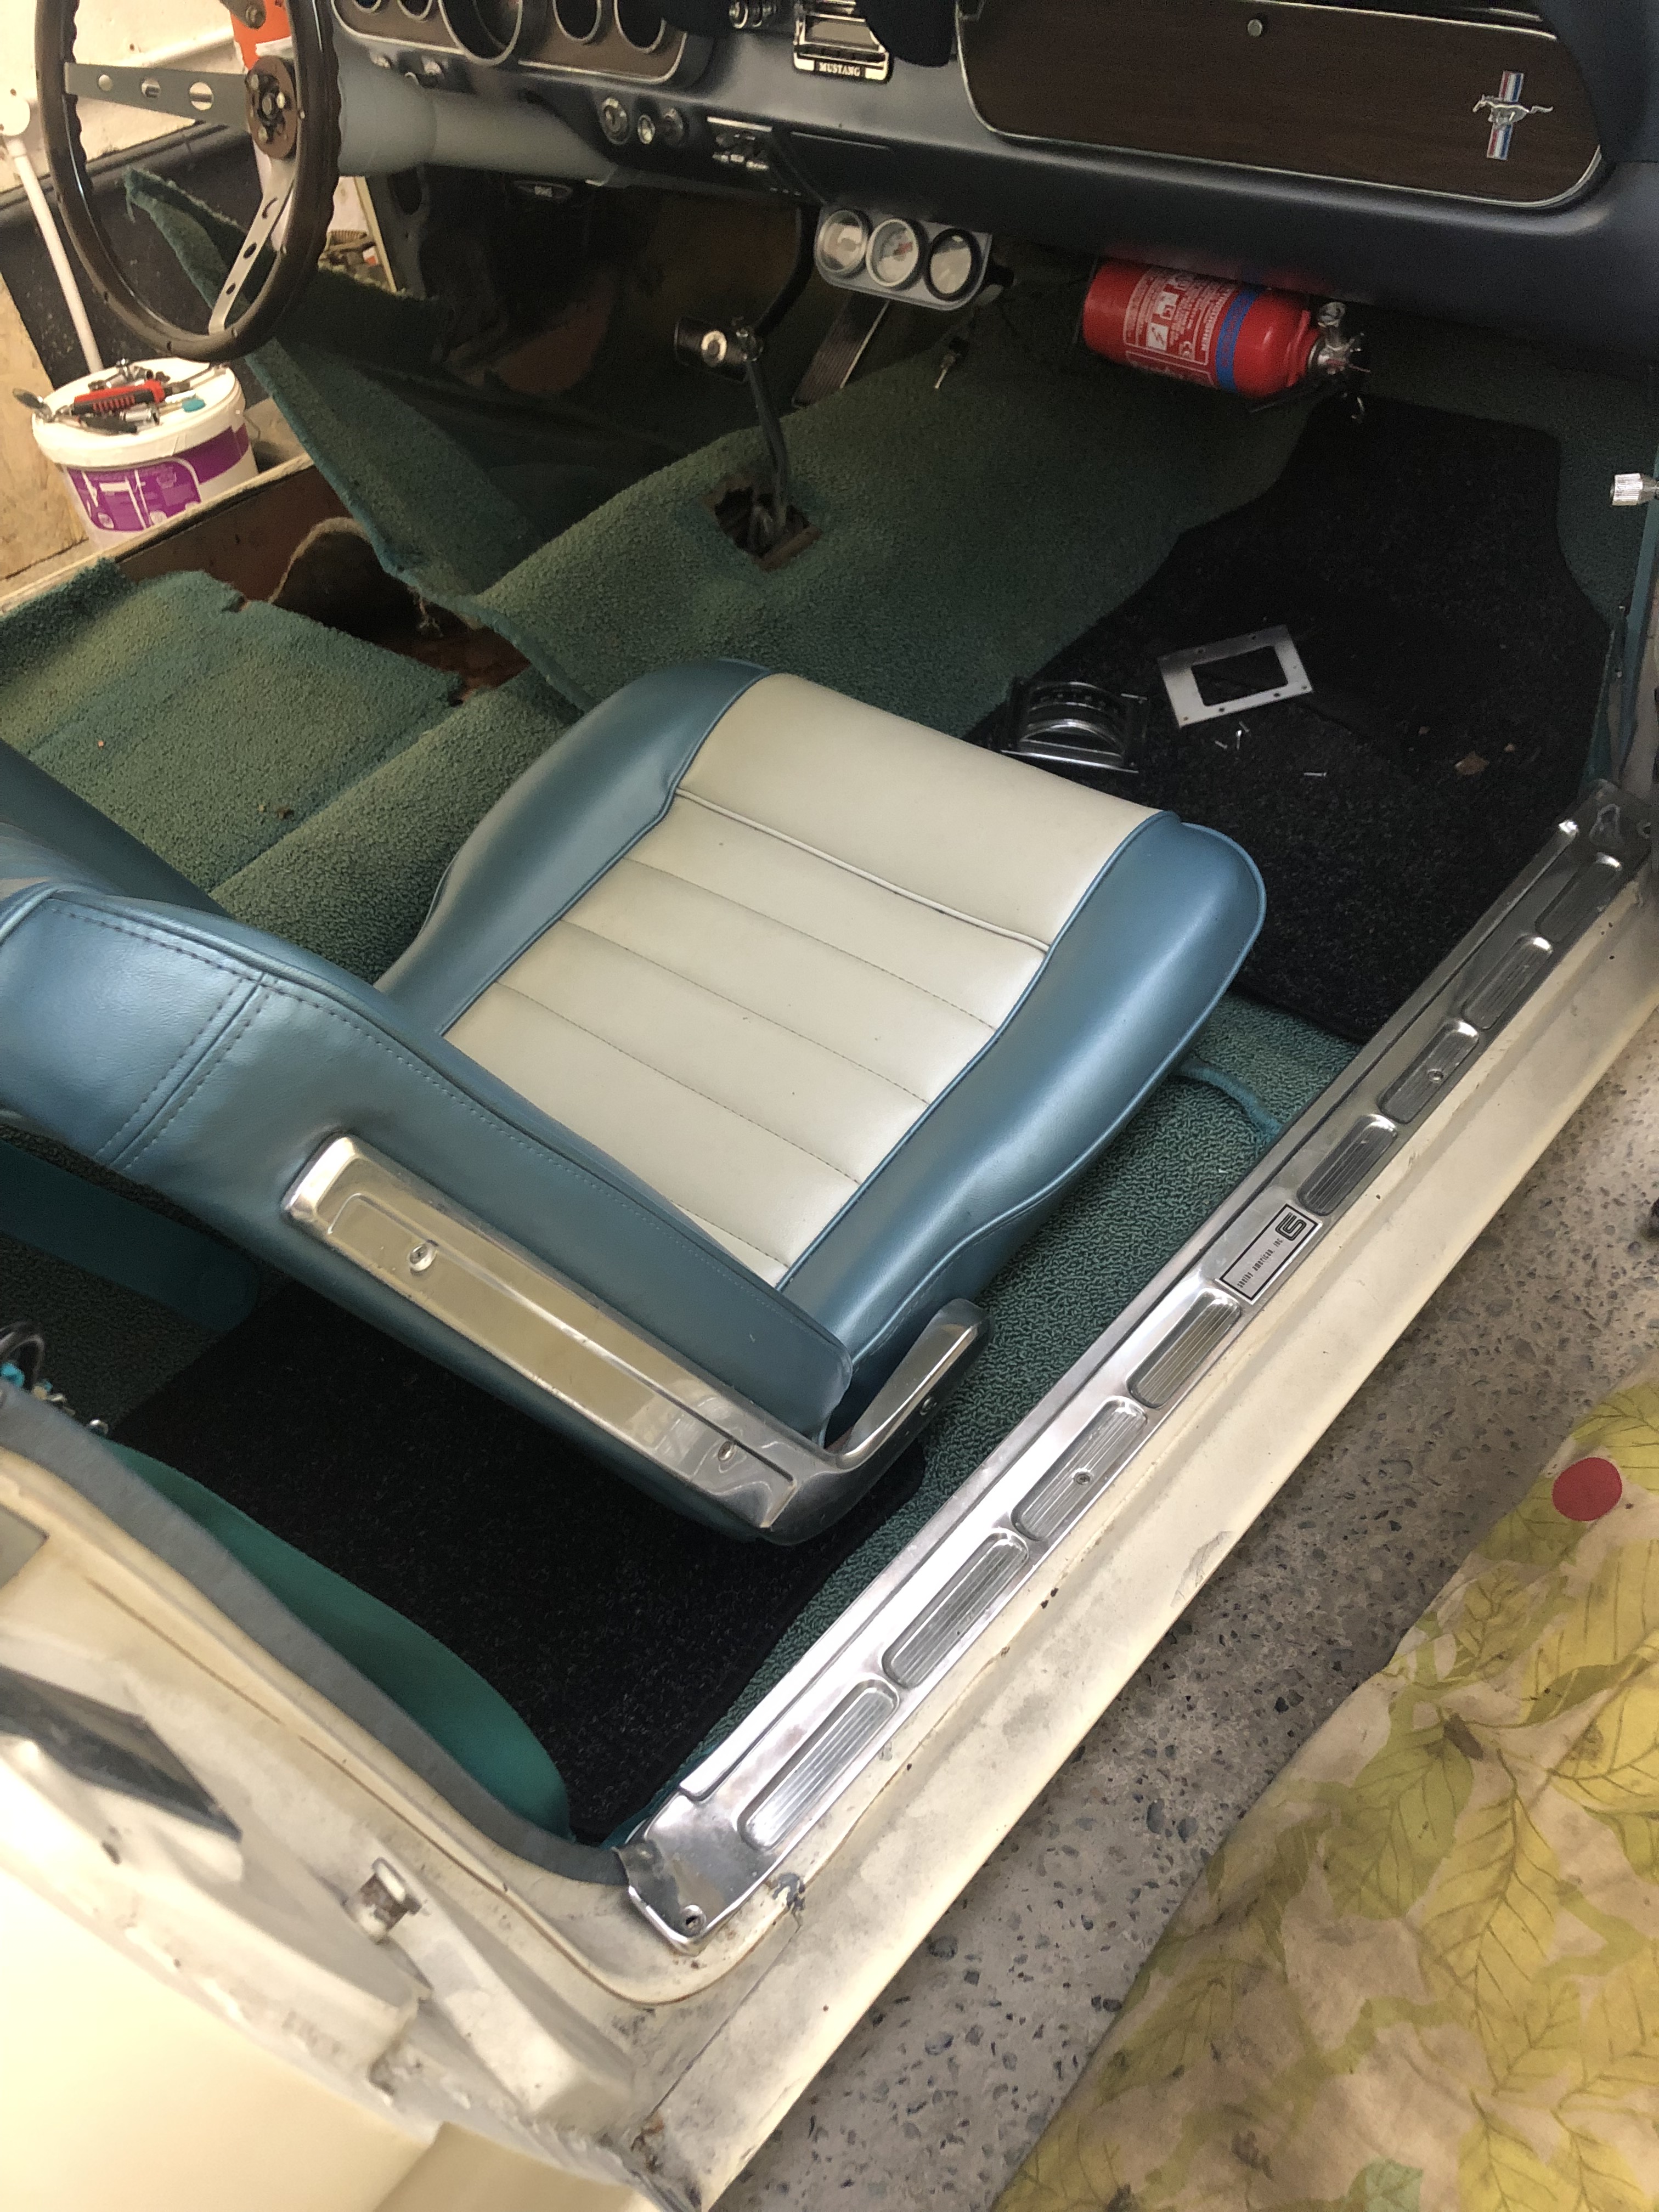
I decided to remove the door to make access easier. I’ll also remove both front seats and carpet. This is the first time I’ve removed a door and as I was doing it myself I braced it at the right level to make it easier. The seats are a pain the a$$ to remove as you need to undo four bolts from under the car. Thankfully I replaced the carpet when I first got the car so the nuts were not rusted. The rubber plugs did were ok also but the last bolt on the passenger side just refuses to budge at present.
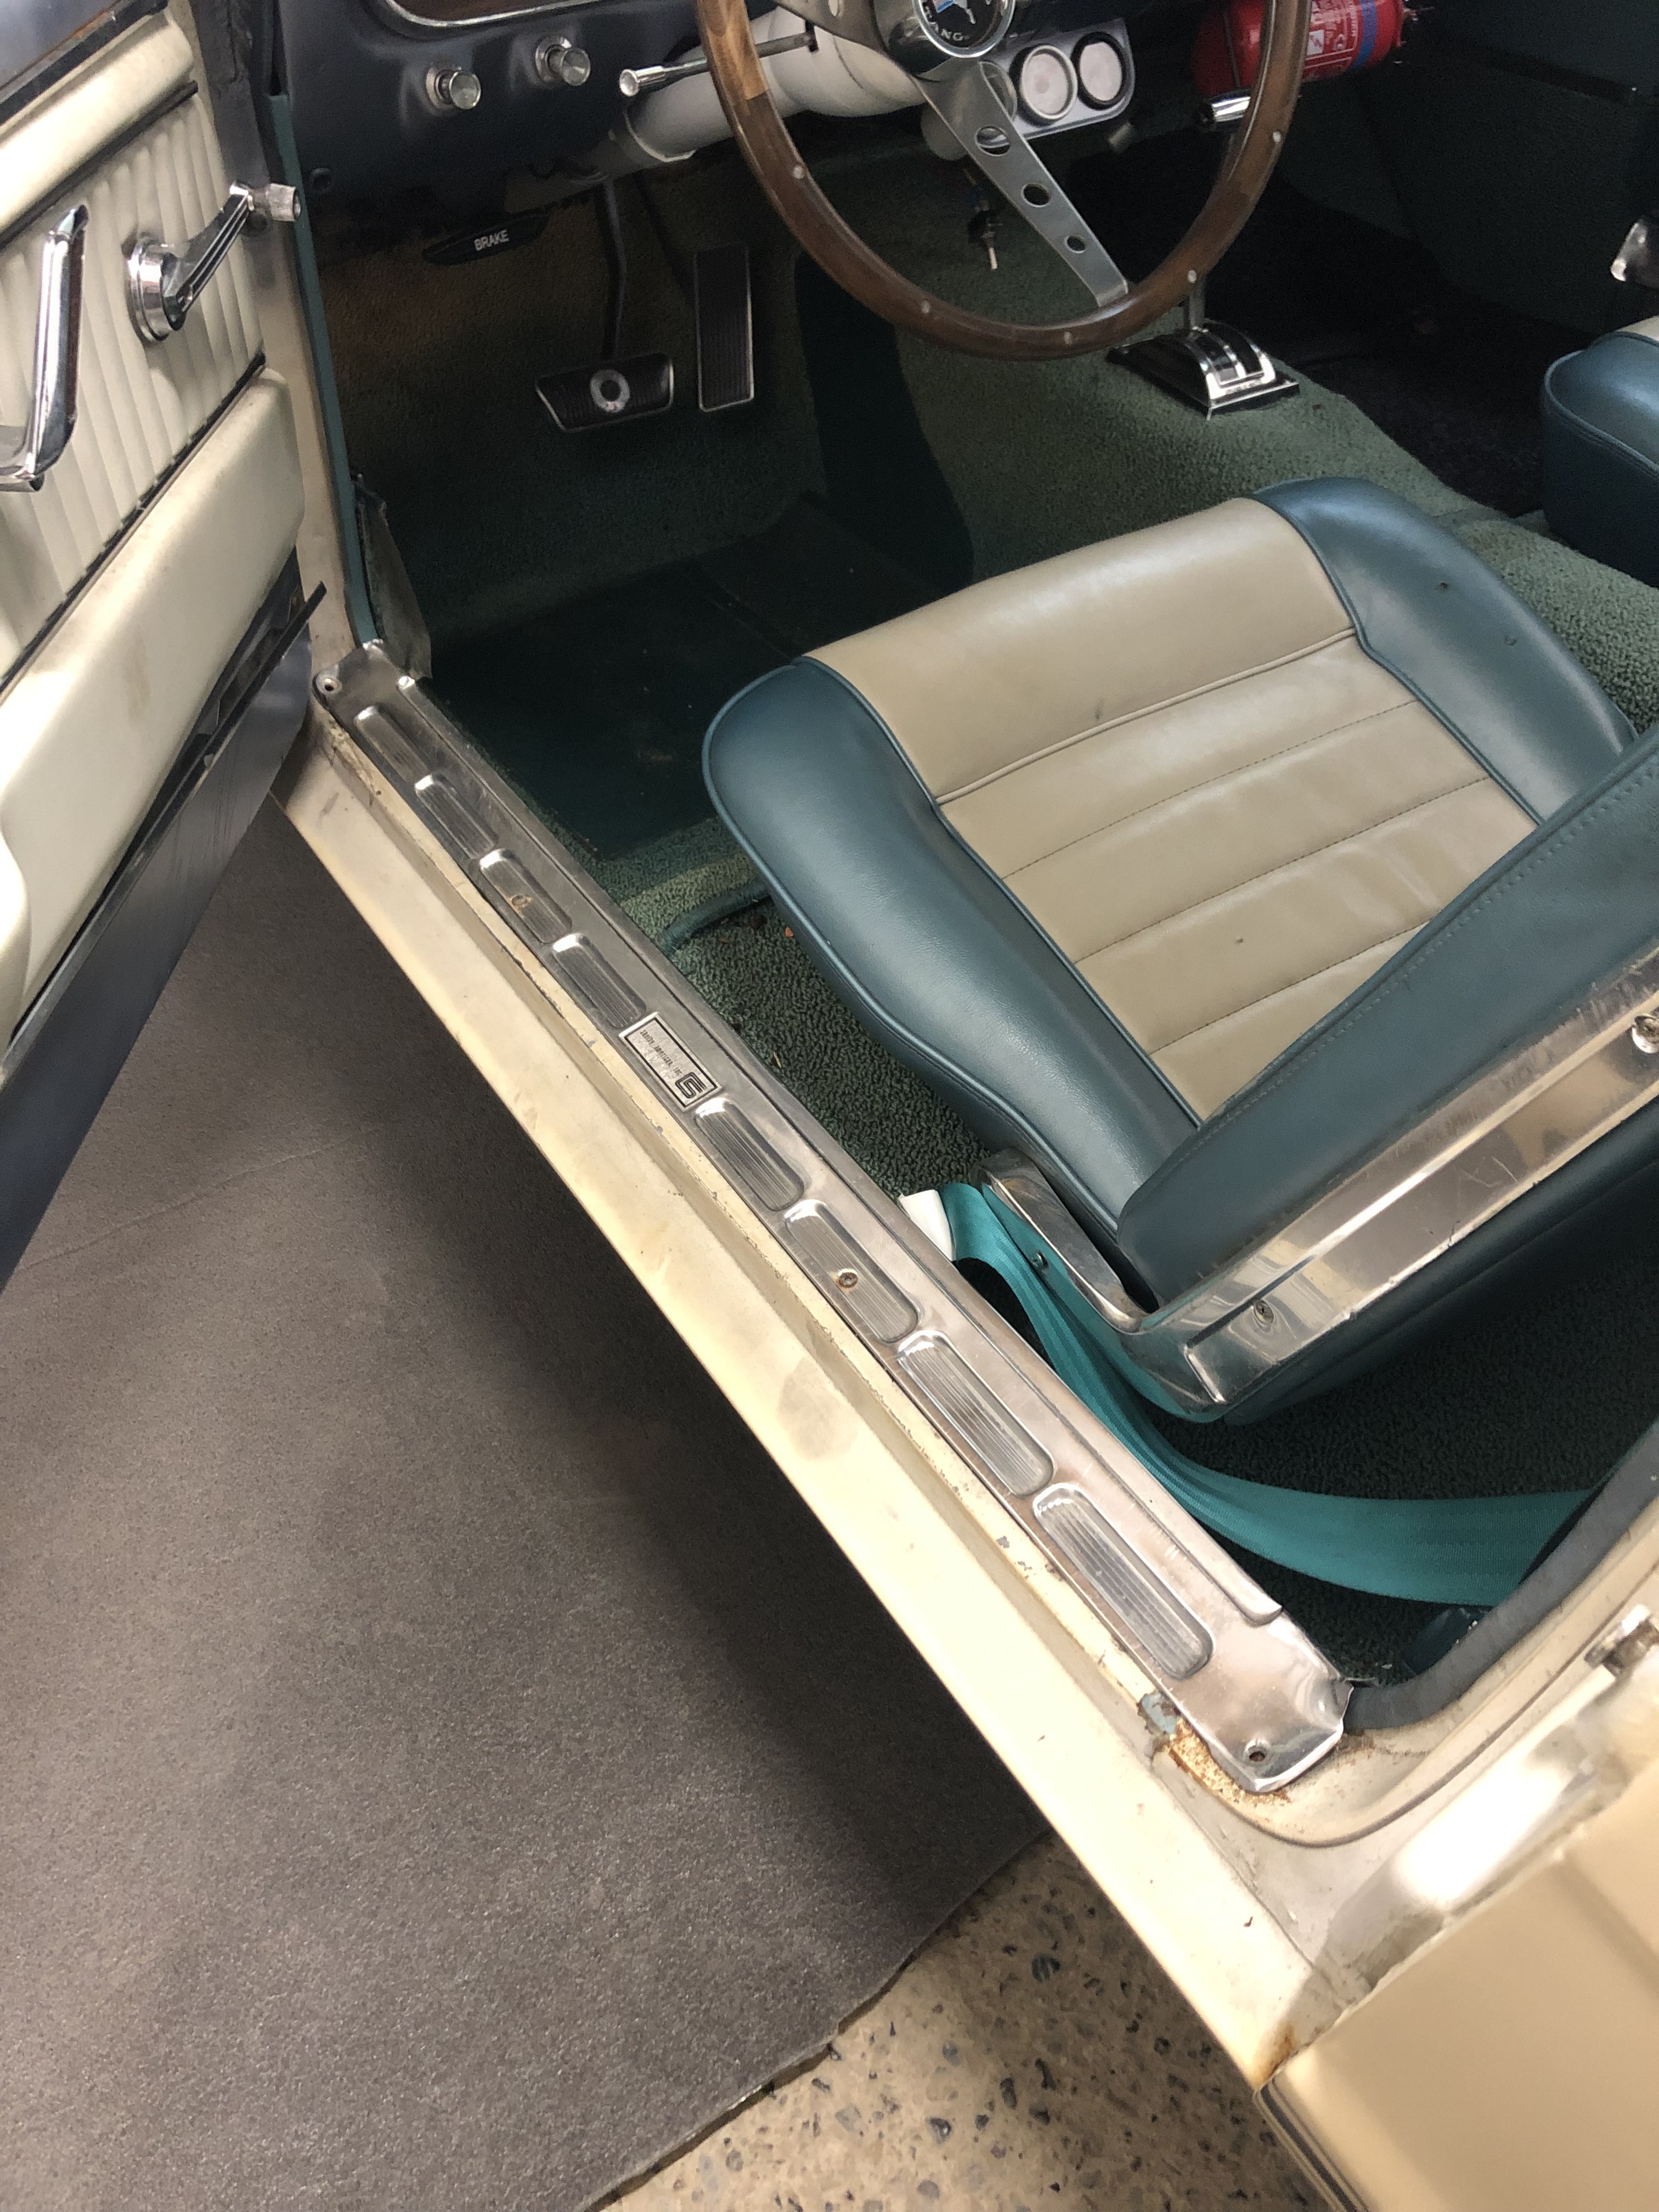
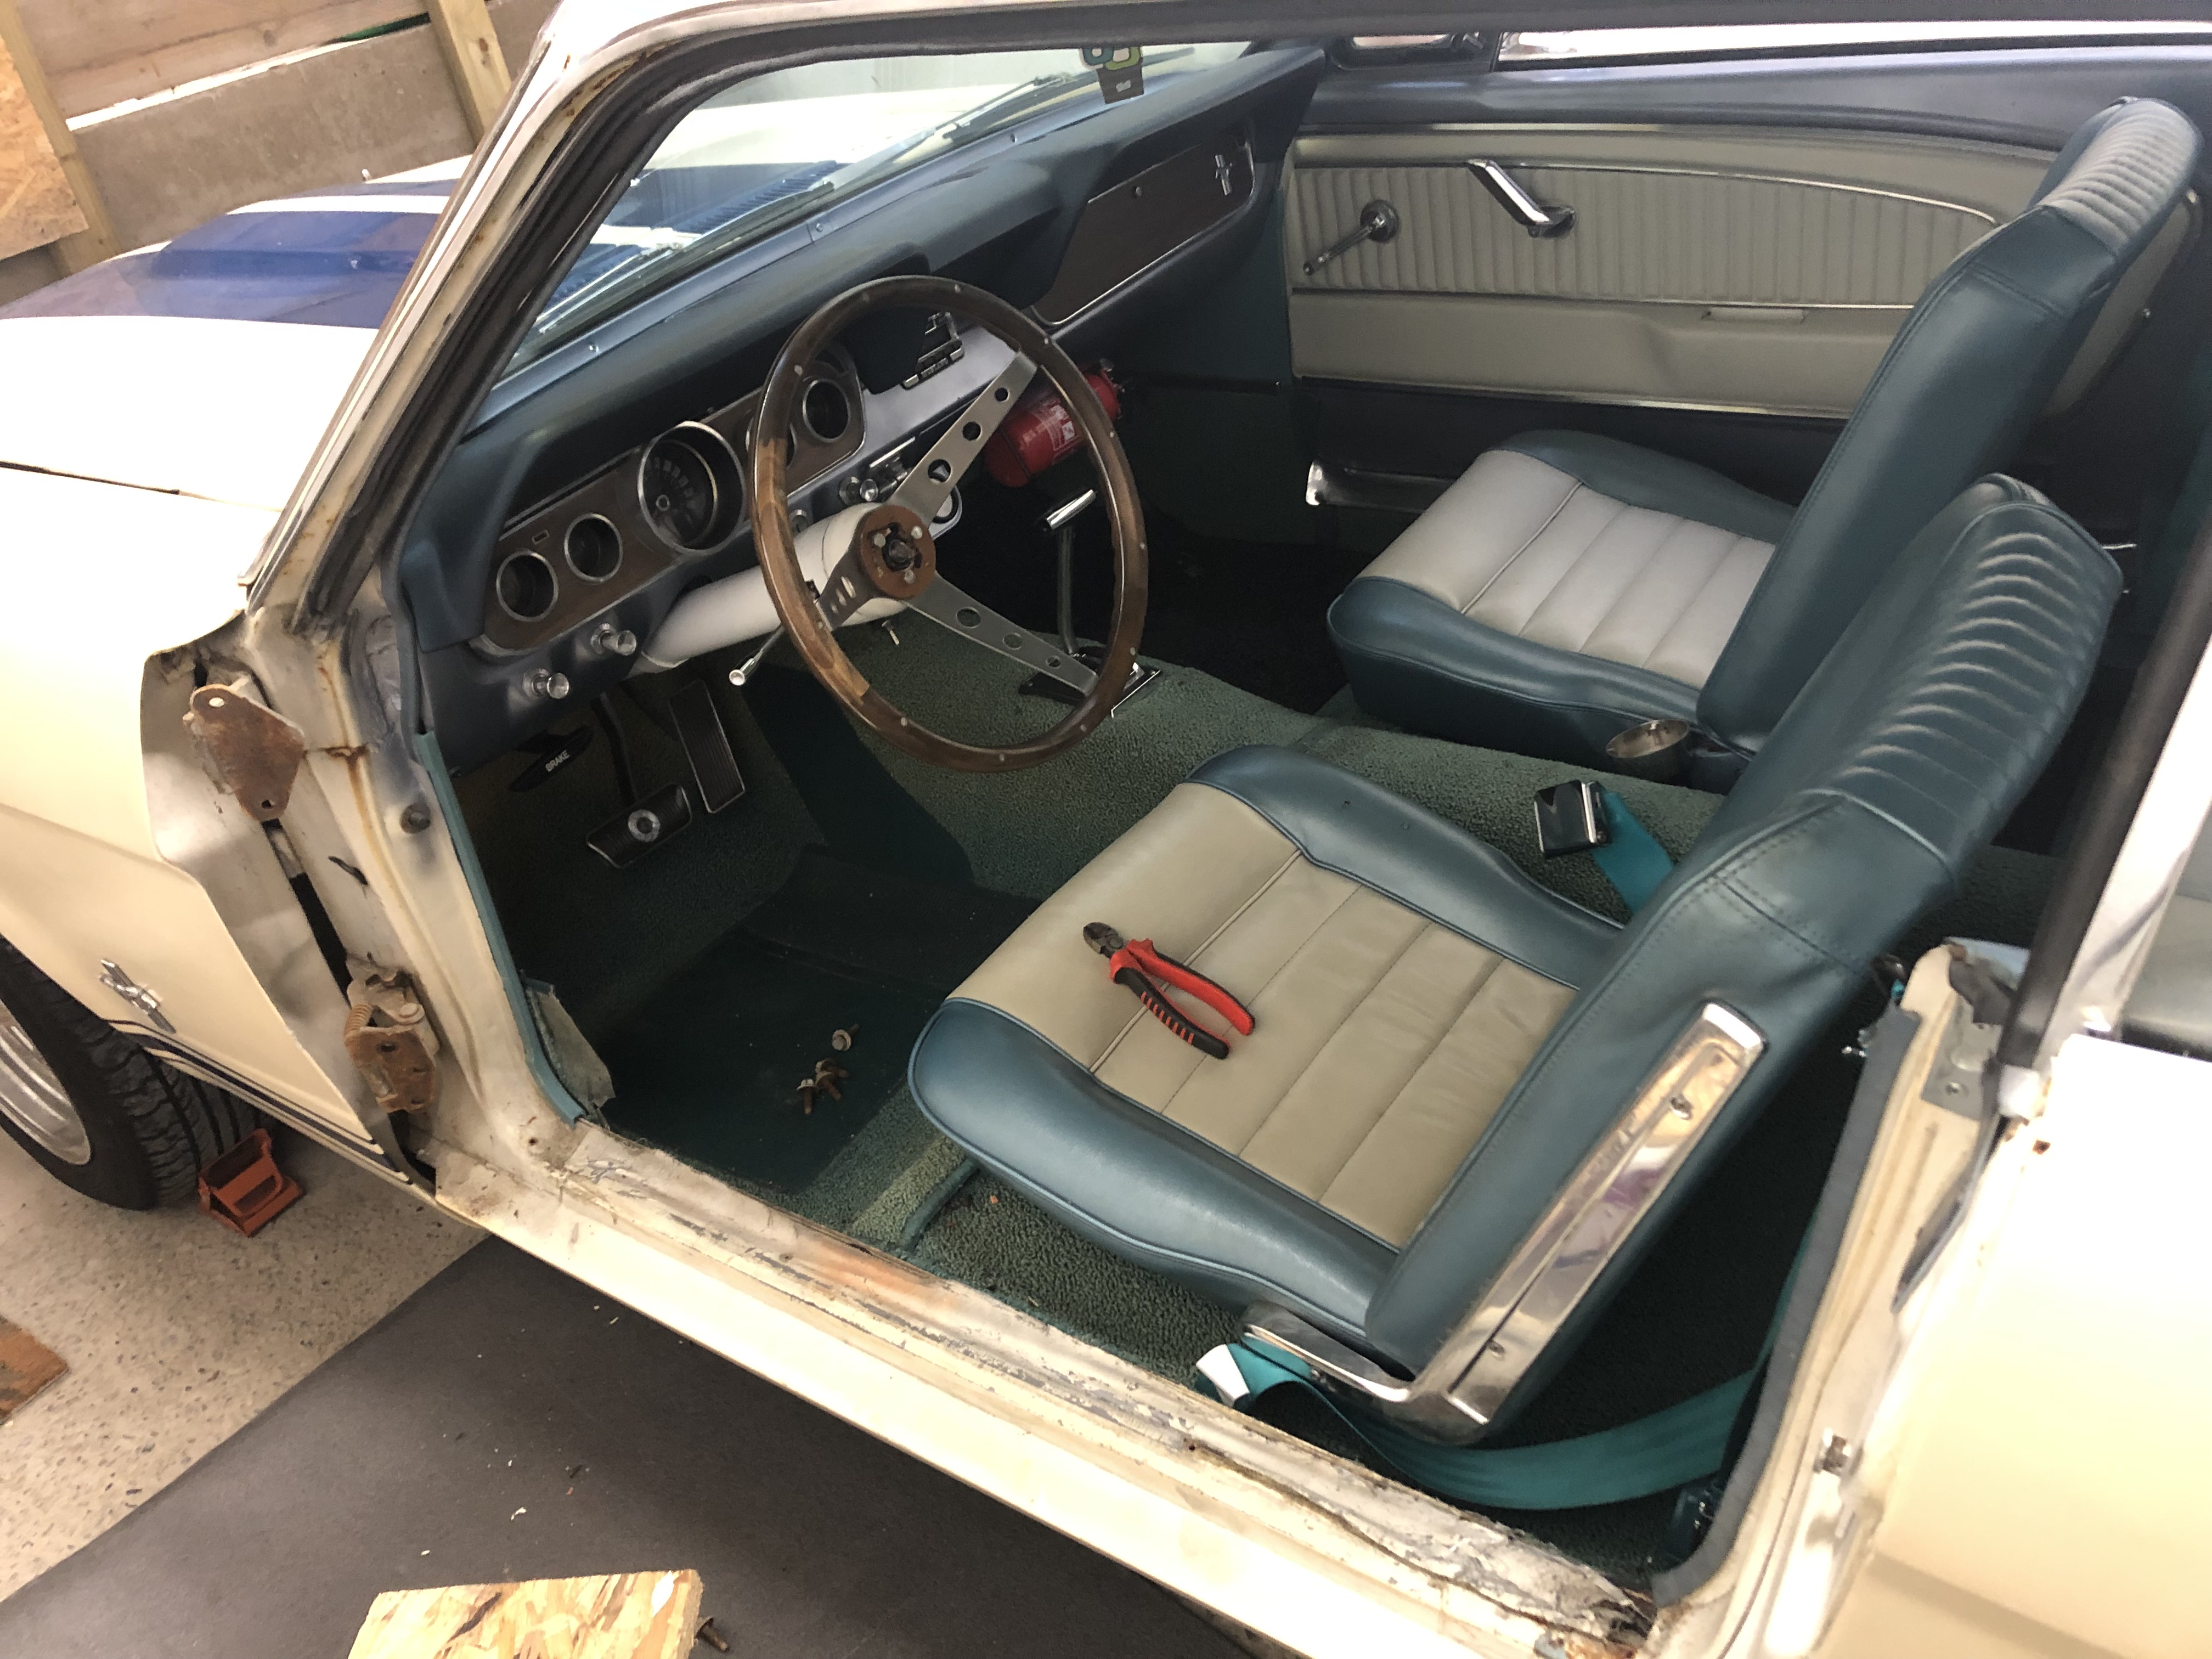


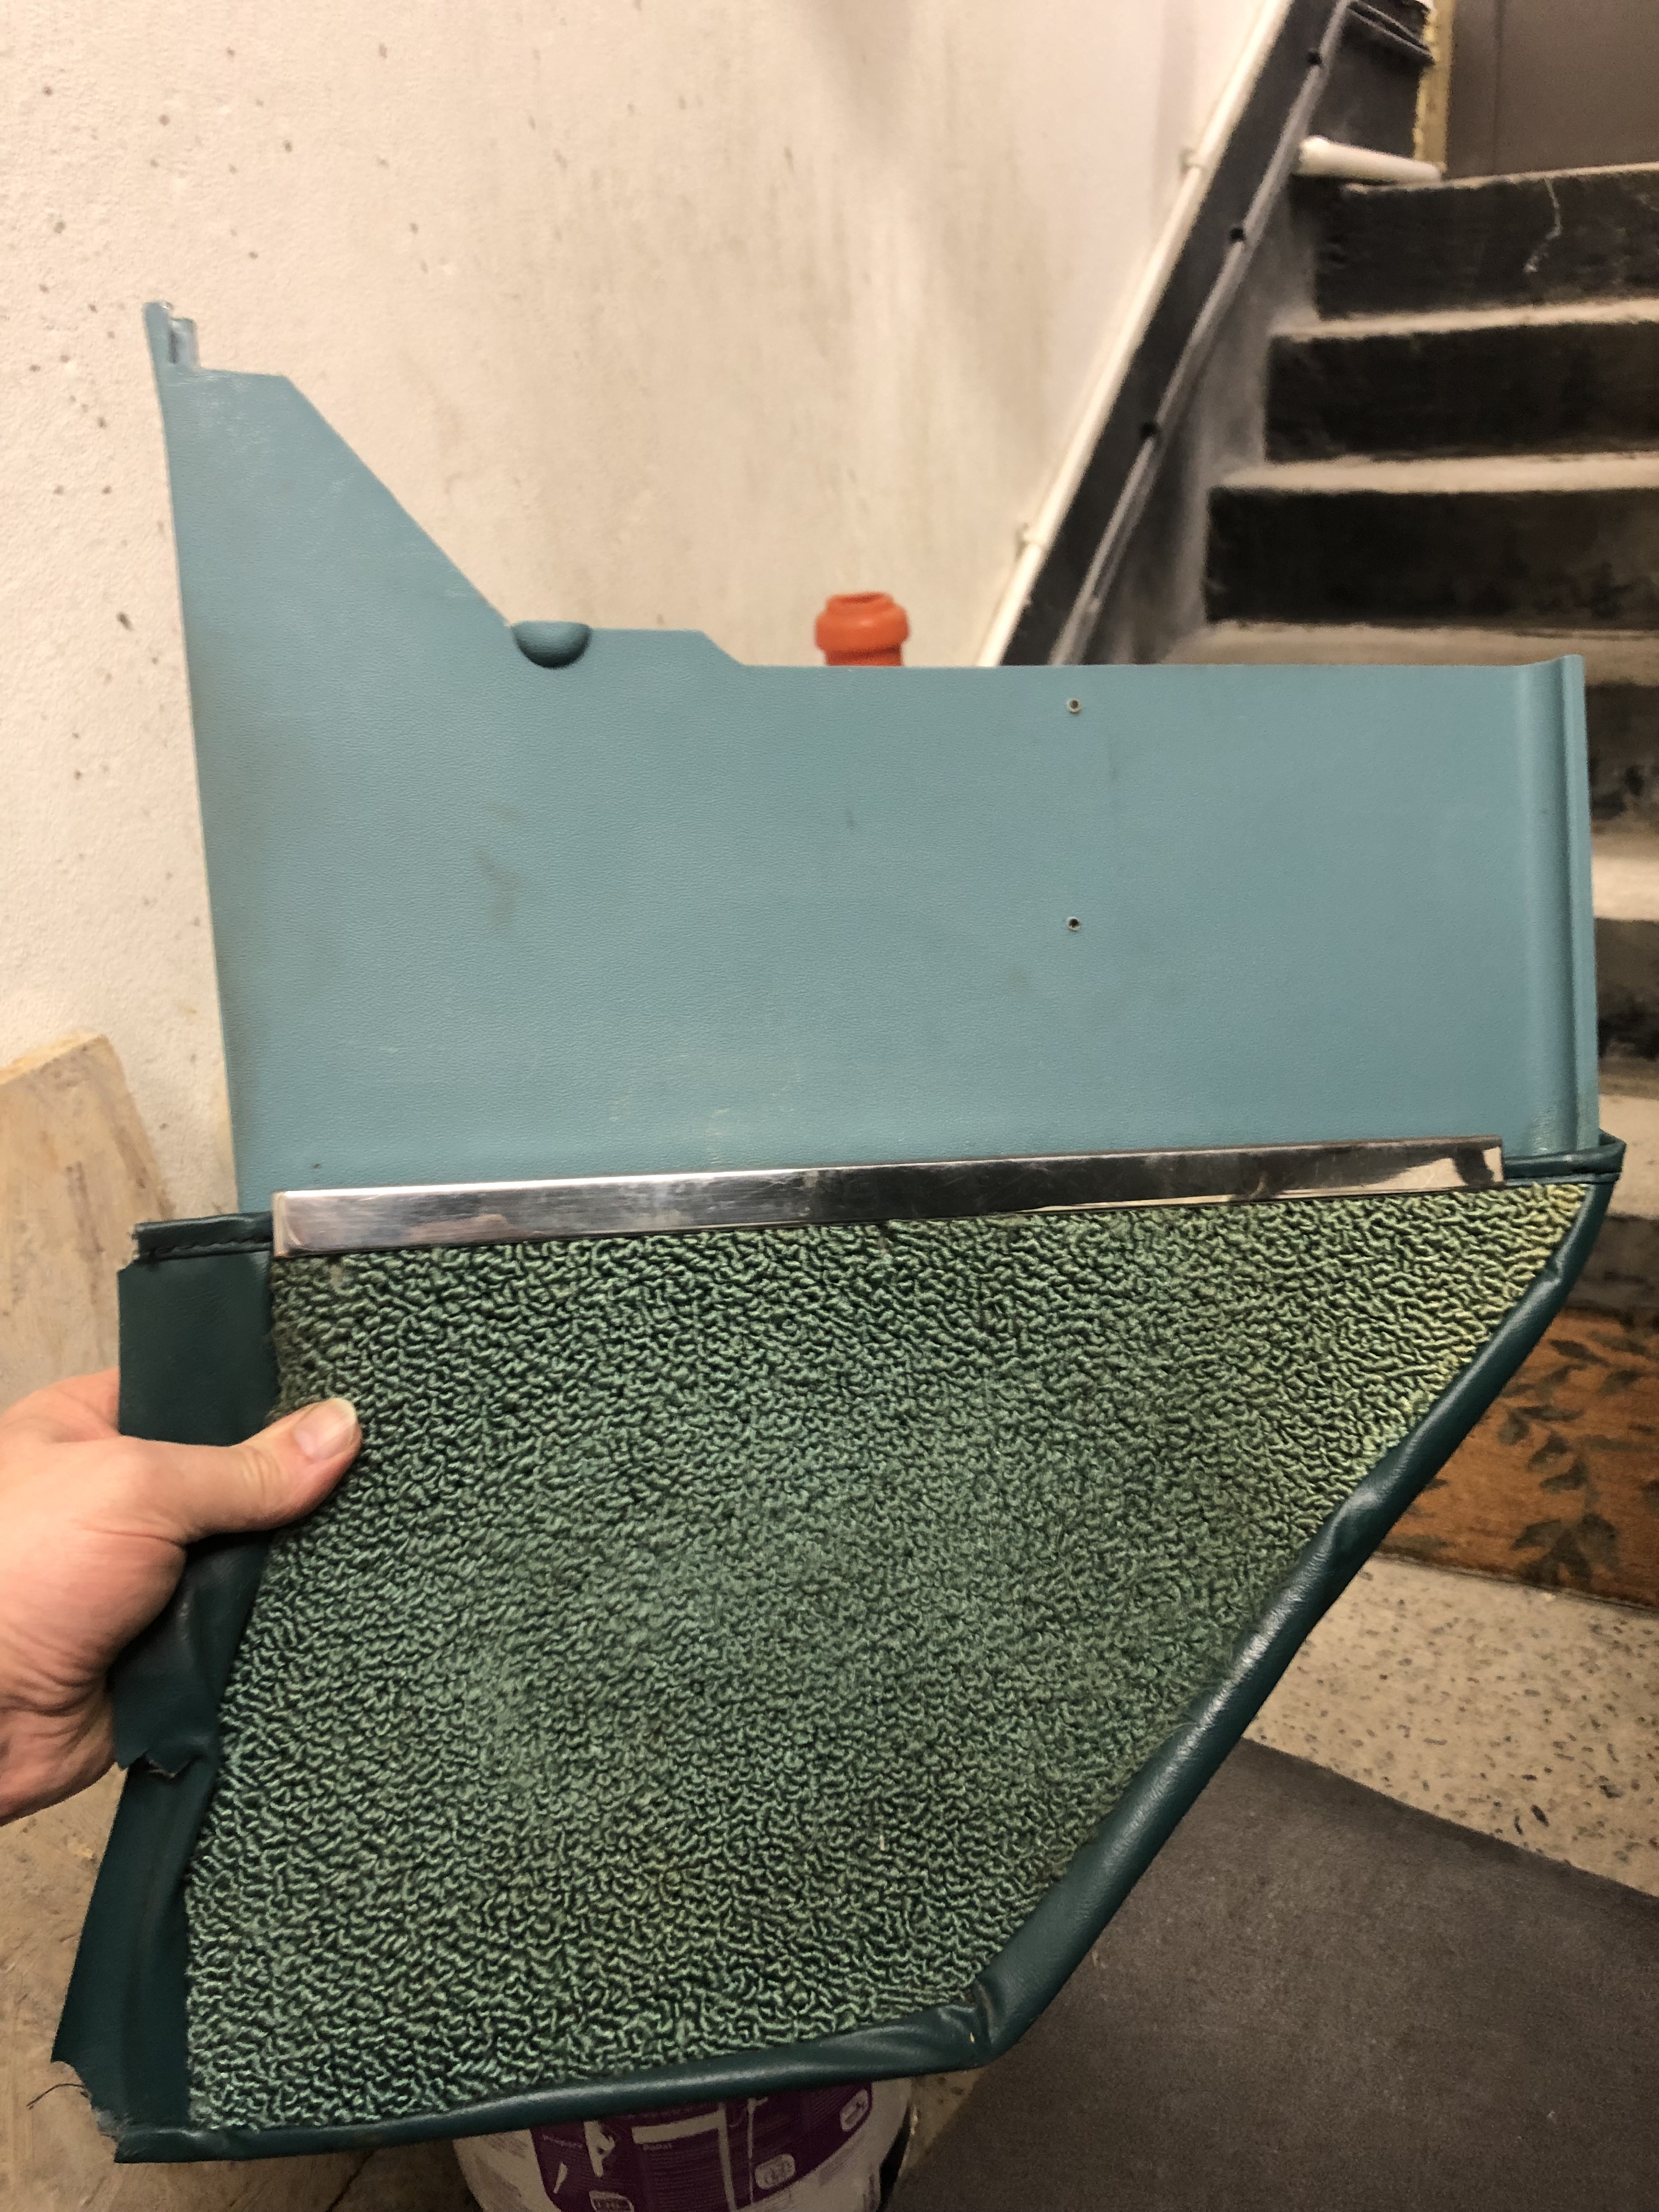


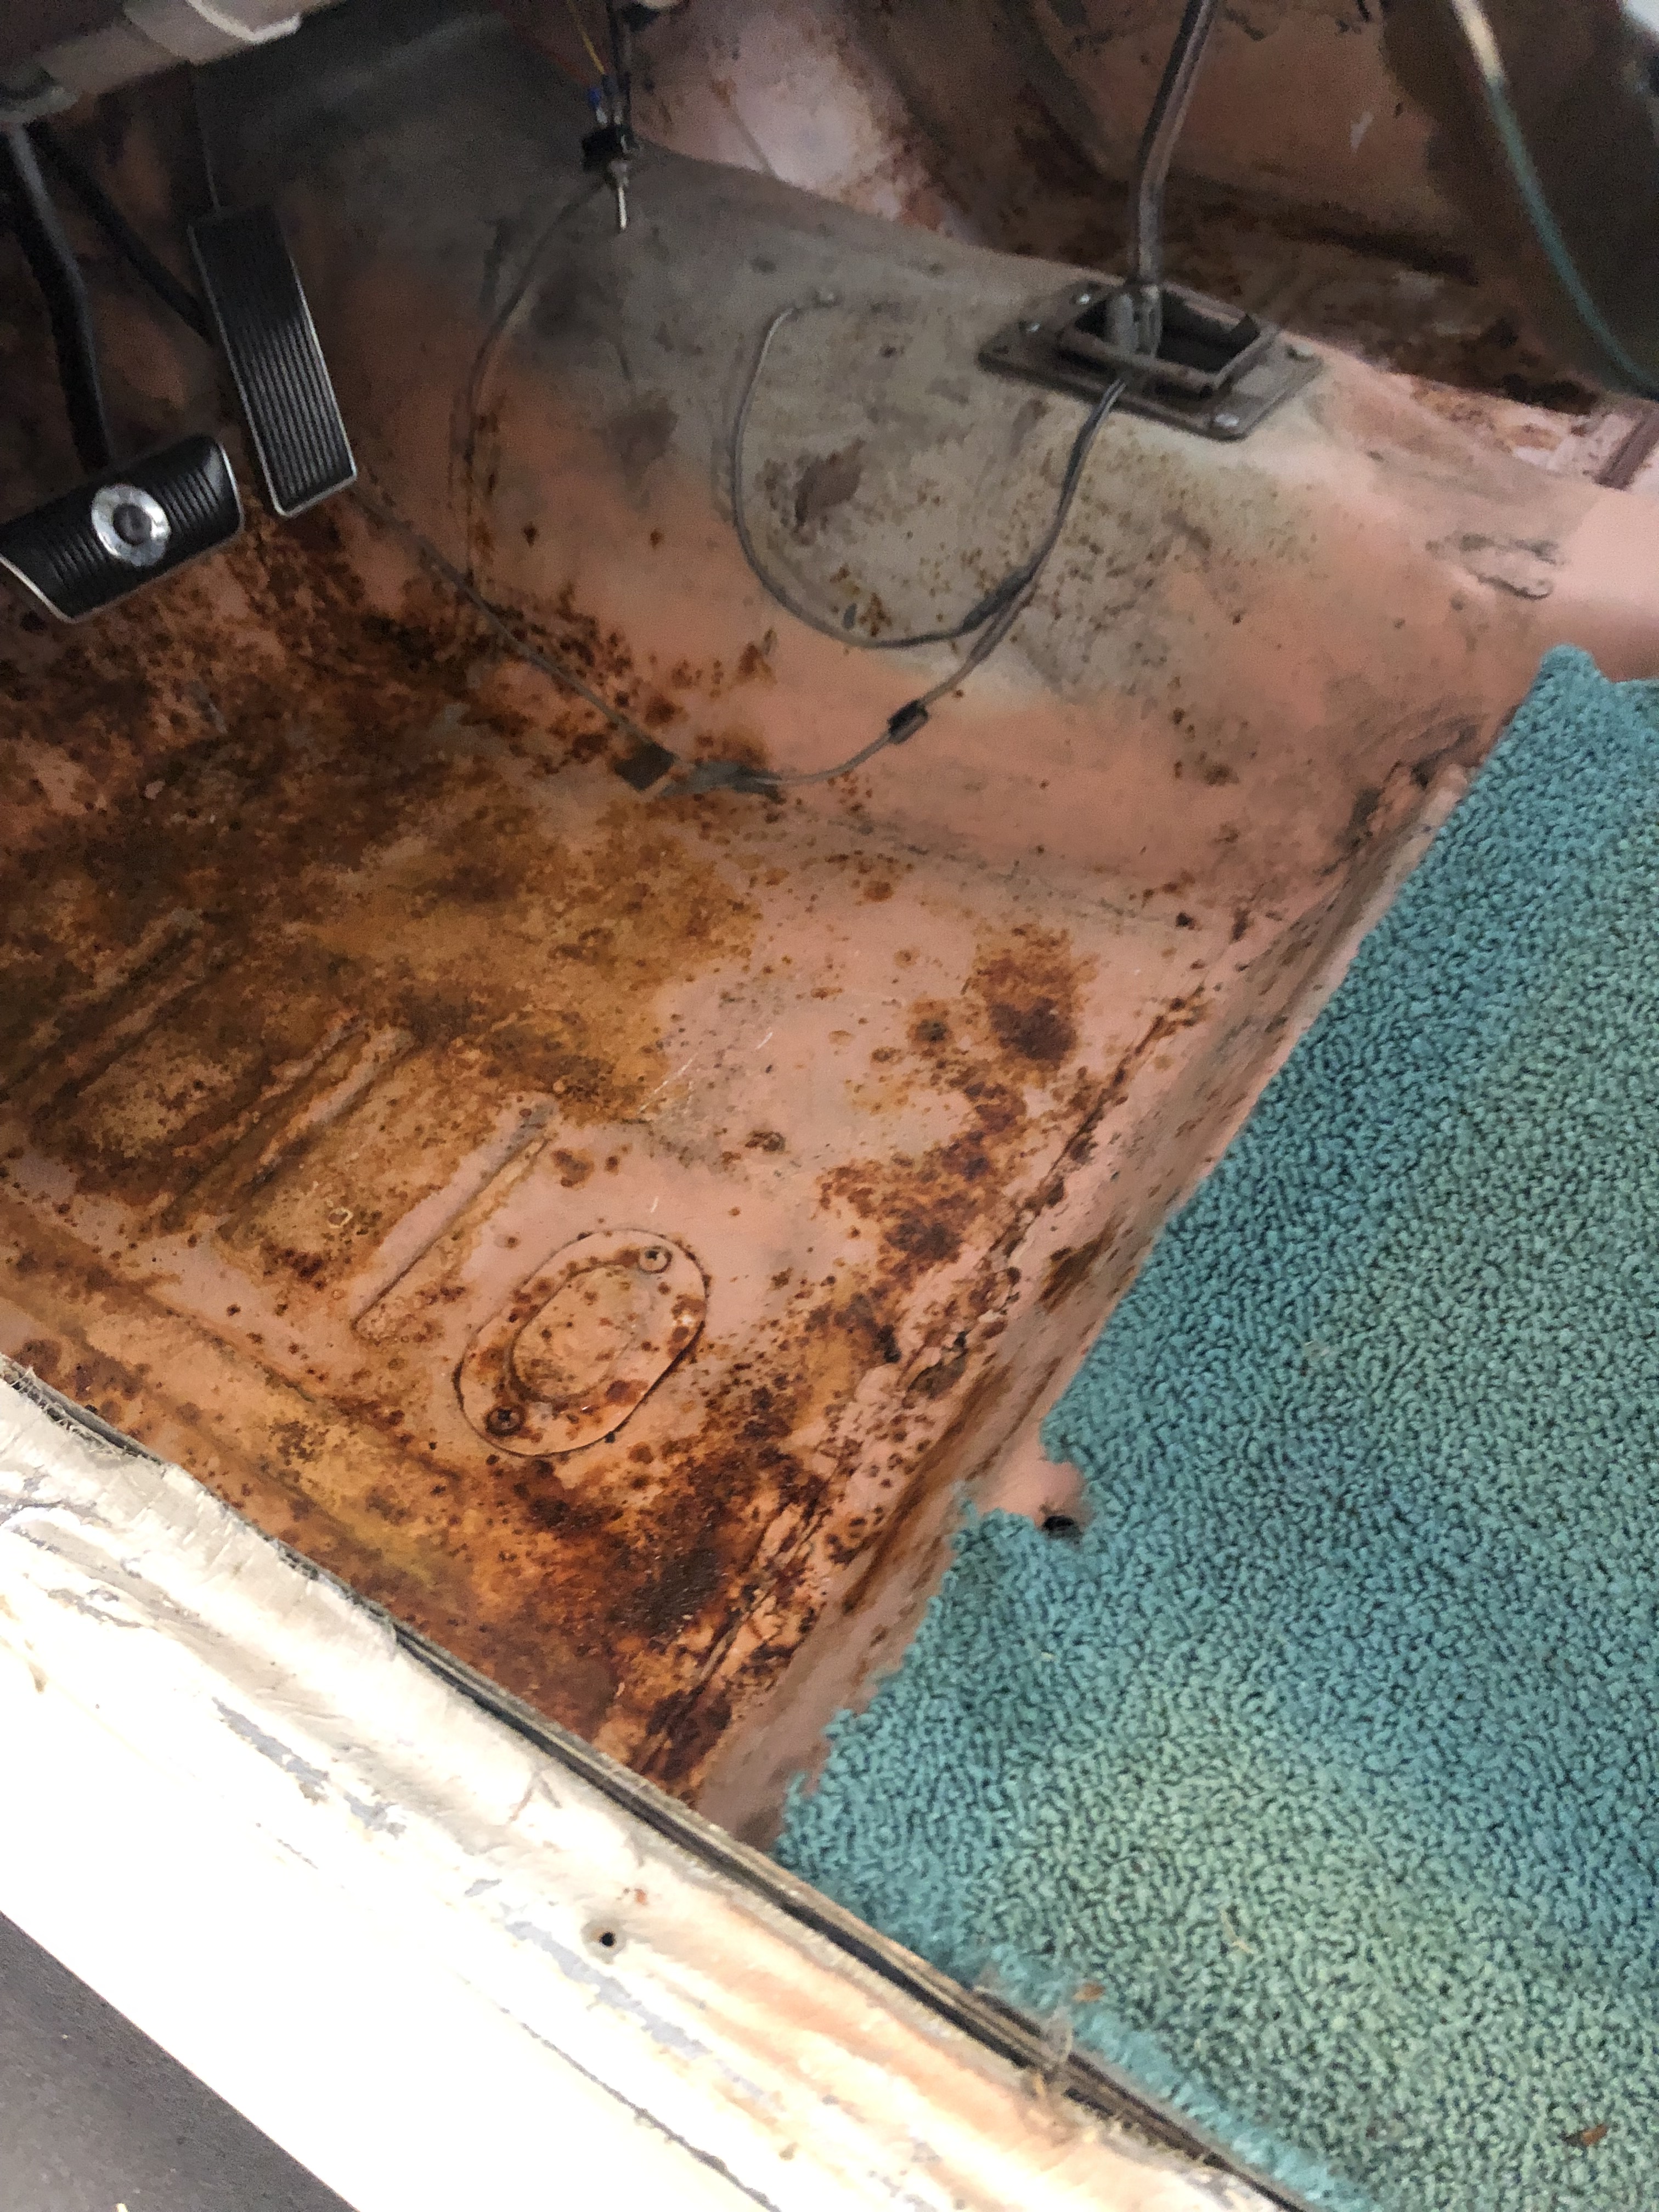
I was shocked to find that the carpet underlay was soaked. The car has been out of the weather for at least 3 months now but it looks like the underlay has not dried out. I need to get the carpet out and dry it and the floor properly before dealing with the surface rust.
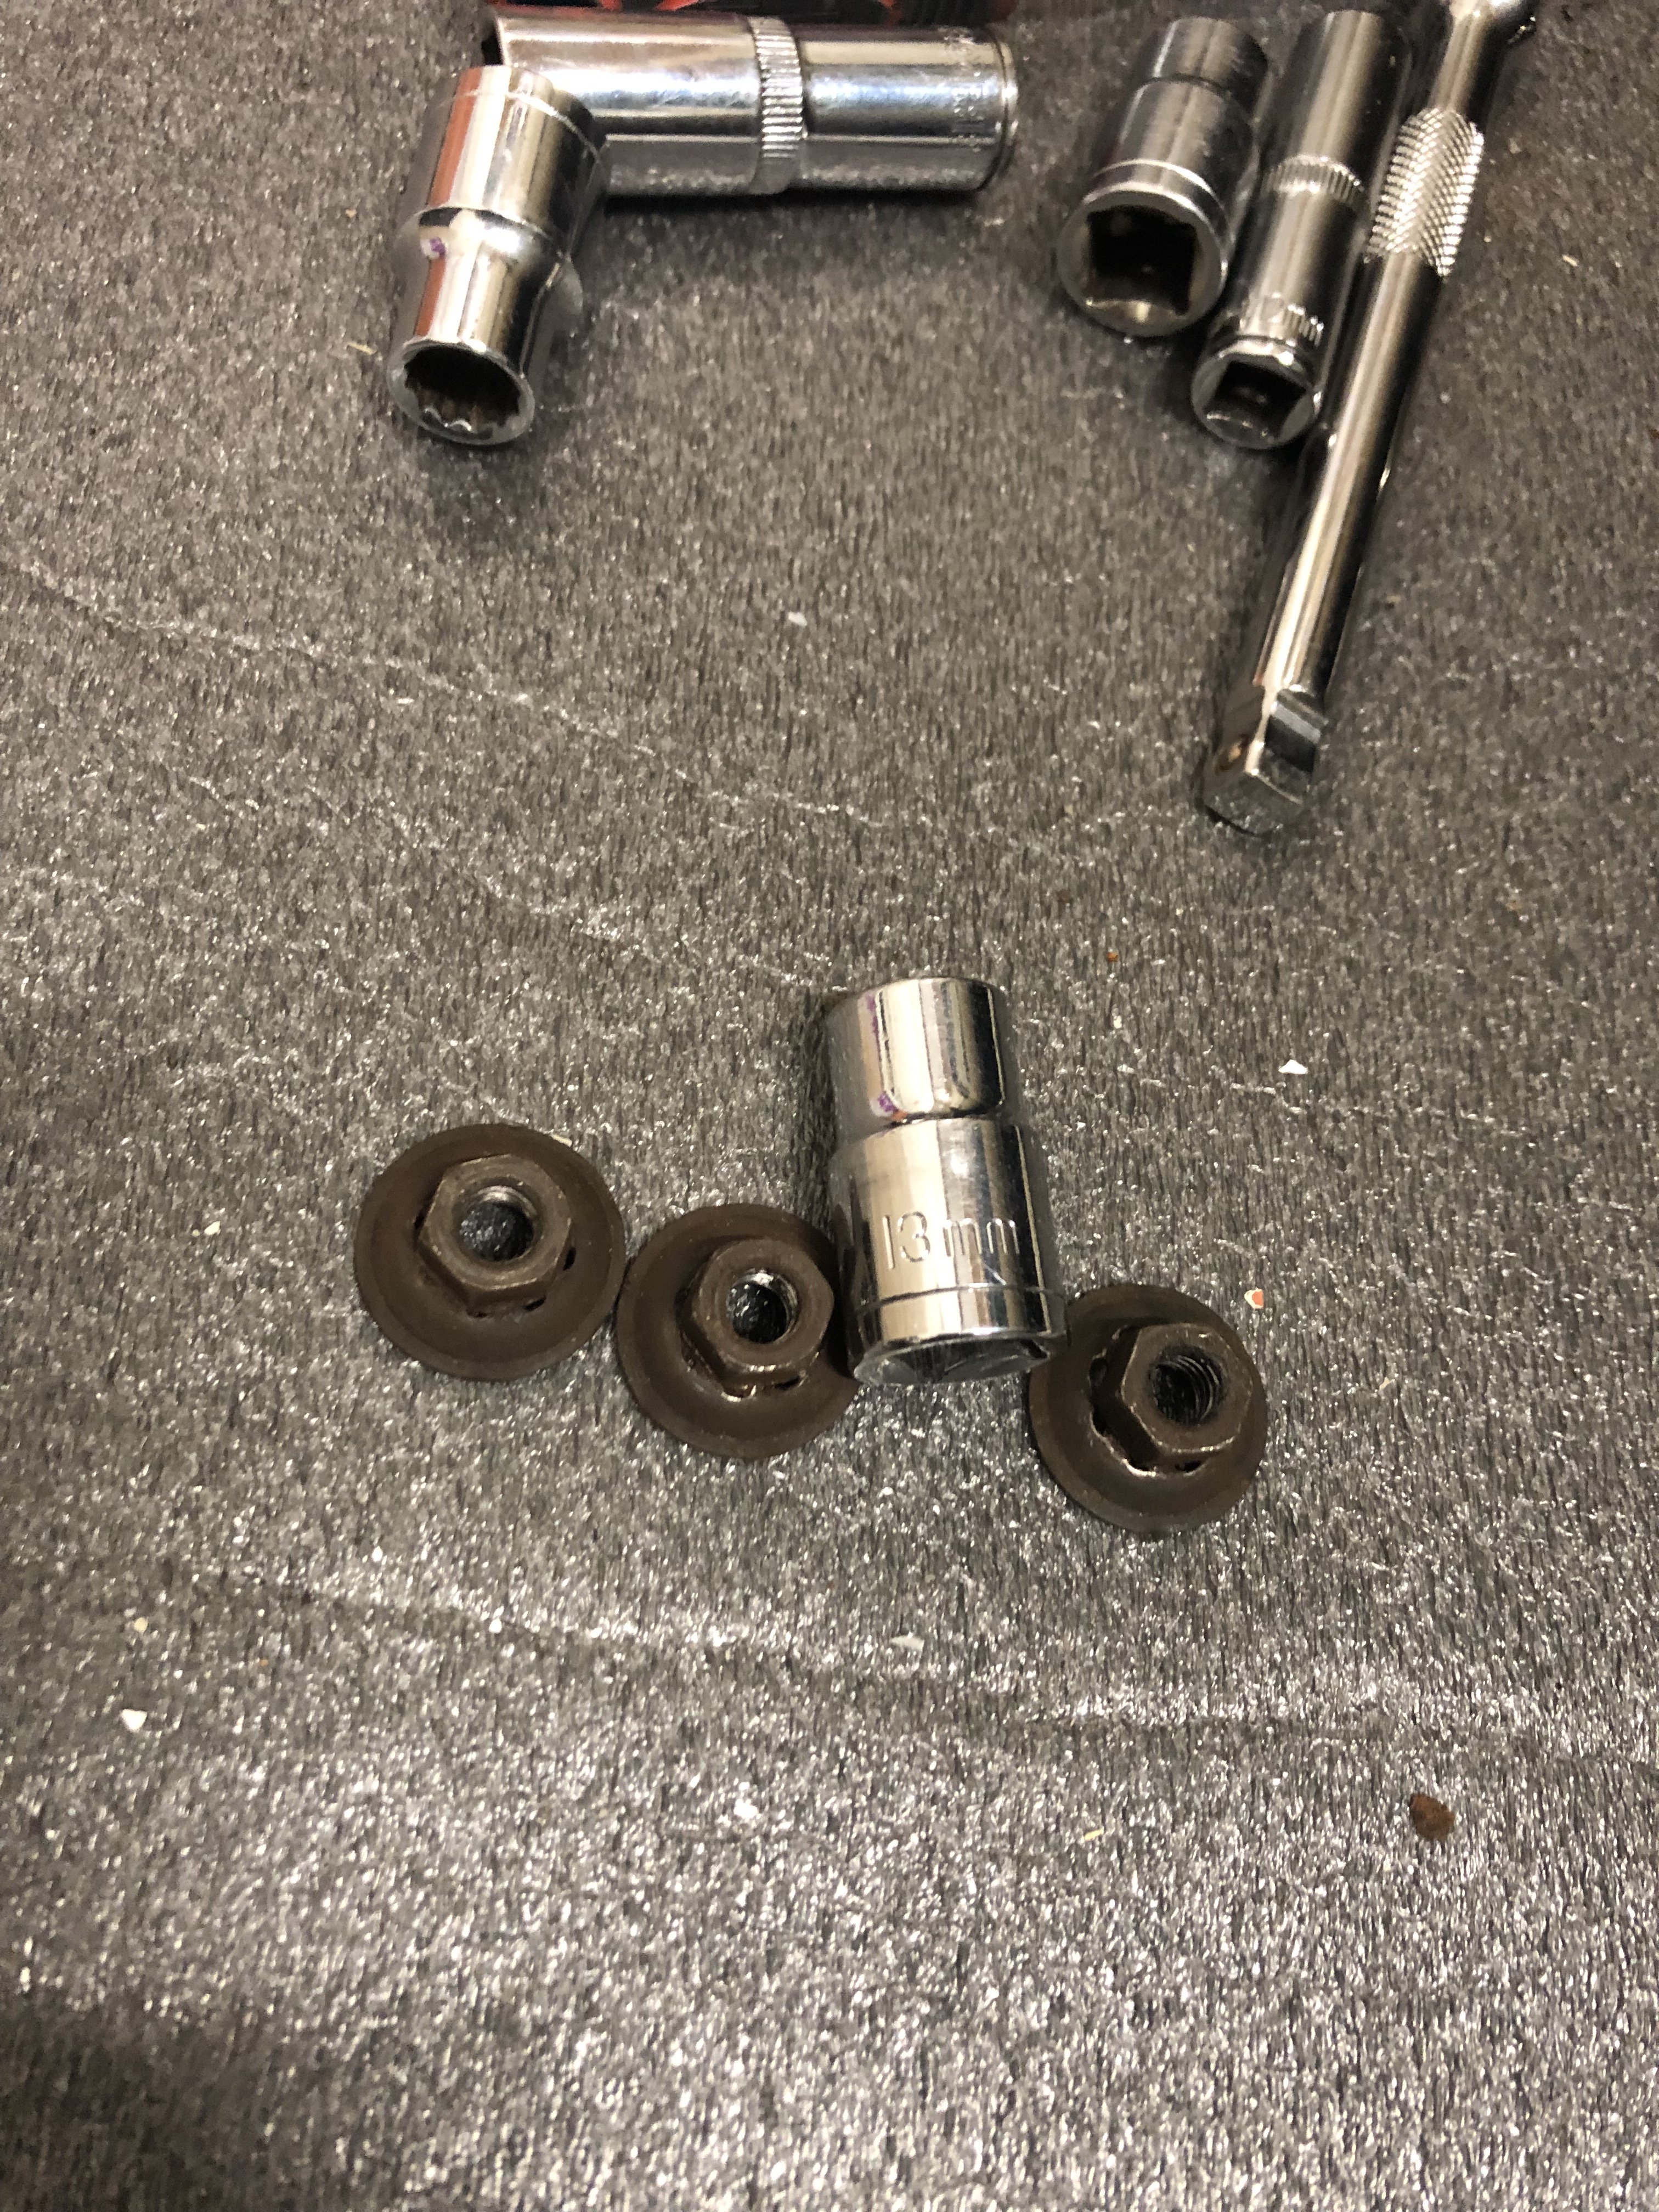
I was able to remove the last drivers side seat bolt using a 13mm deep socket (forgot I had one!). After struggling for ages last night I had it out in less than a minute. With both front seats out of the way I was then able to remove the front carpet and was amazed to find water literally pouring out of the underlay. The carpet is now drip drying and I’ve sponged up most of what remains on the floor pan. Thankfully, although it looks messy, it is all surface rust.

One of the problems with tacking a job like this at home is access under the car. I have two car ramps but that only gets the wheels around 30cm off the ground. With the back wheels on the ground access is still incredibly tight so I went looking for a solution that didn’t involve axel stands which I never feel comfortable using. I came across a number of people in the same situation who created videos on how to create ‘wheel cribs’ which are basically square wooden wheel stands. I decided to give this a go and am pleased with the result. I now have ‘reasonable’ space under the car to do at least some basic repairs. The wheel cribs (as you can see below) are basically 40cm (size depends on tyre) pieces of wood arranged in a square and stacked to the desired height. I added a 3rd piece on the bottom for additional strength.
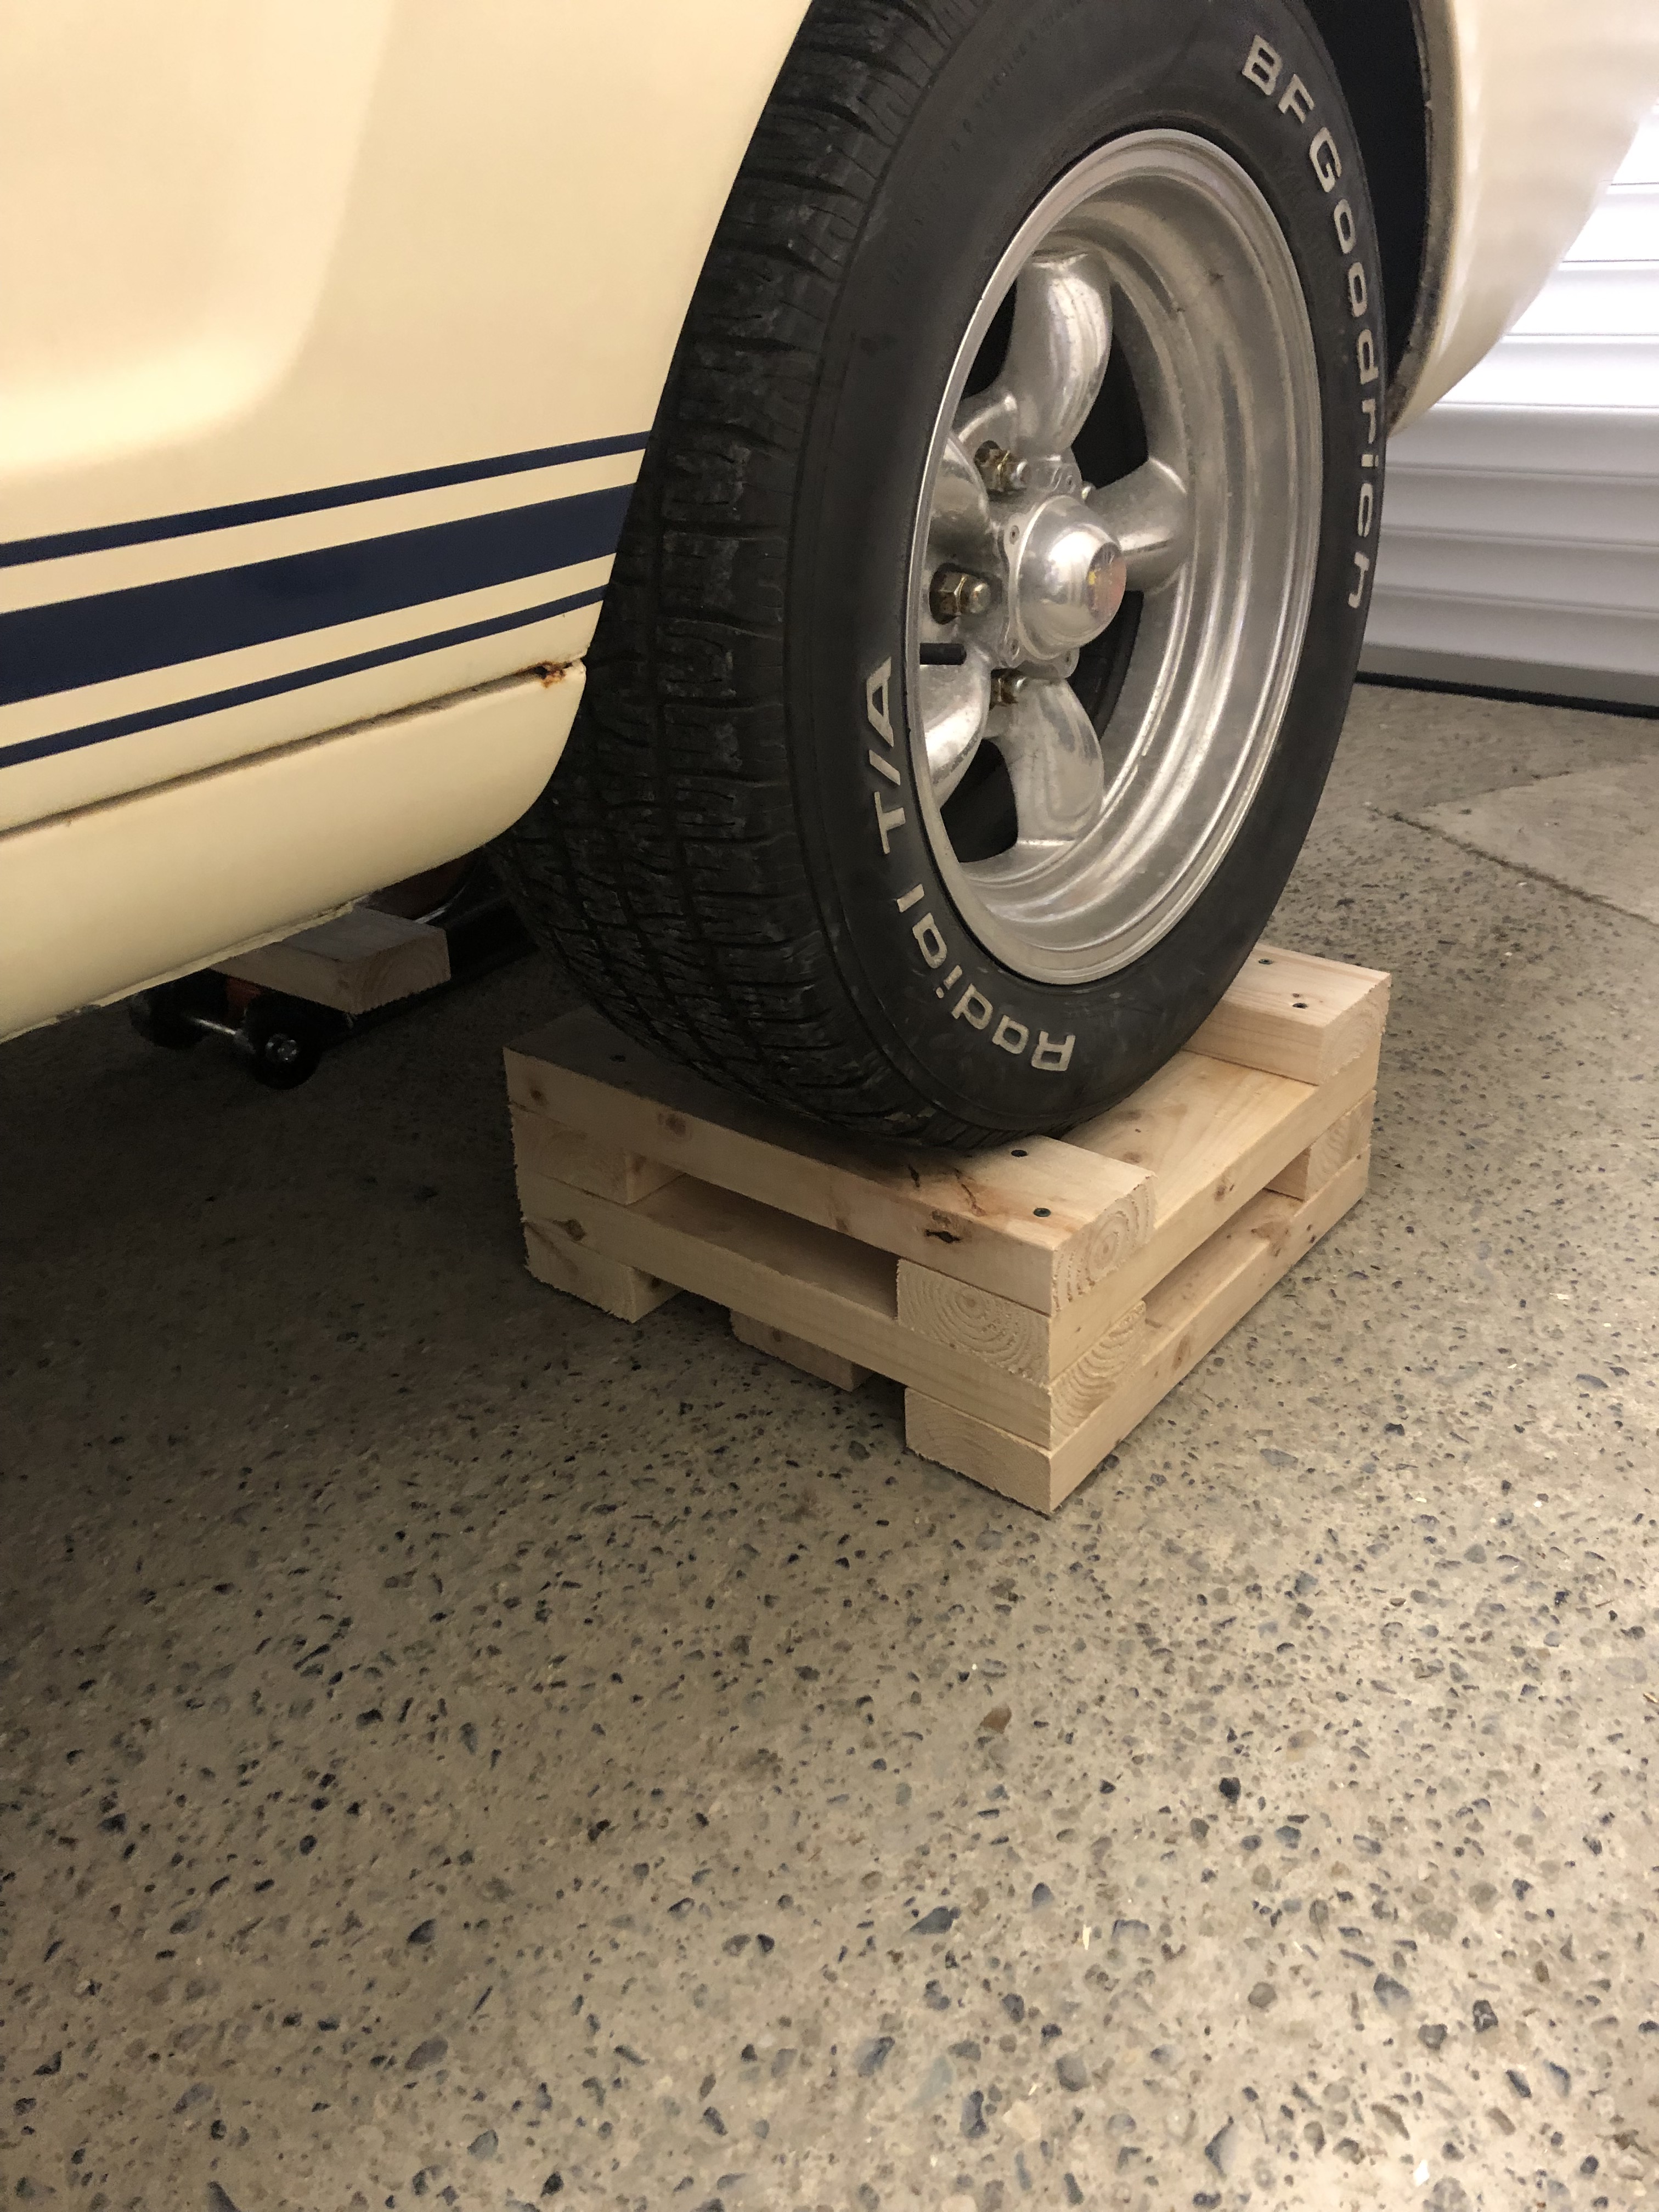
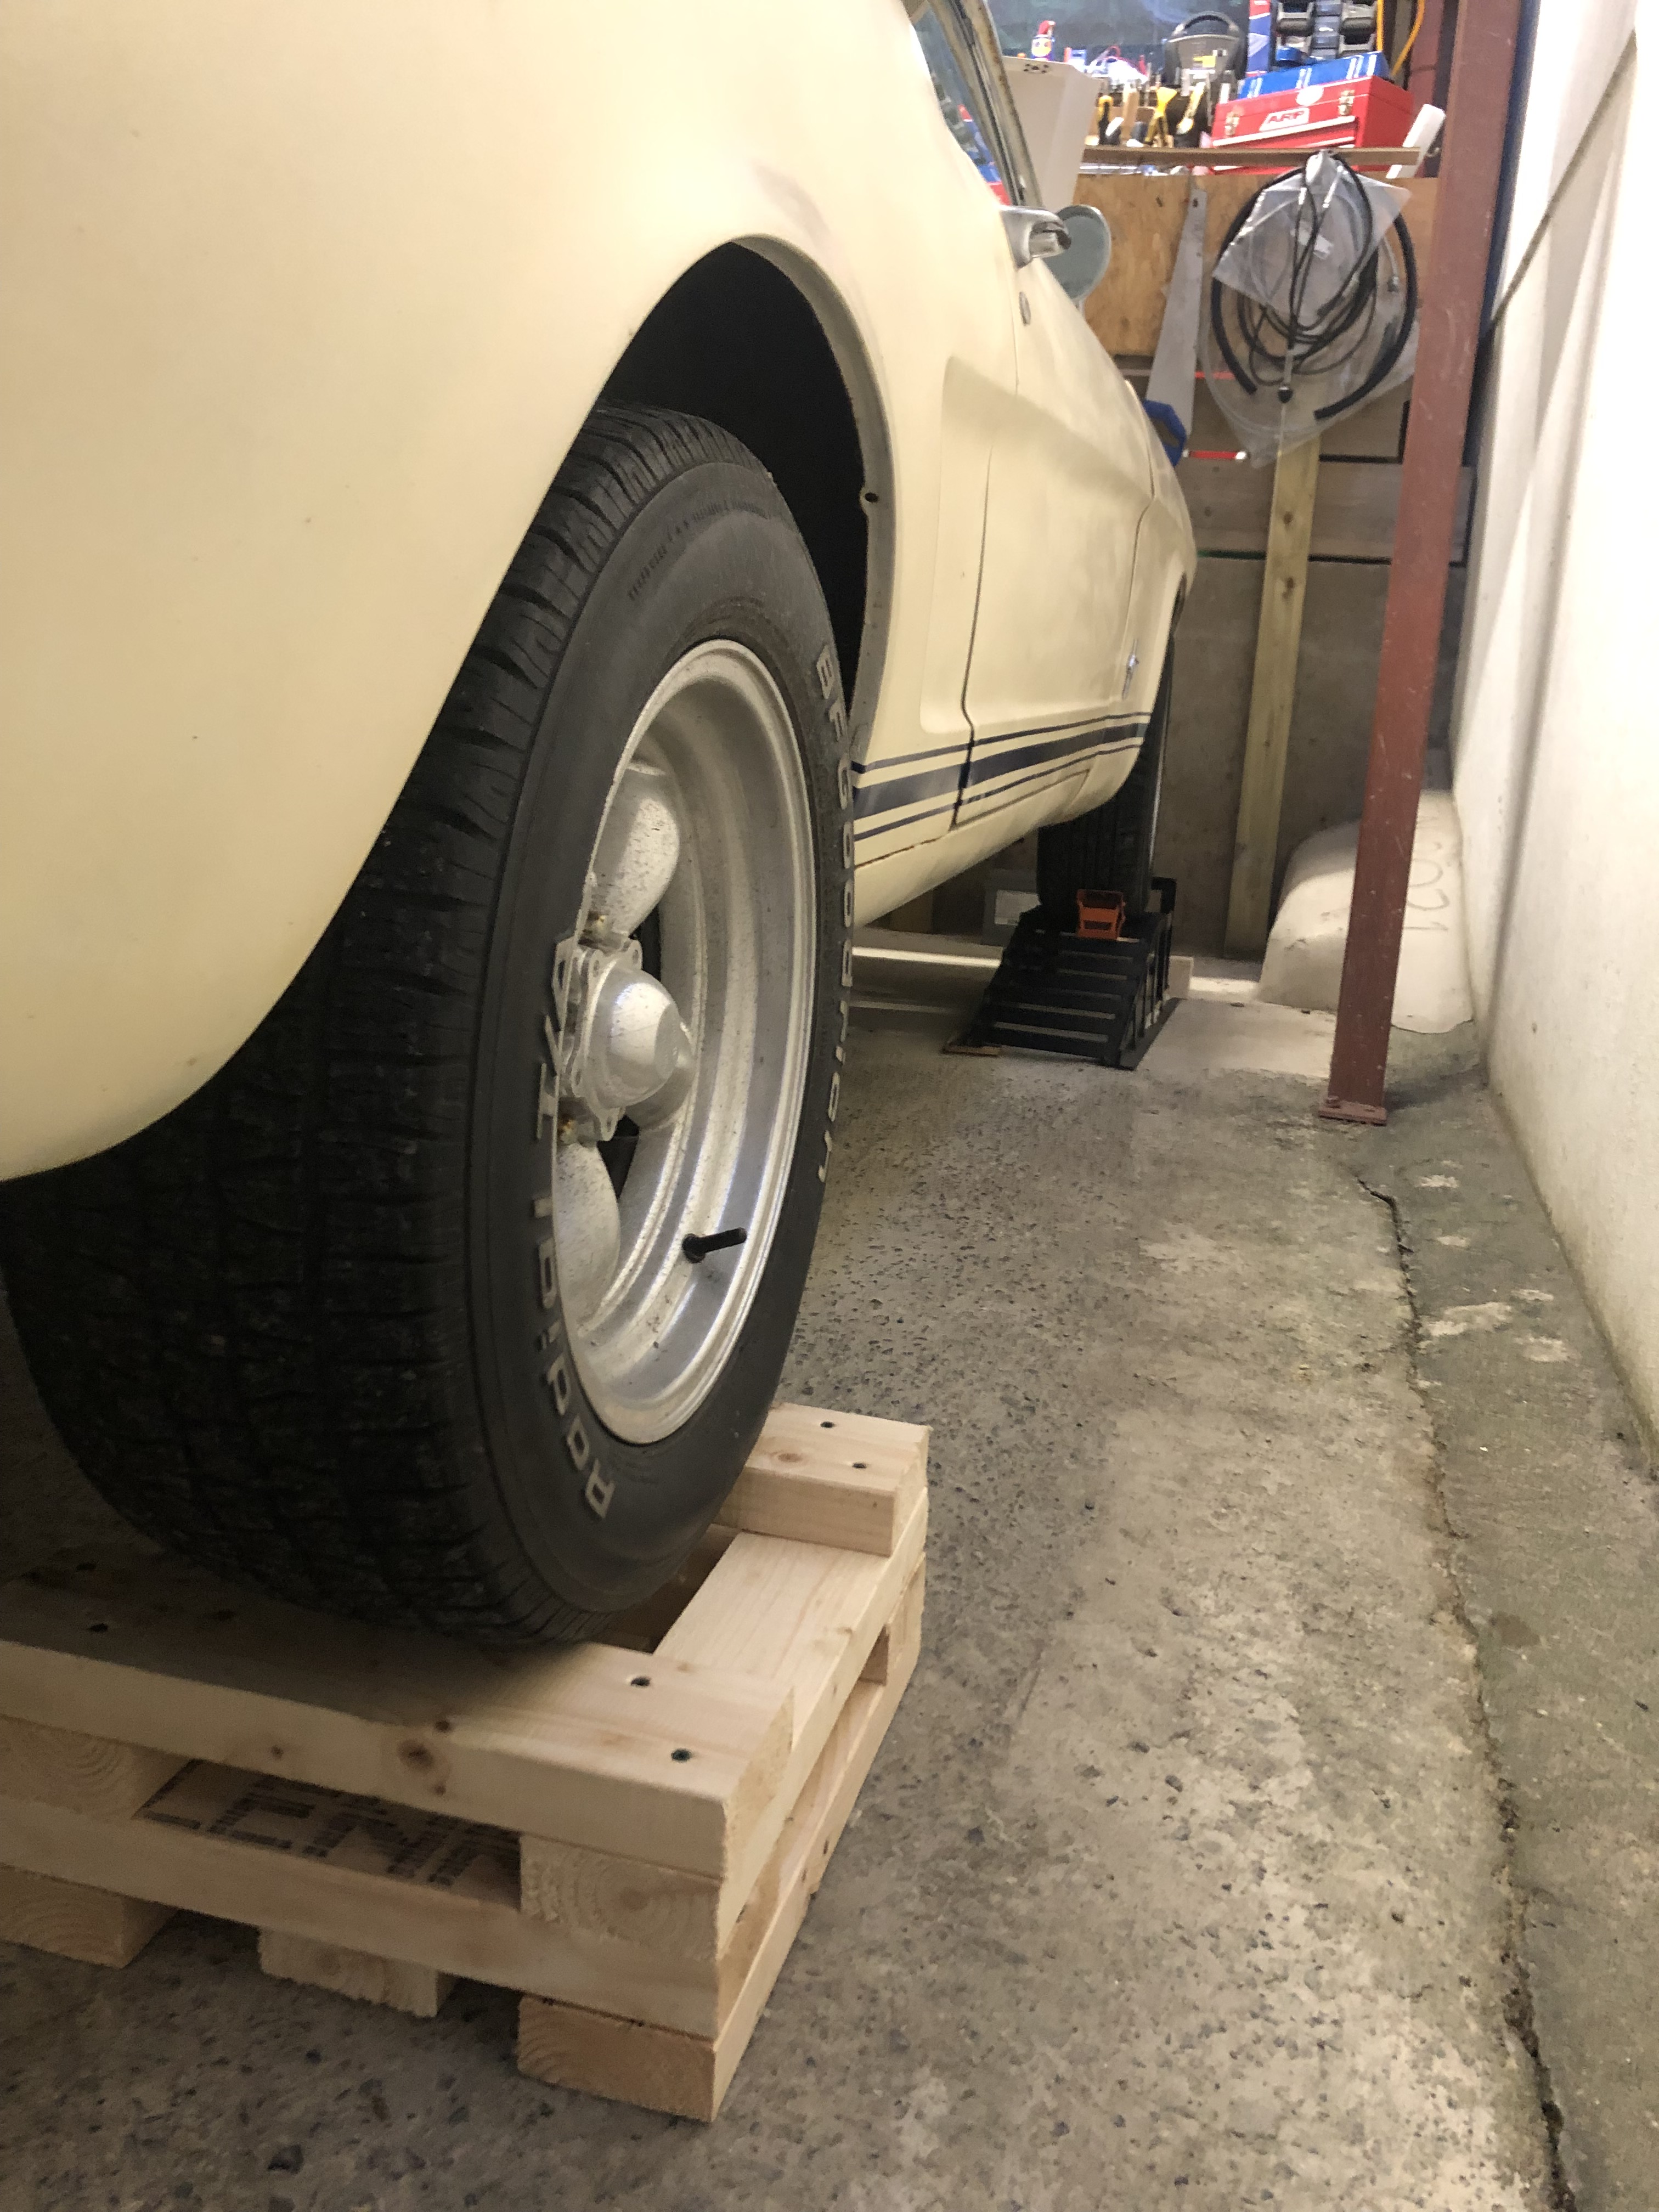
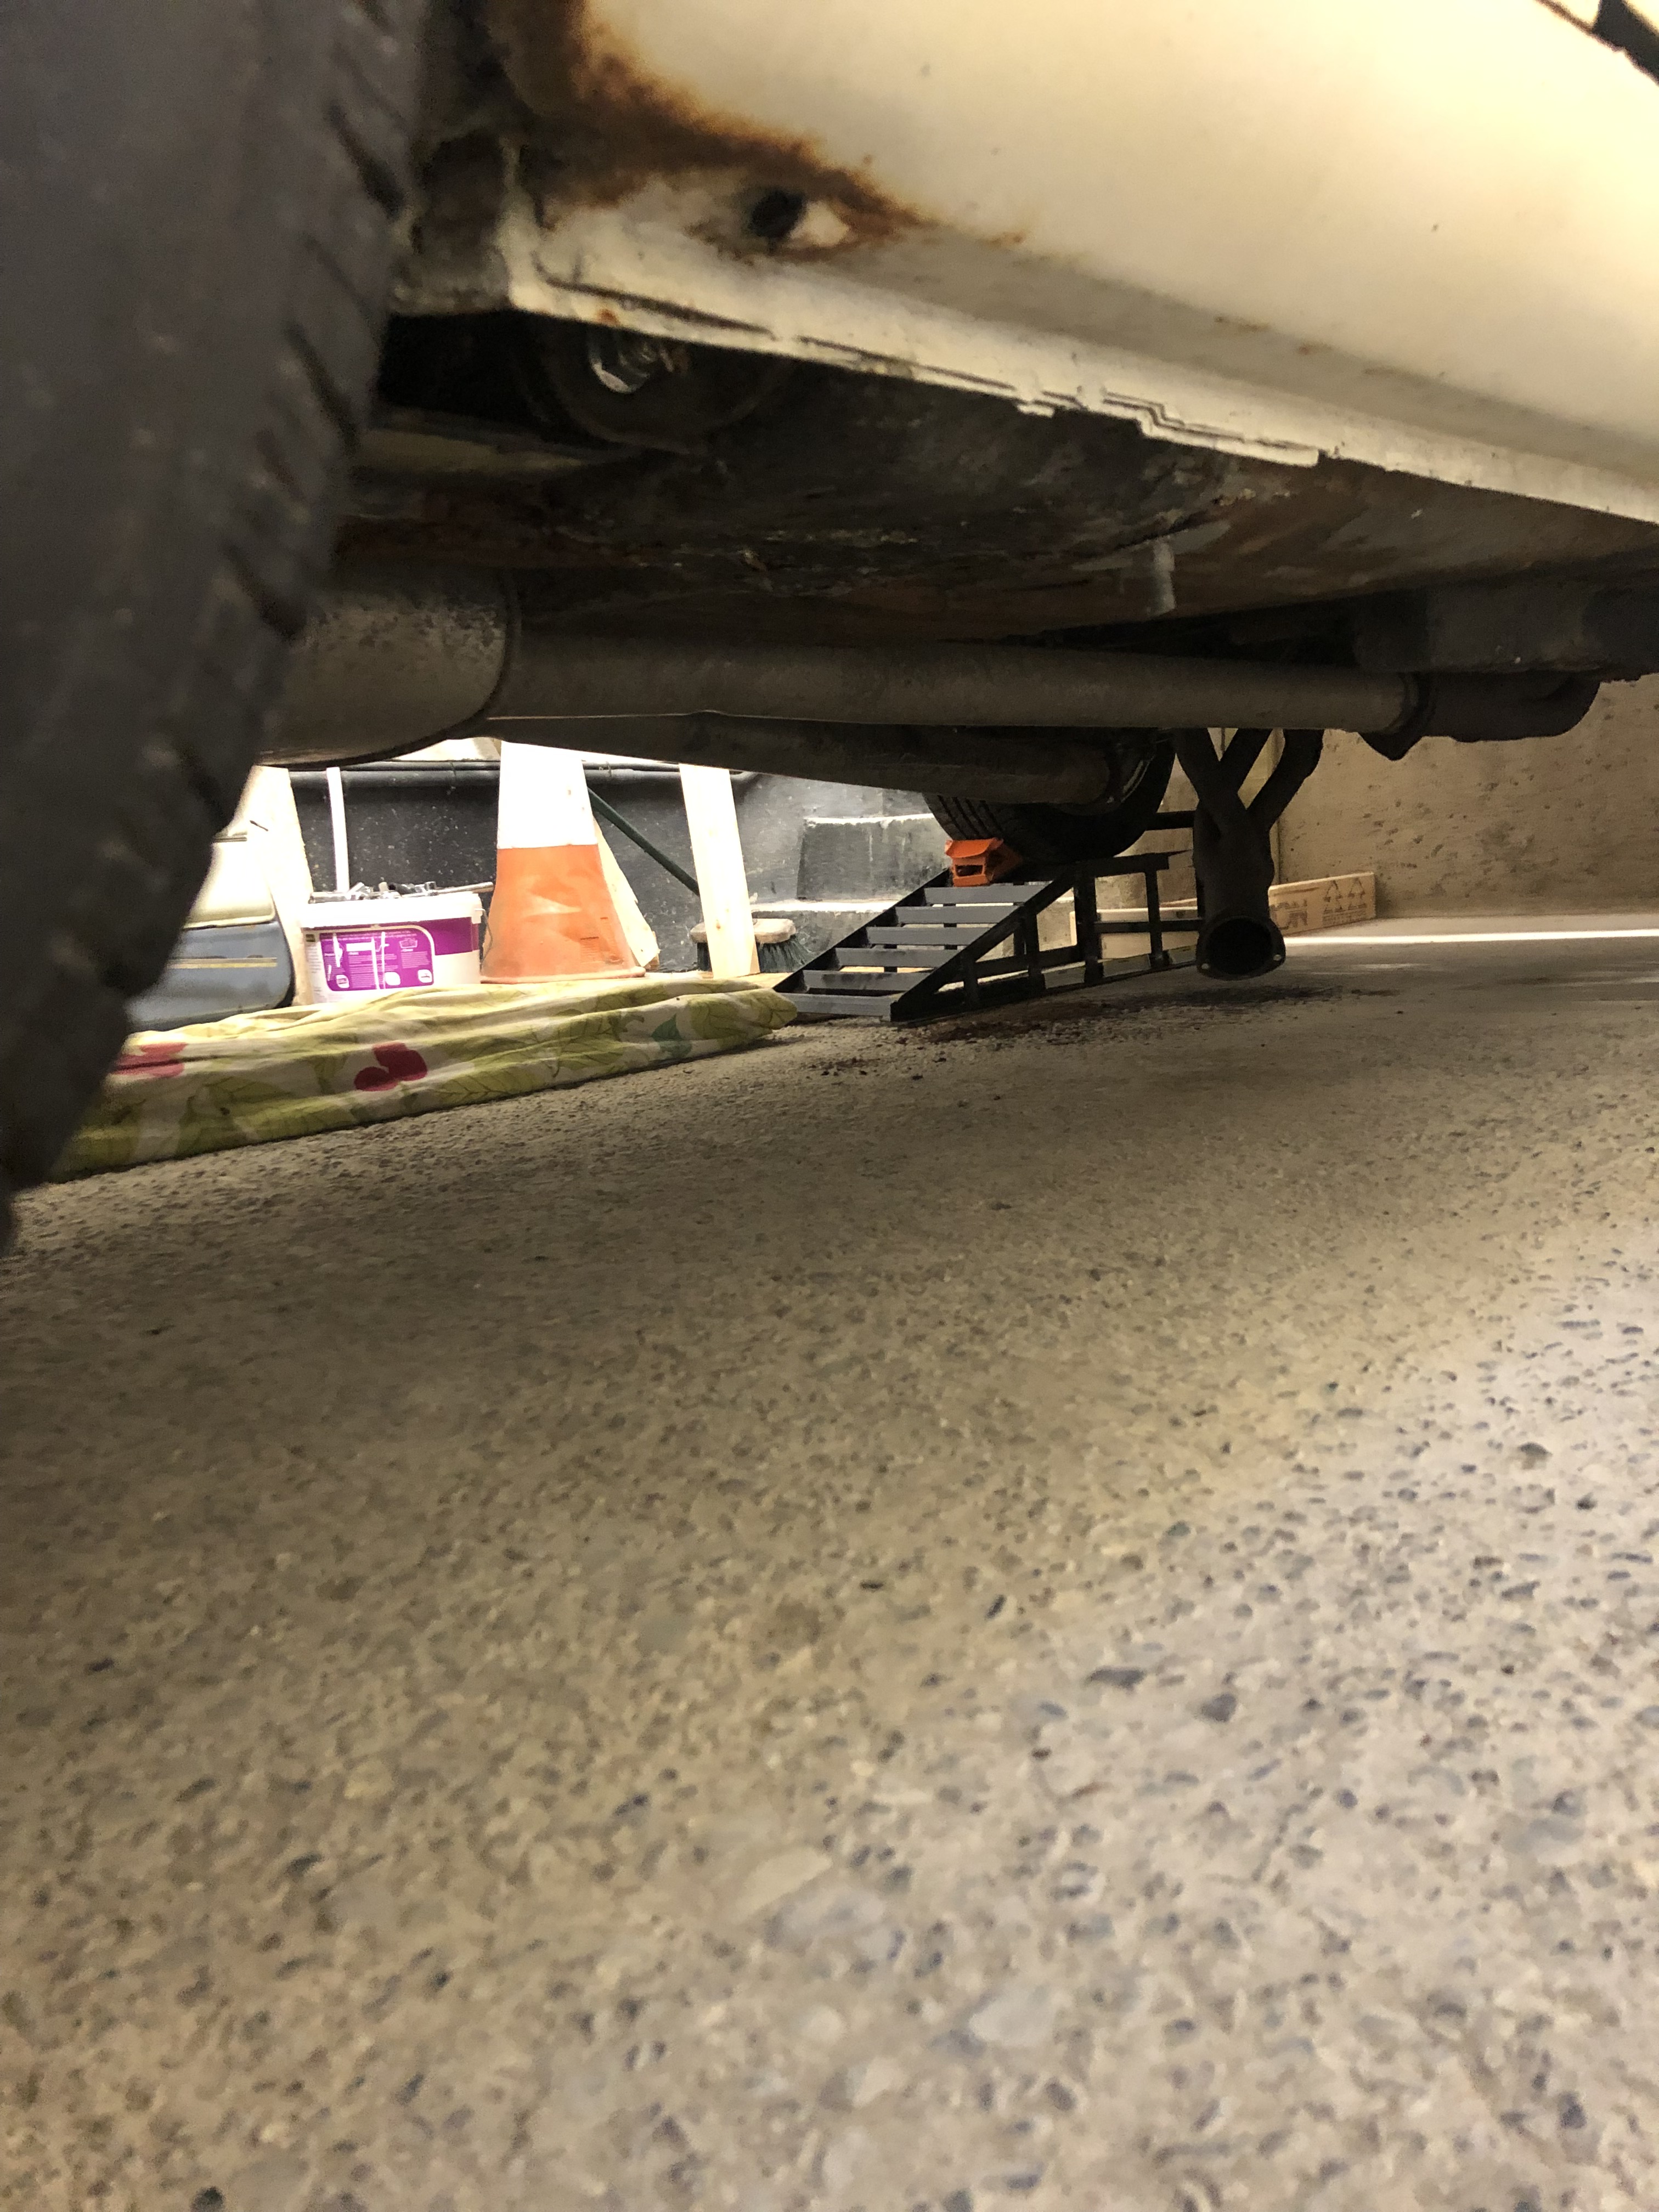
Update : Since the above pictures were taken I have raised the car by adding more layers to the ‘cribs’. They are now six layers high, which gives me a good amount of room under the car.
30th Nov 2021 – Since I put the car up I’ve started about a dozen projects, all of which are listed on the projects page.
