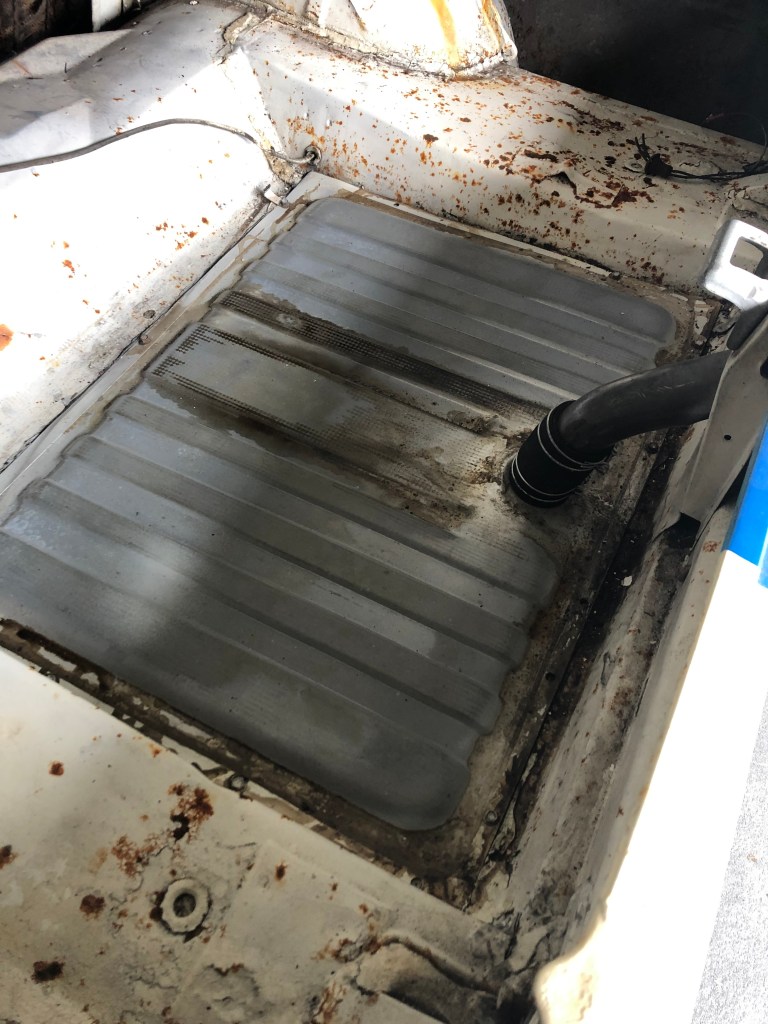
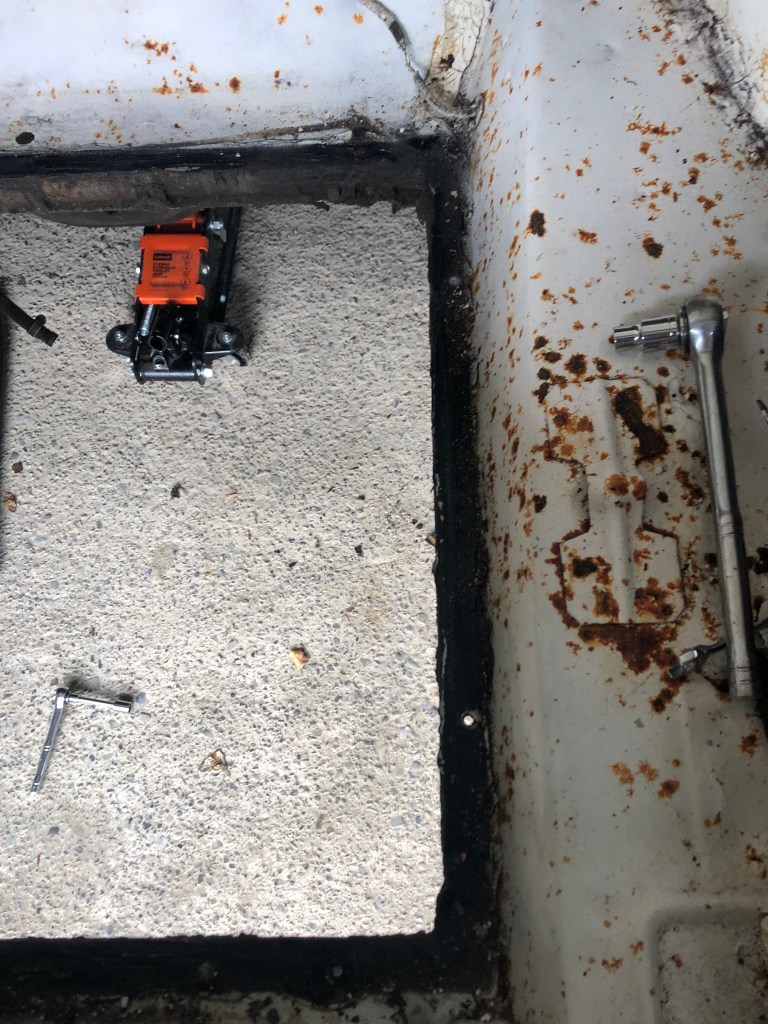
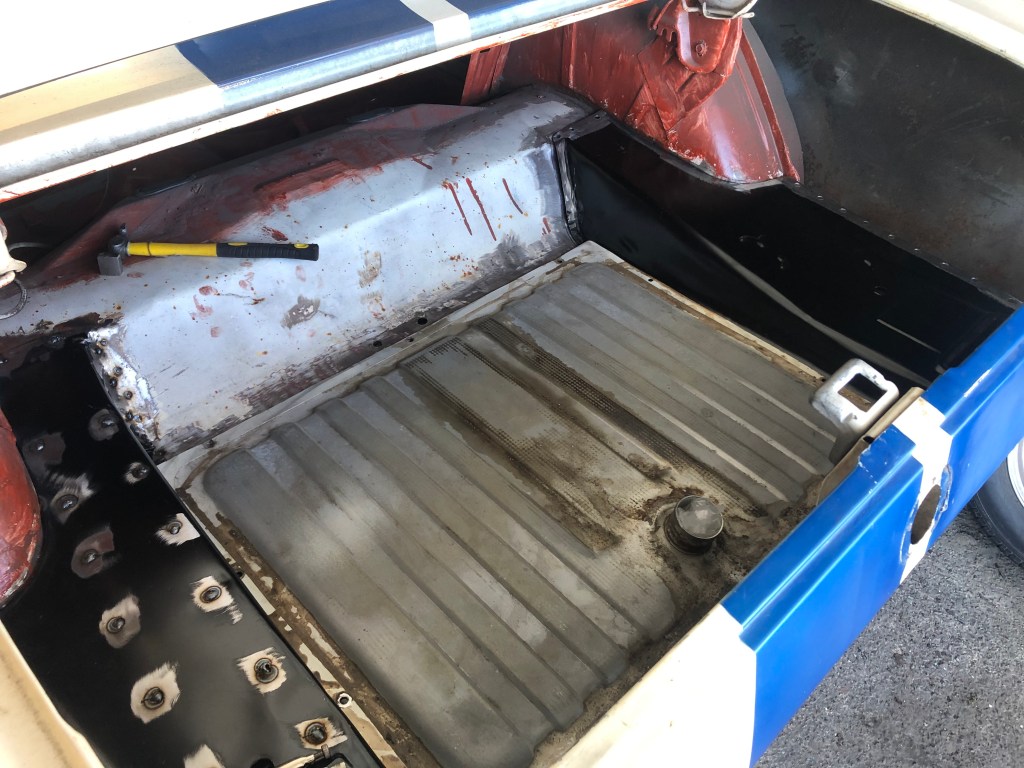
Another pre-requisite to the frame rail rust repair. I don’t want to do any grinding/welding with the tank & lines in place, so it has to come out.
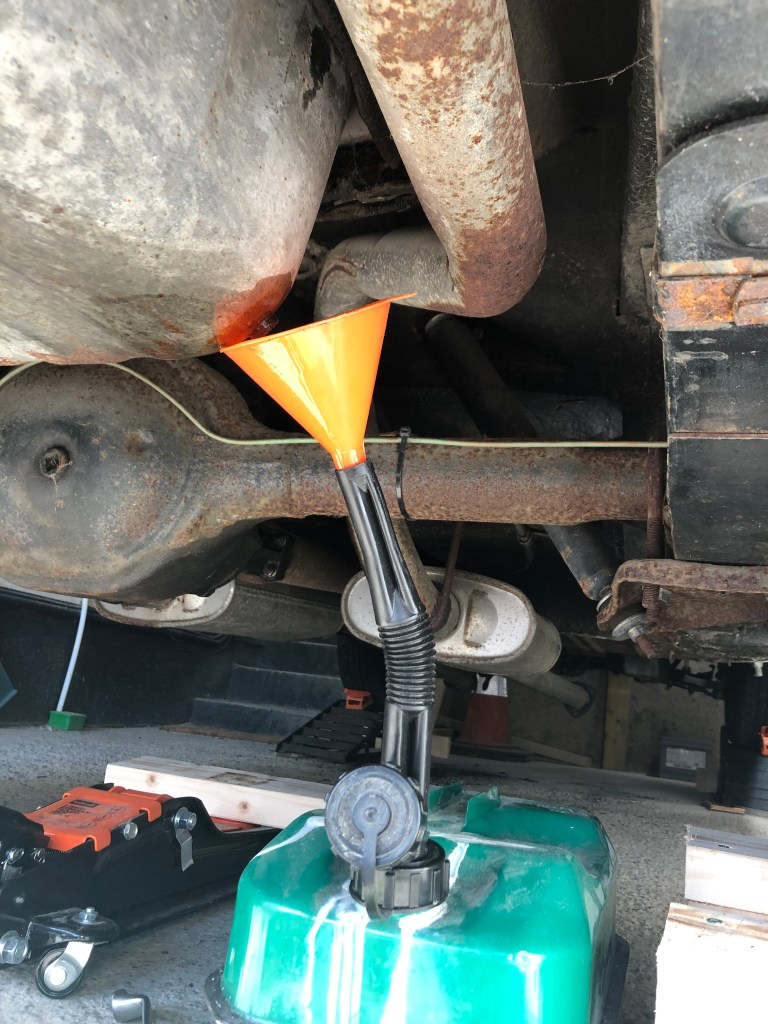
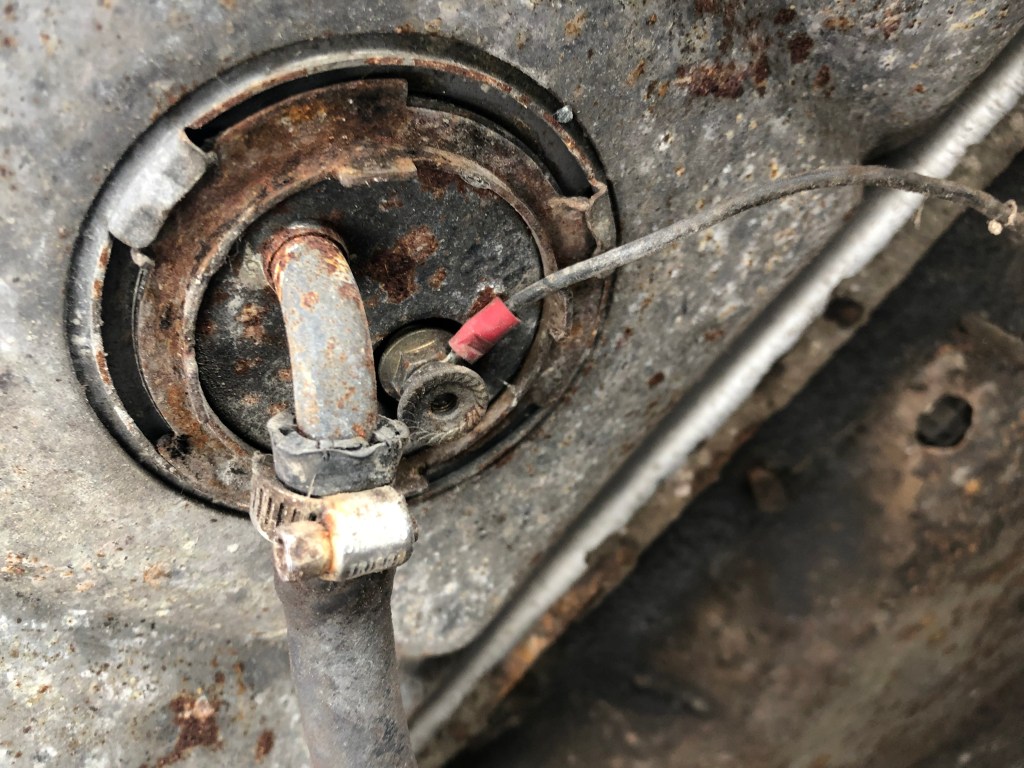
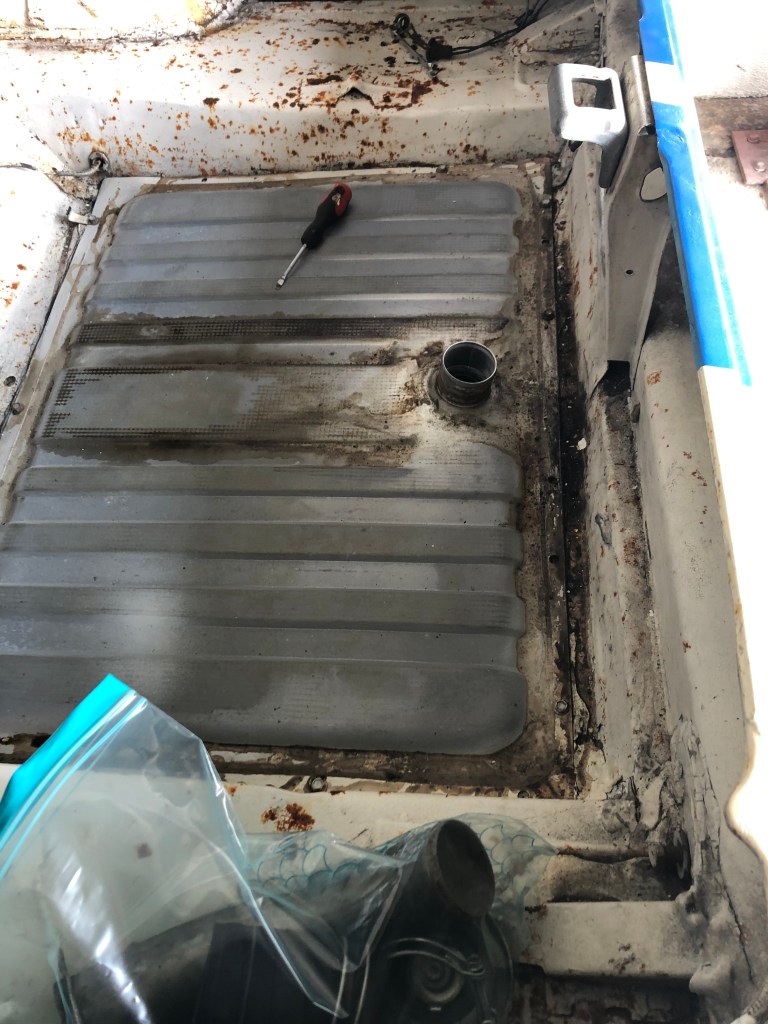
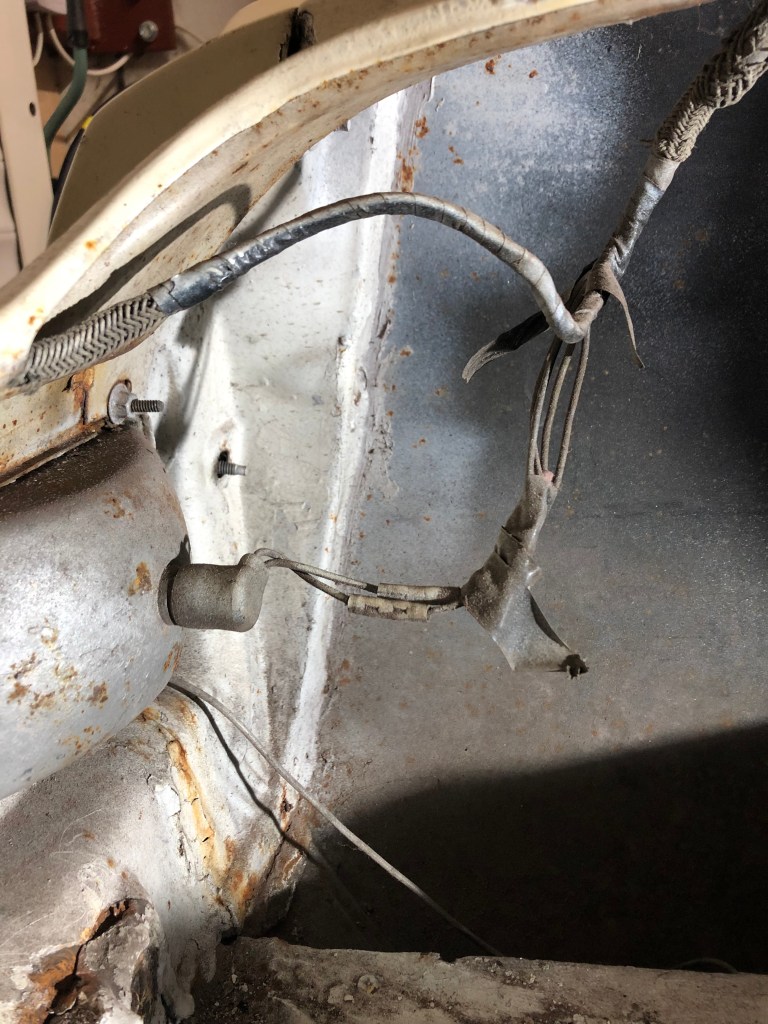
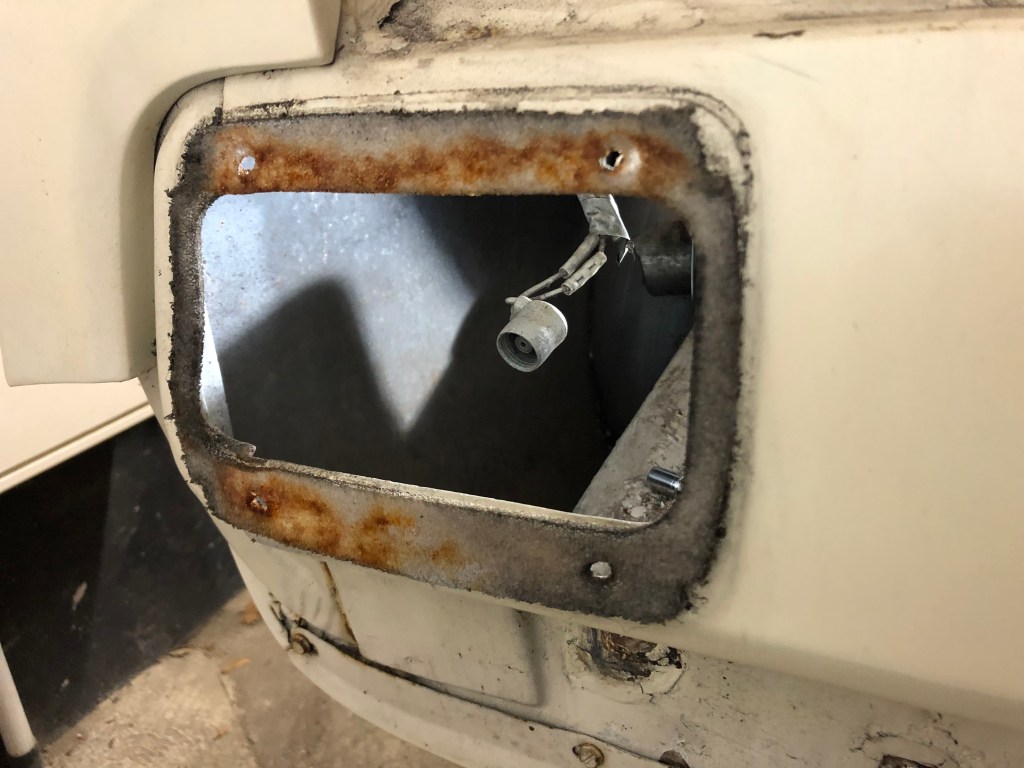
I thought the tank was reasonably empty so I used my 10l fuel can with a funnel to catch the fuel once I removed the drain plug (14mm). This trickled out for a long time. I then put the plug back in, removed the filler tube and fittings, removed the hose from the sender unit, cut the wire and lifted the tank out of the car. I then drained the remaining fuel.
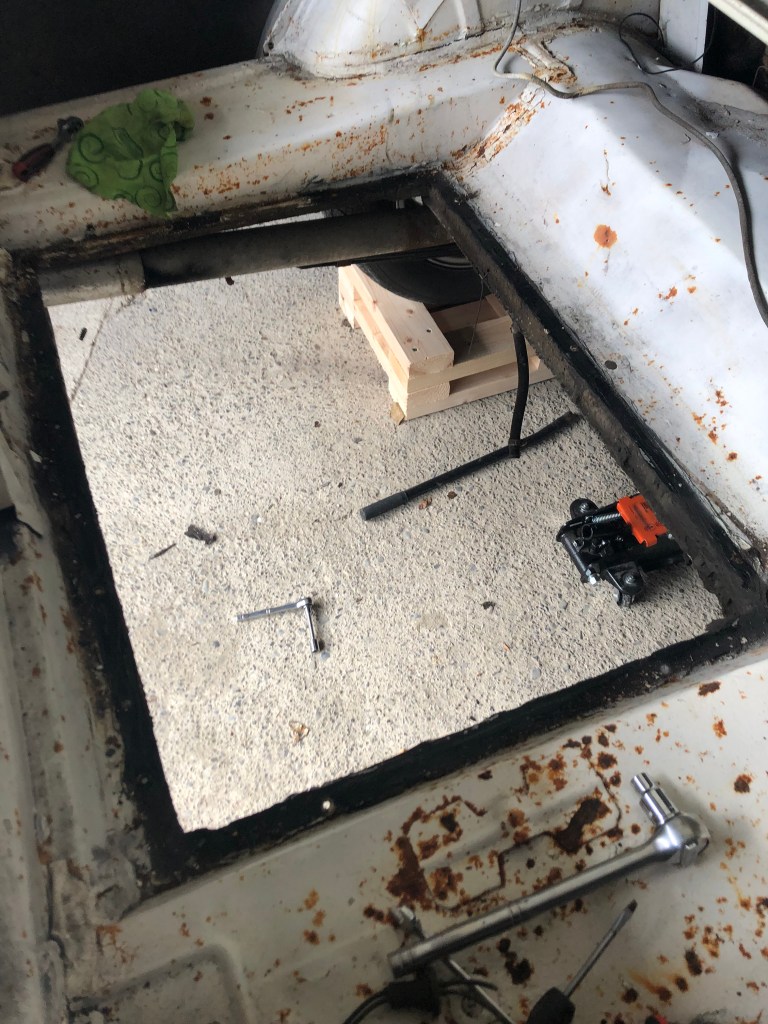
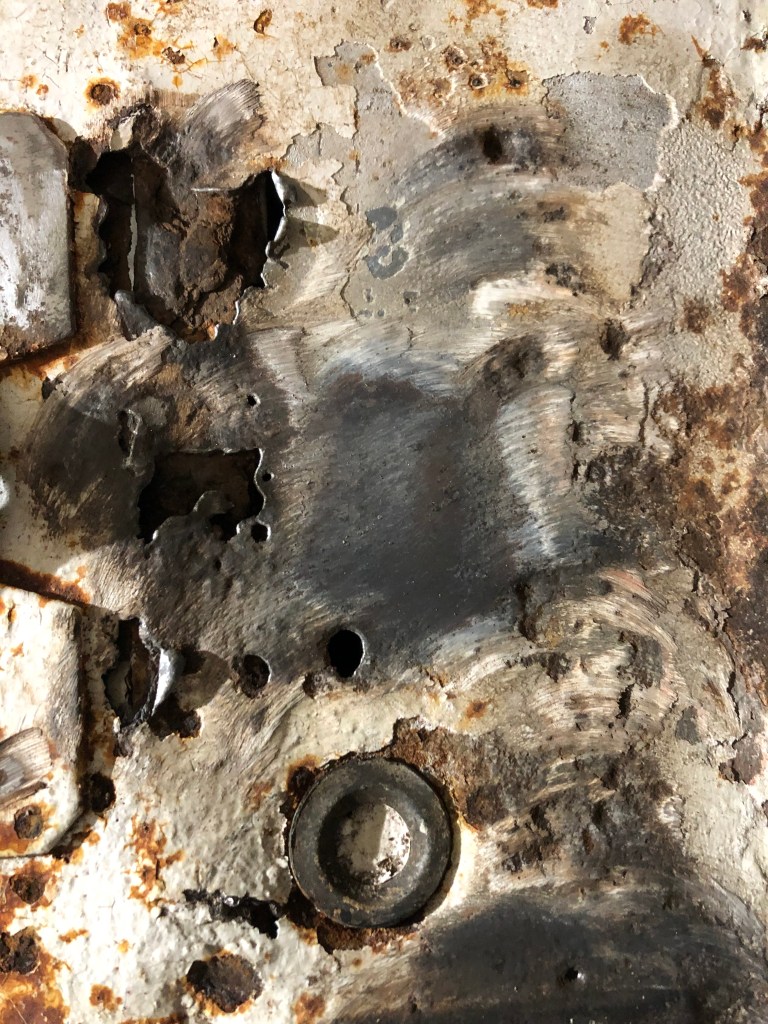
The seam sealer and old paint needs to be stripped away. Once done I’ll know if there any repairs needed or if I can move on to applying new seam sealer and paint.


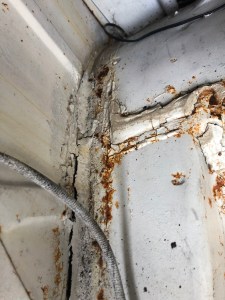
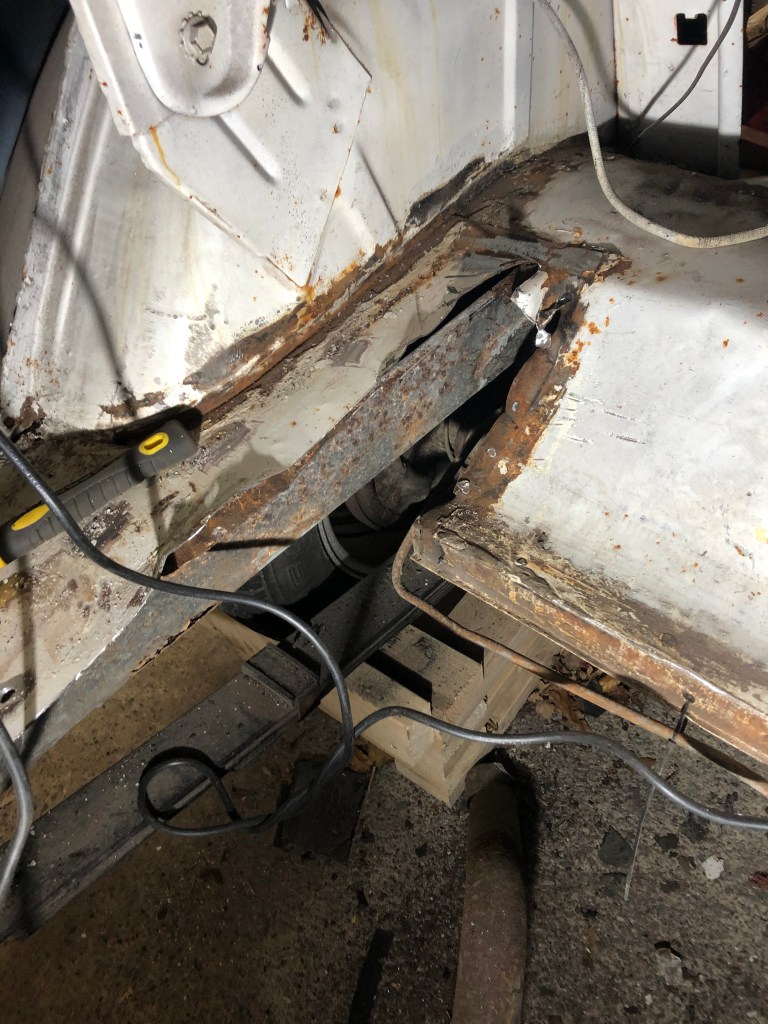
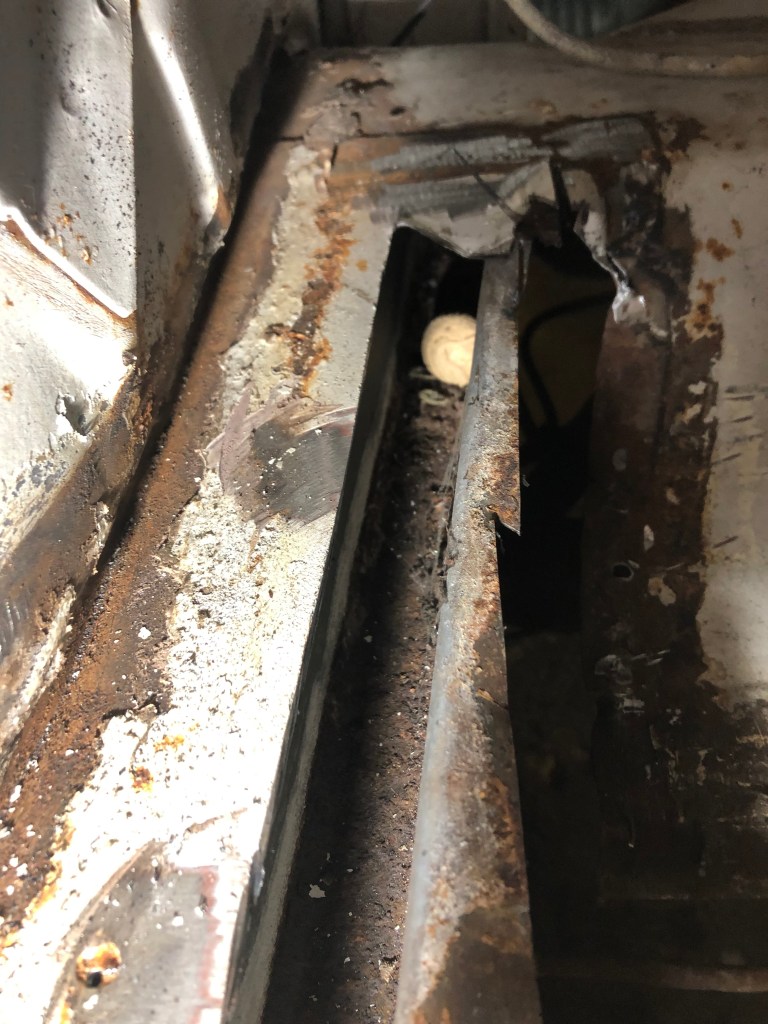
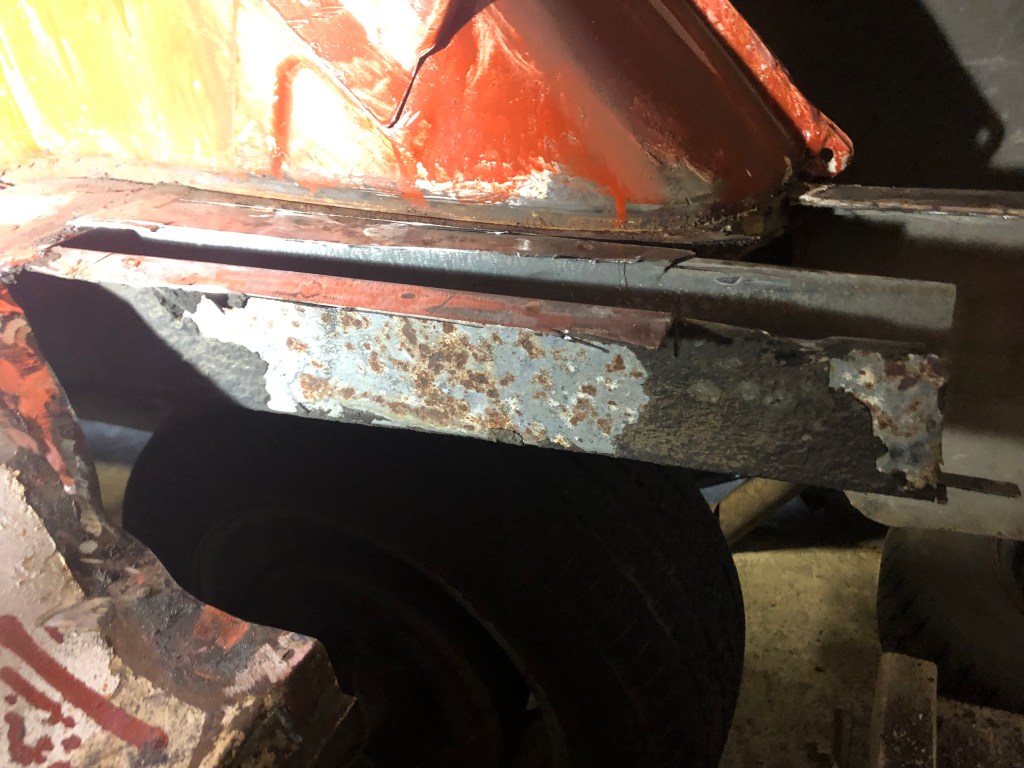
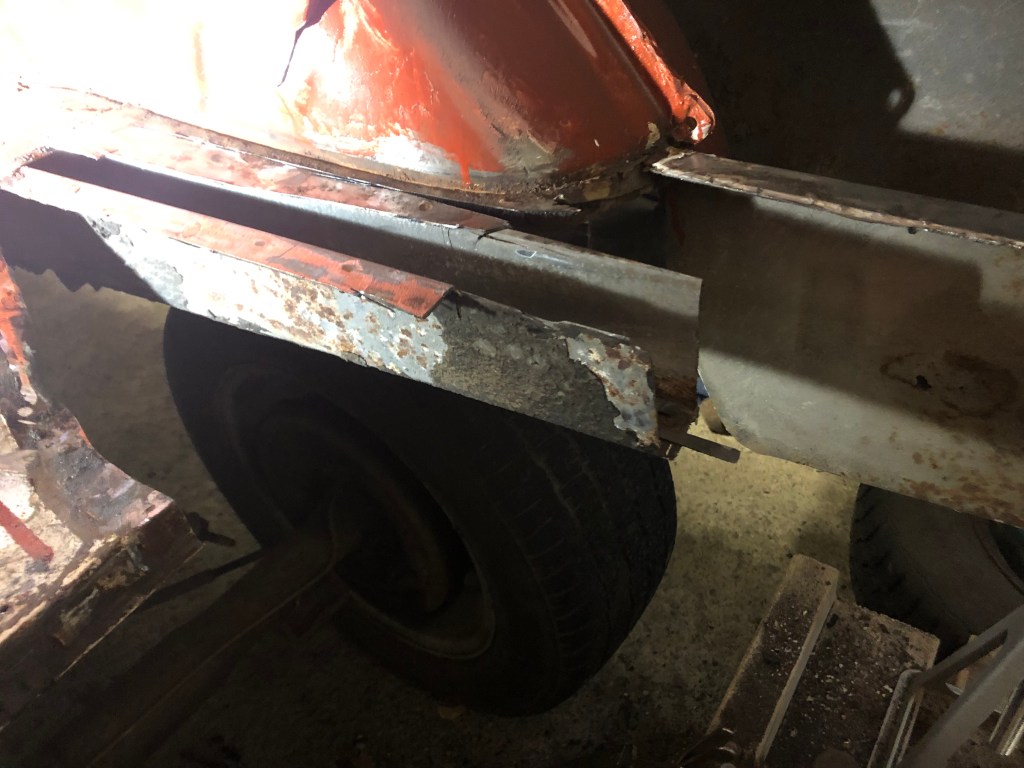
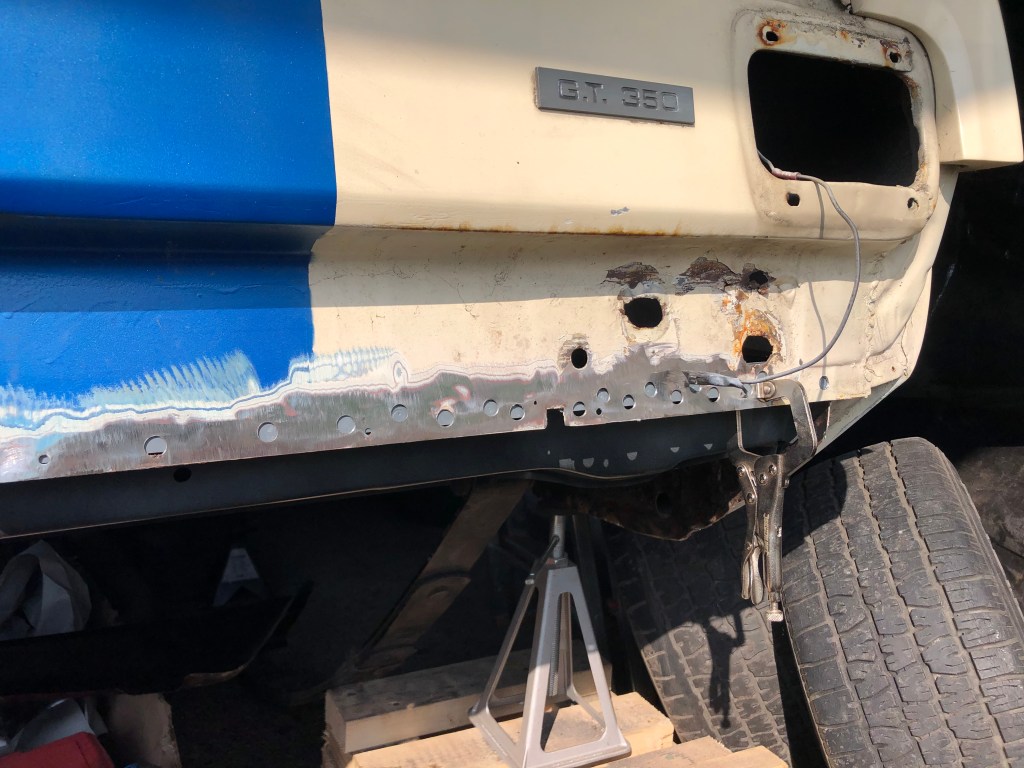
I started to dig deeper into the surface rust and found that it was worse than expected, especially on the passenger side. I could push a screwdriver through in some places. Rather than replace the entire panel I decided to see if I could patch it.
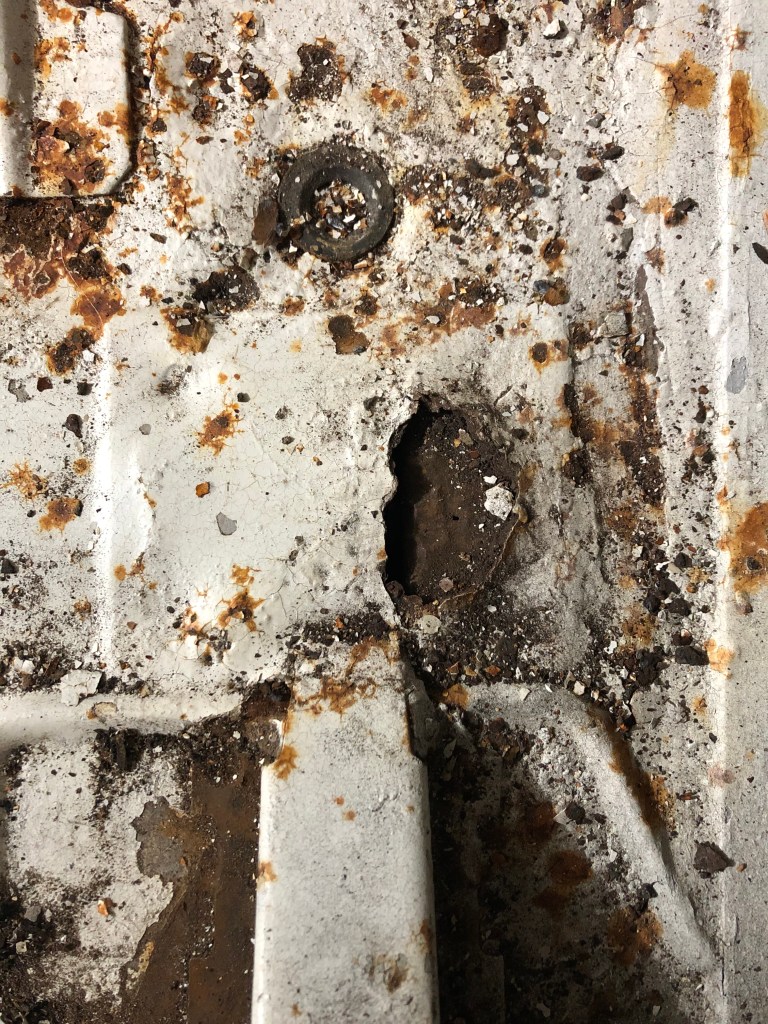
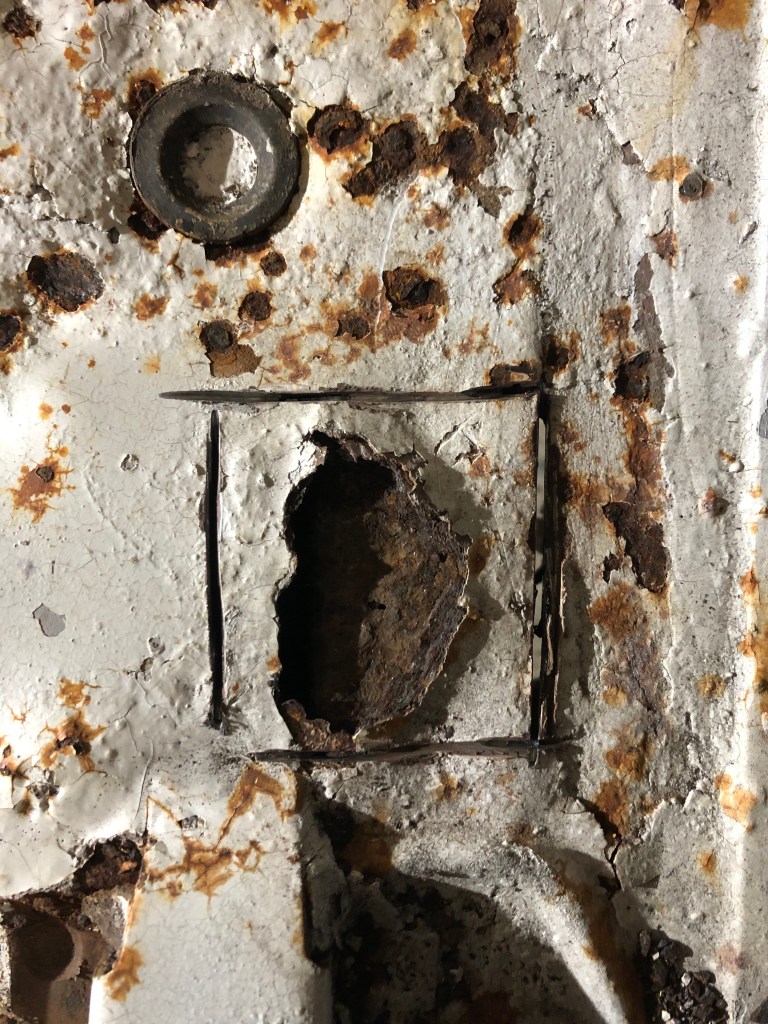

The next step is to grind back to good metal and then cut a piece to fit. However I then found that the area above needs work also. I think this can all be cut out and patched.

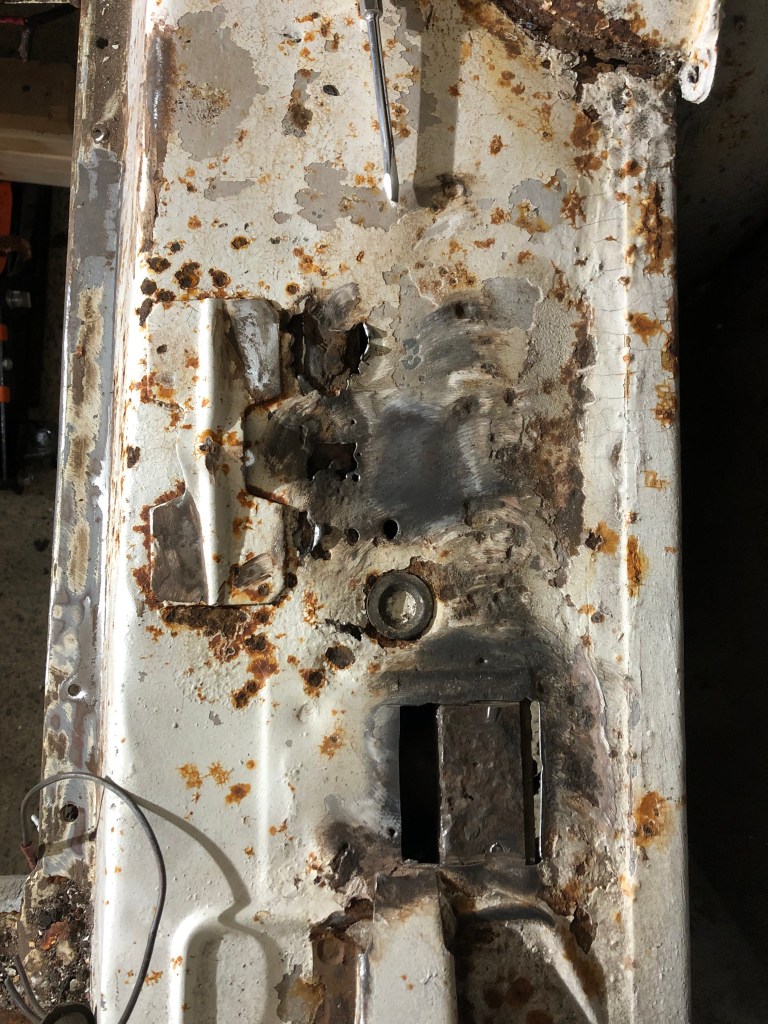
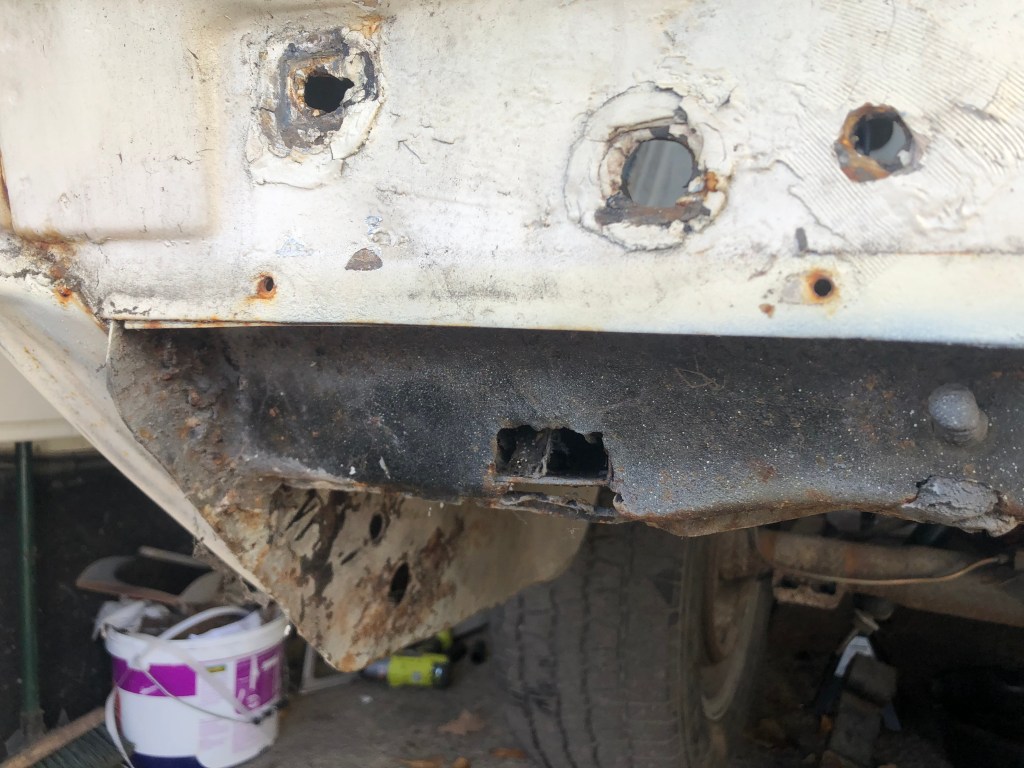
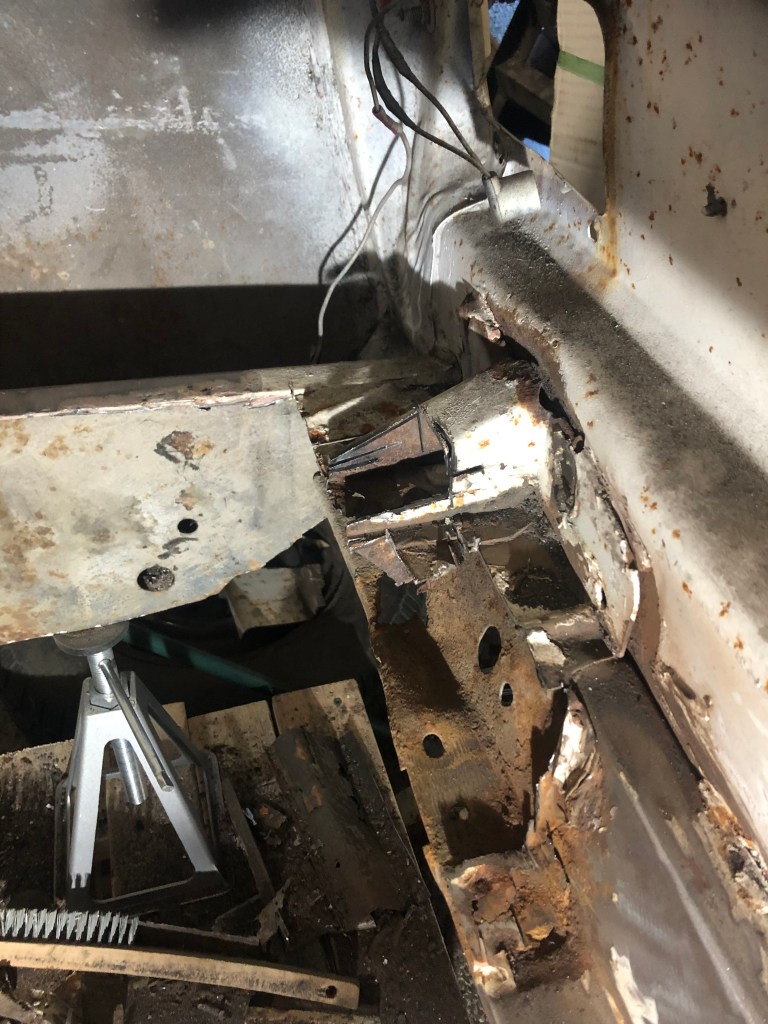
Unfortunately, once I ground away some more rust I found more holes and the top of the frame rail flanges are rotten. Because of this I made the decision that I’ll need to replace the top of the frame rails on both sides which also means replacing the trunk floor (left & right).

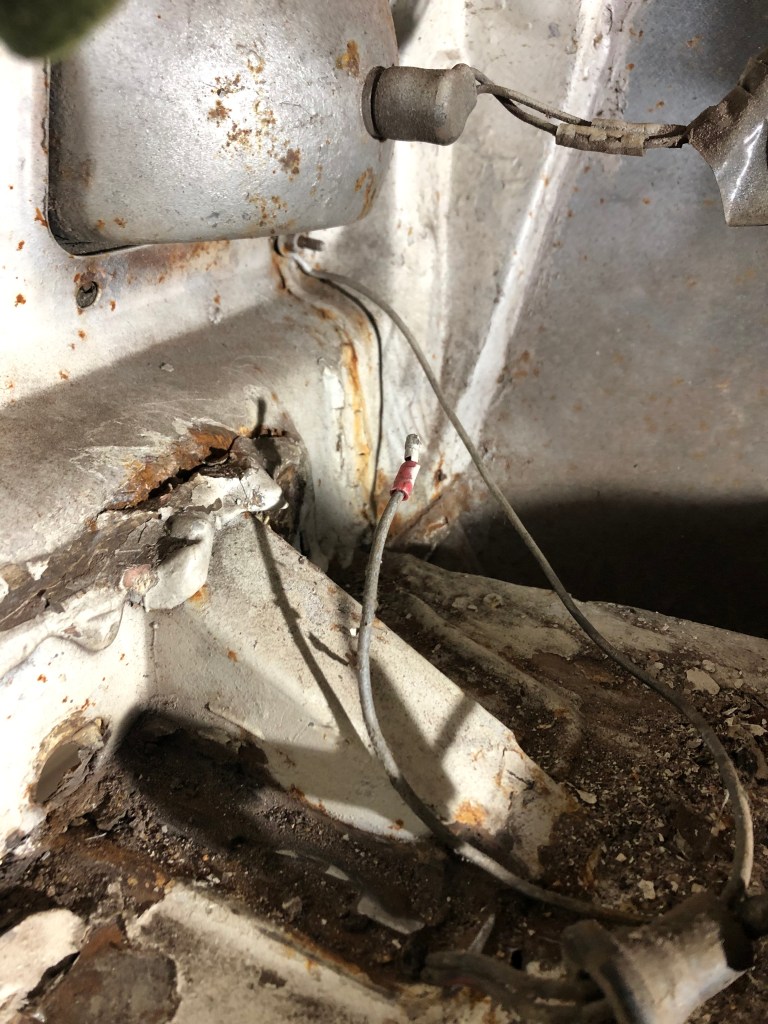
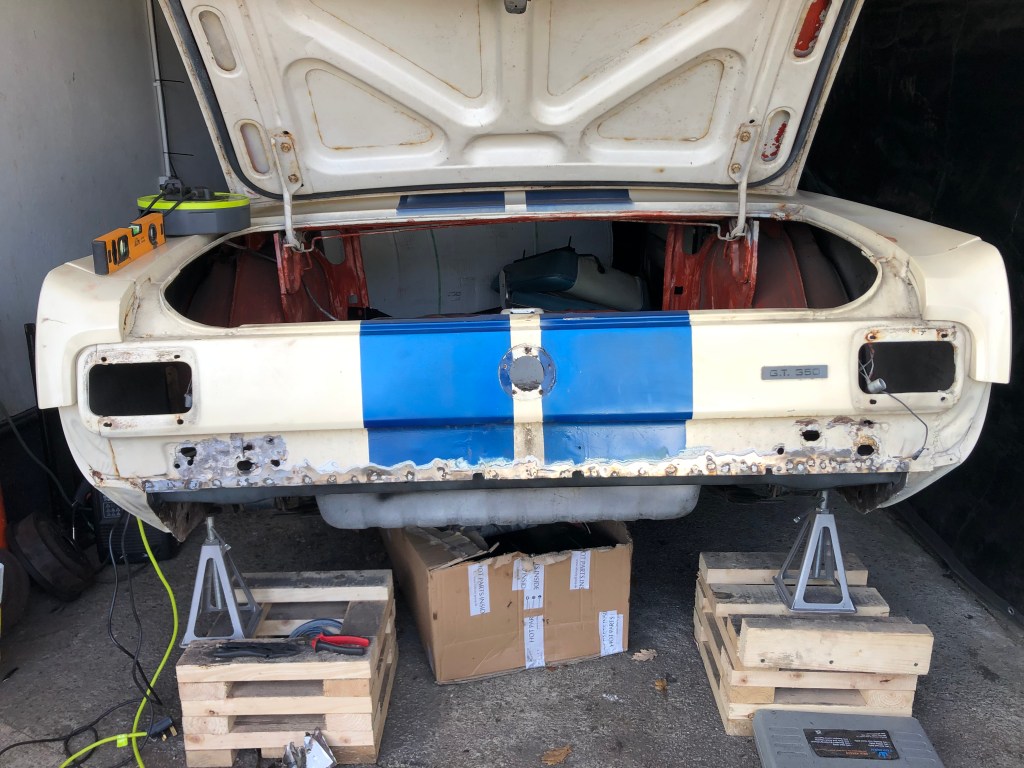
I removed the bumper and rear lights. The wiring is very old so I may also replace the wires when it comes time.

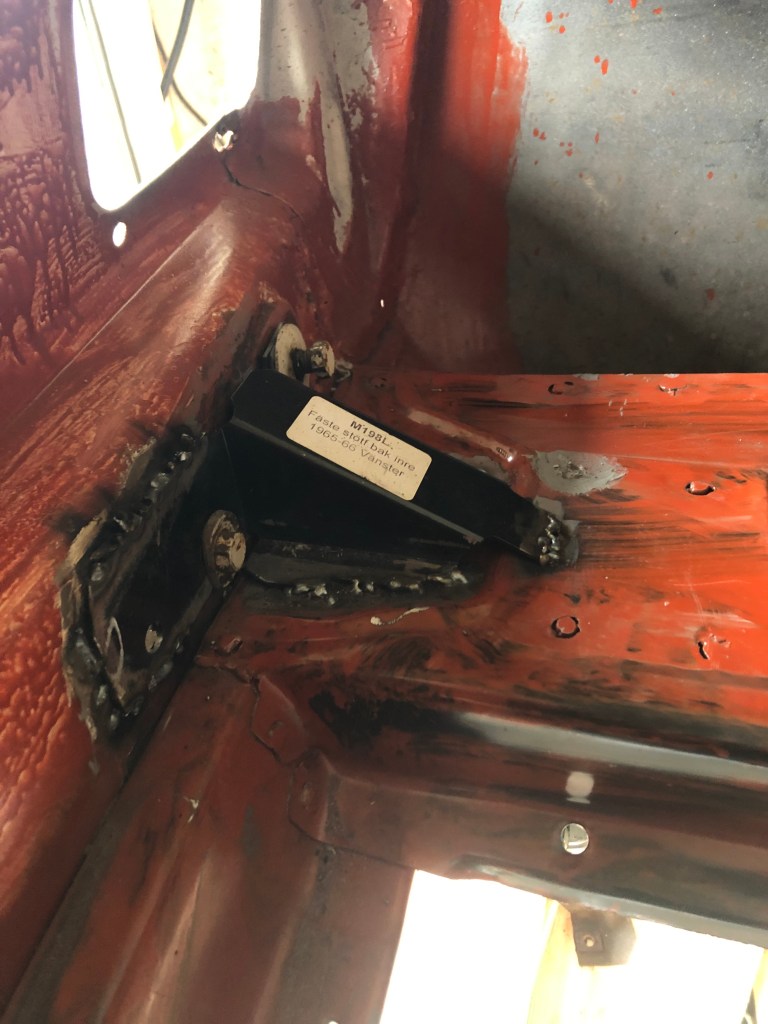
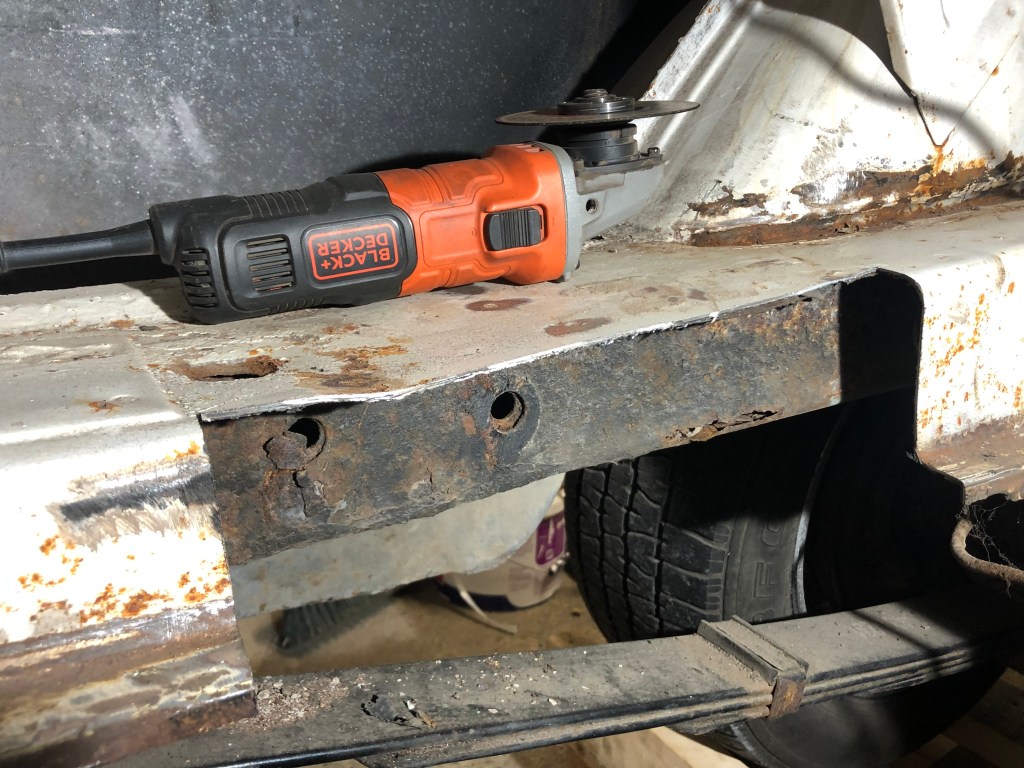
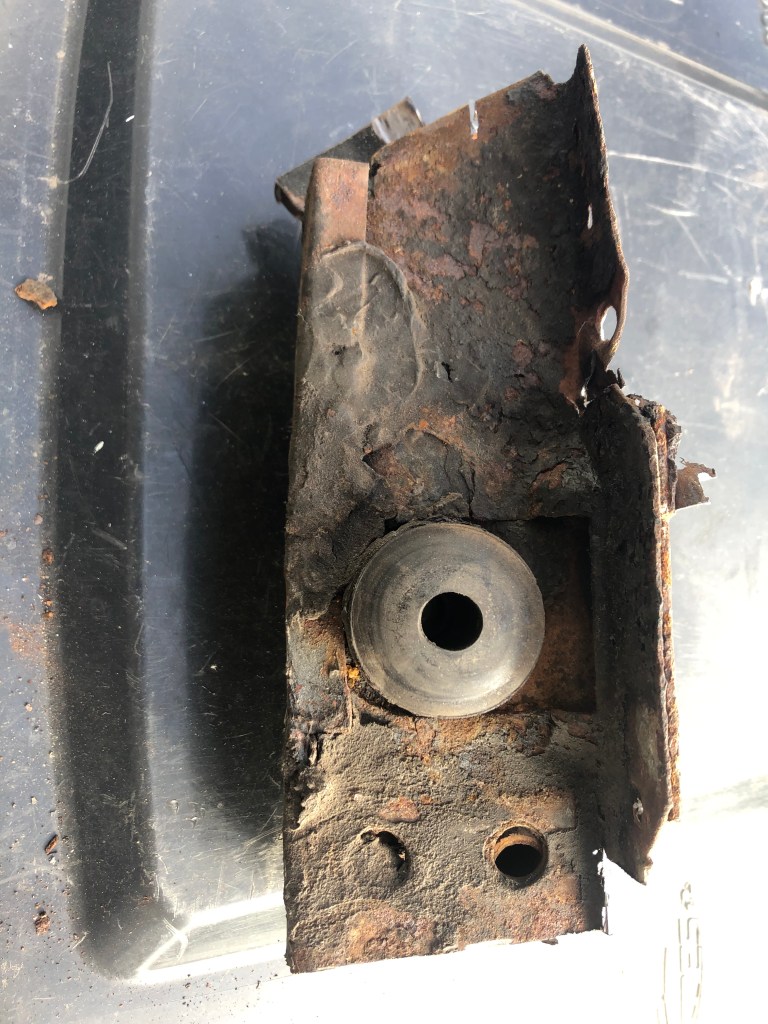
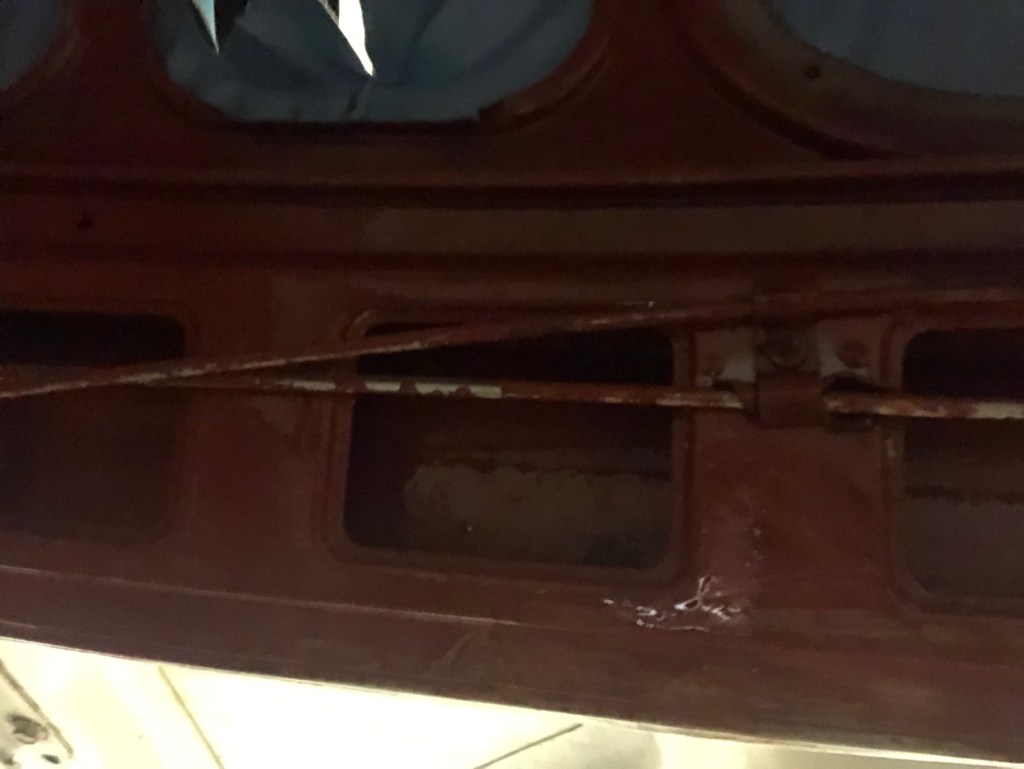
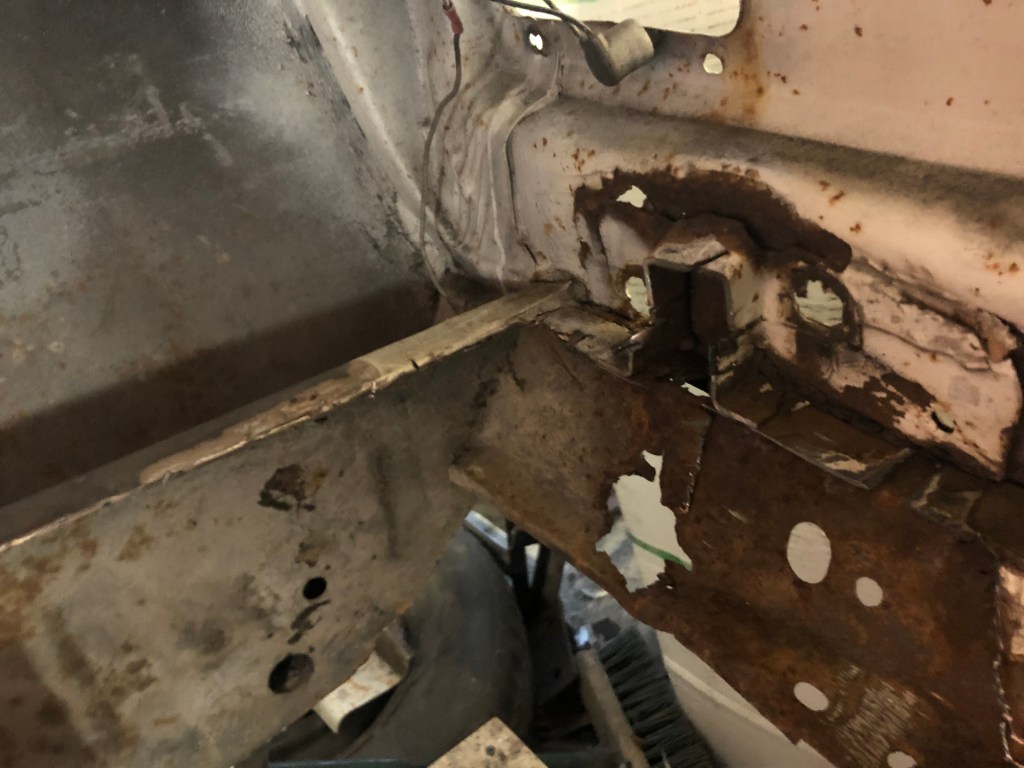
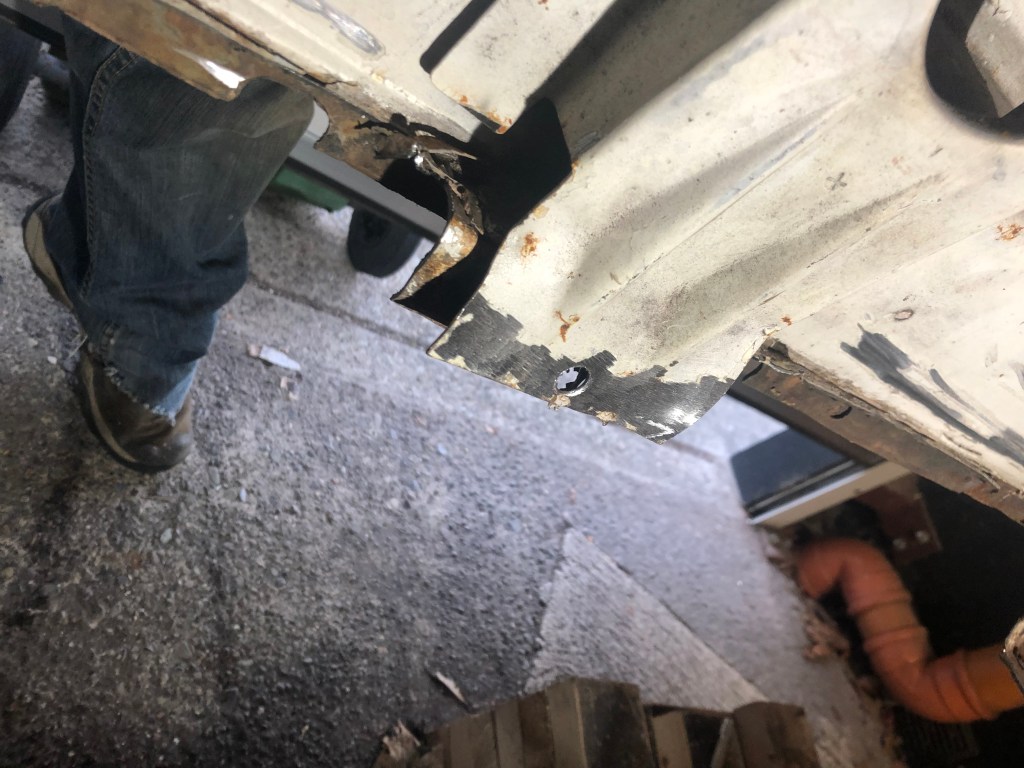
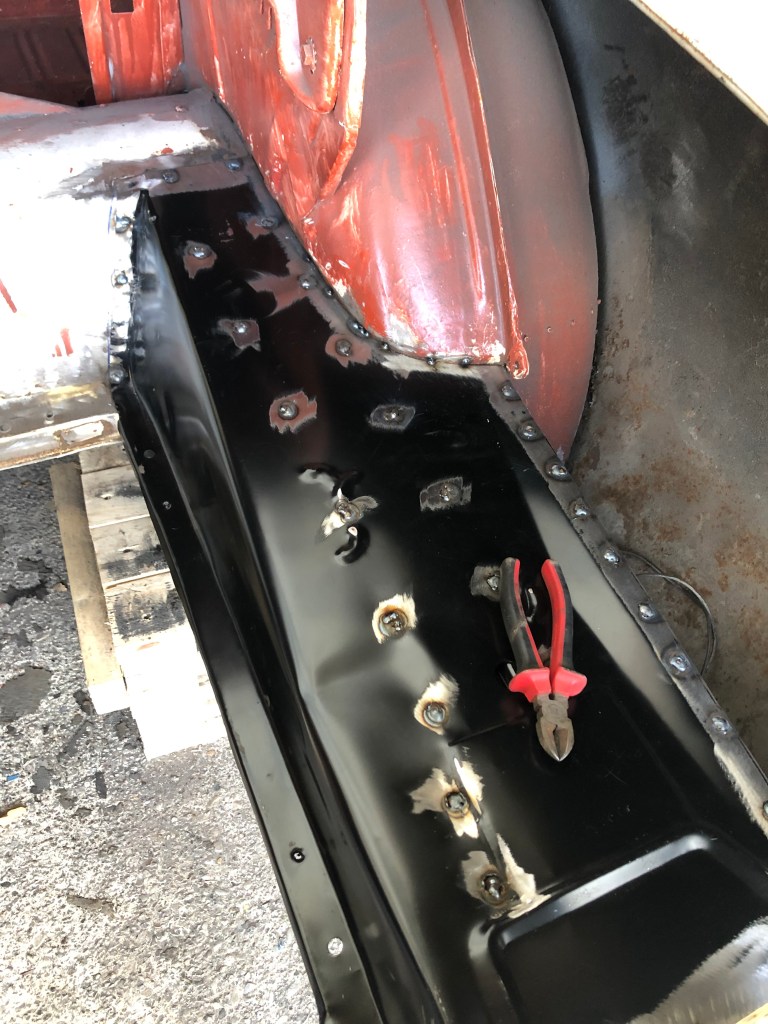
The internal bumper bracket is welded to the top of the floor and as all of this needs to come out it looks like I’ll need to replace those as well. As you can see in the picture below they are in poor condition and absolutely caked in seam sealer and rust.

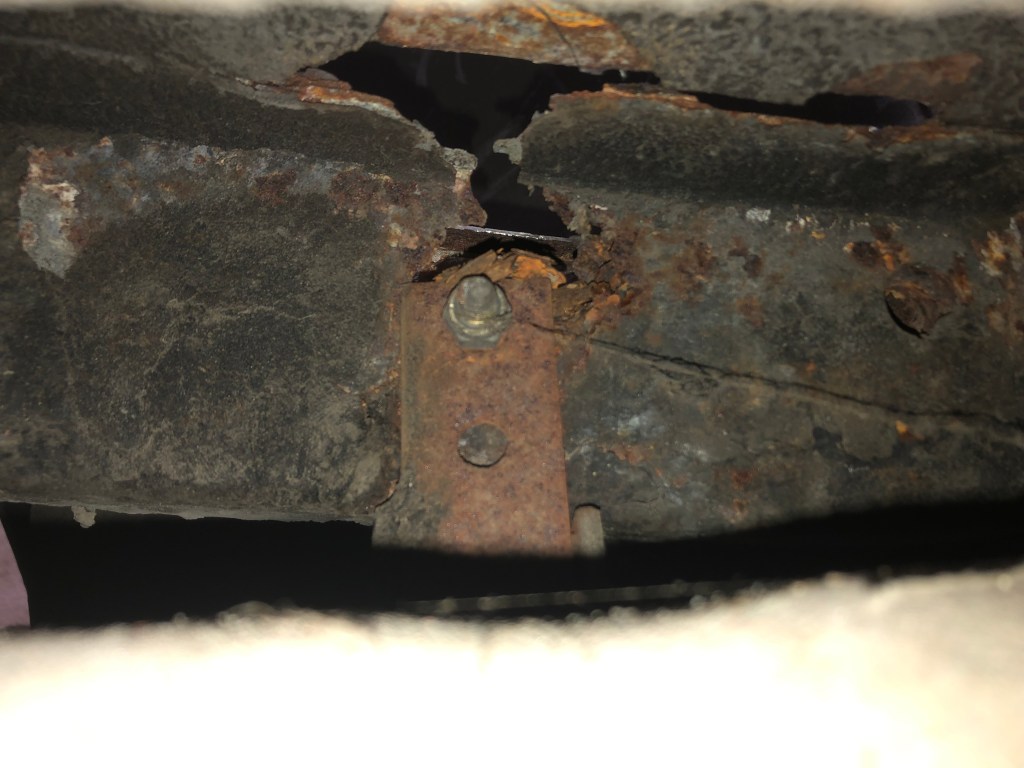
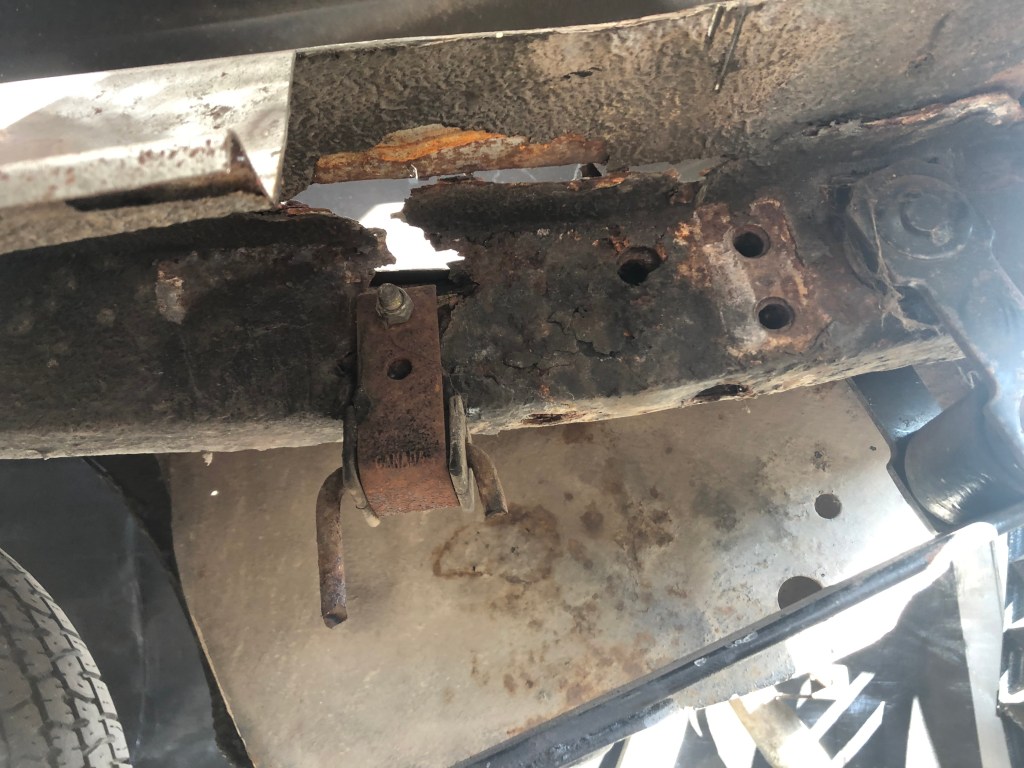
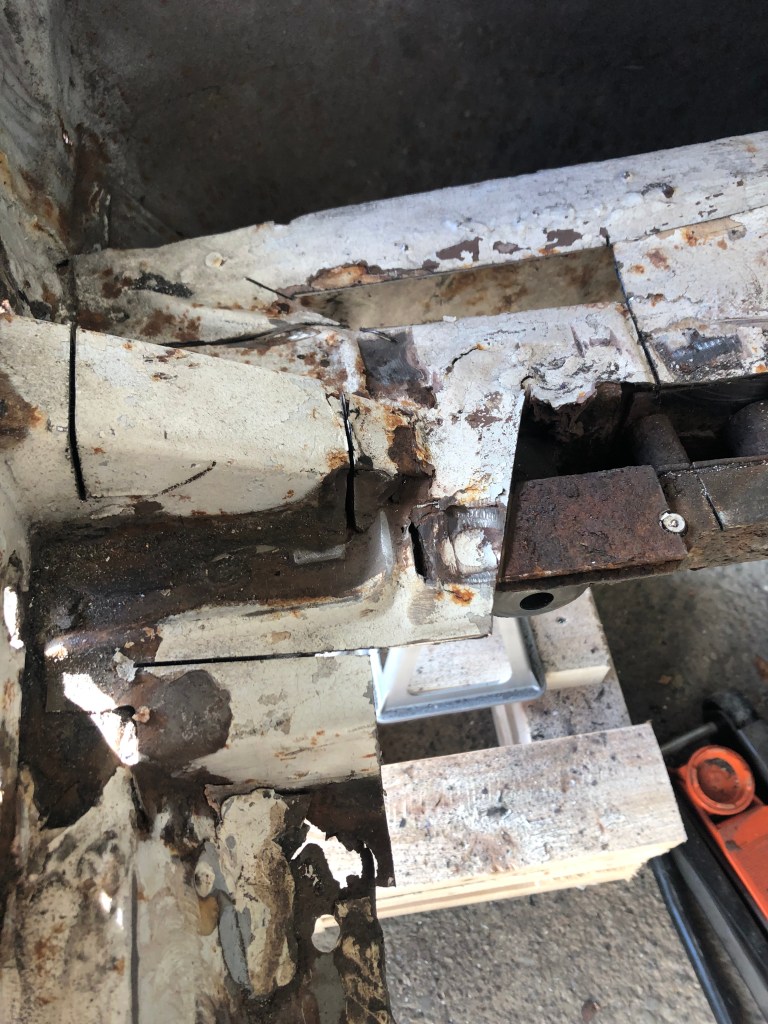
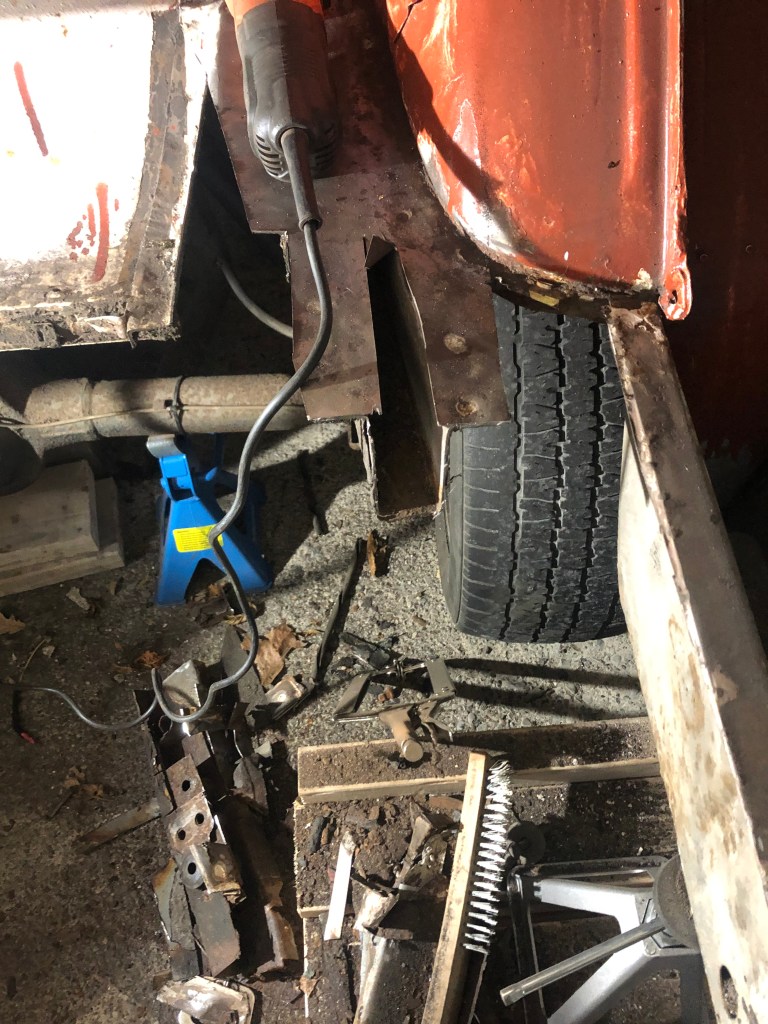
I started on the trunk again today, cutting out some of the drivers side floor, exposing the frame rail so I can see where I need to cut it & splice in the new piece. The spot weld cutting tool proved its usefullness again, making it easier to pop off the old metal. As expected the rail is completely rotten around the leaf spring shackle. There is also a rust hole about a foot back from the back, which is where I’m thinking will be where I cut it.

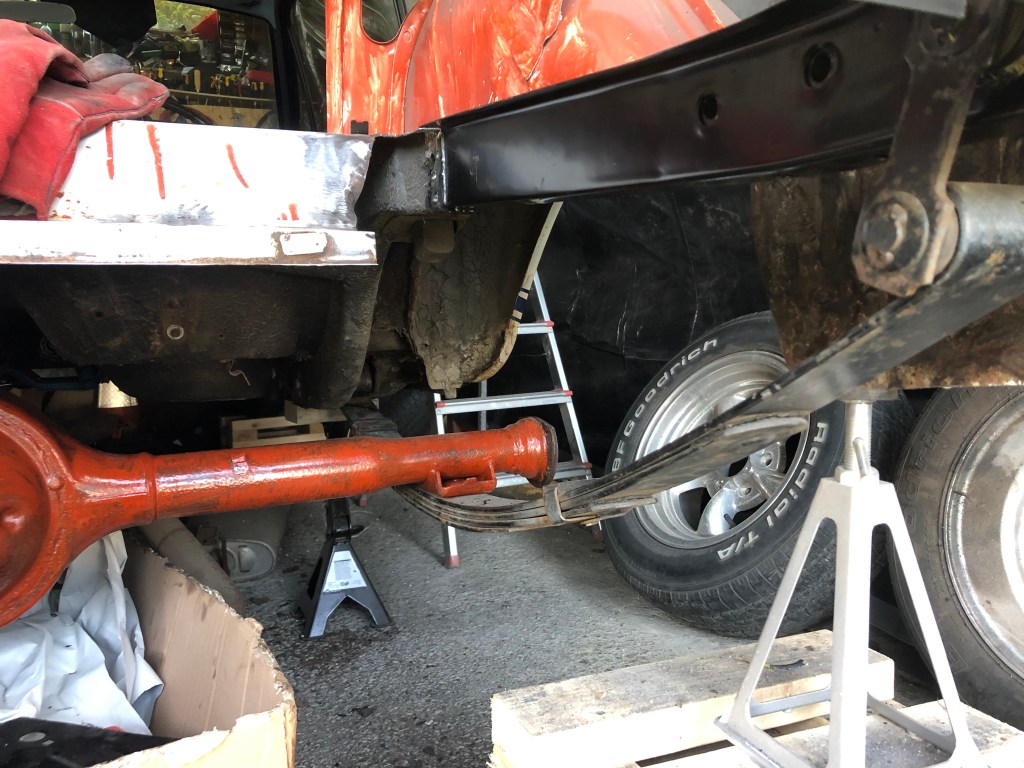
Update: The rear end is out. You can see how I removed the springs & differential here
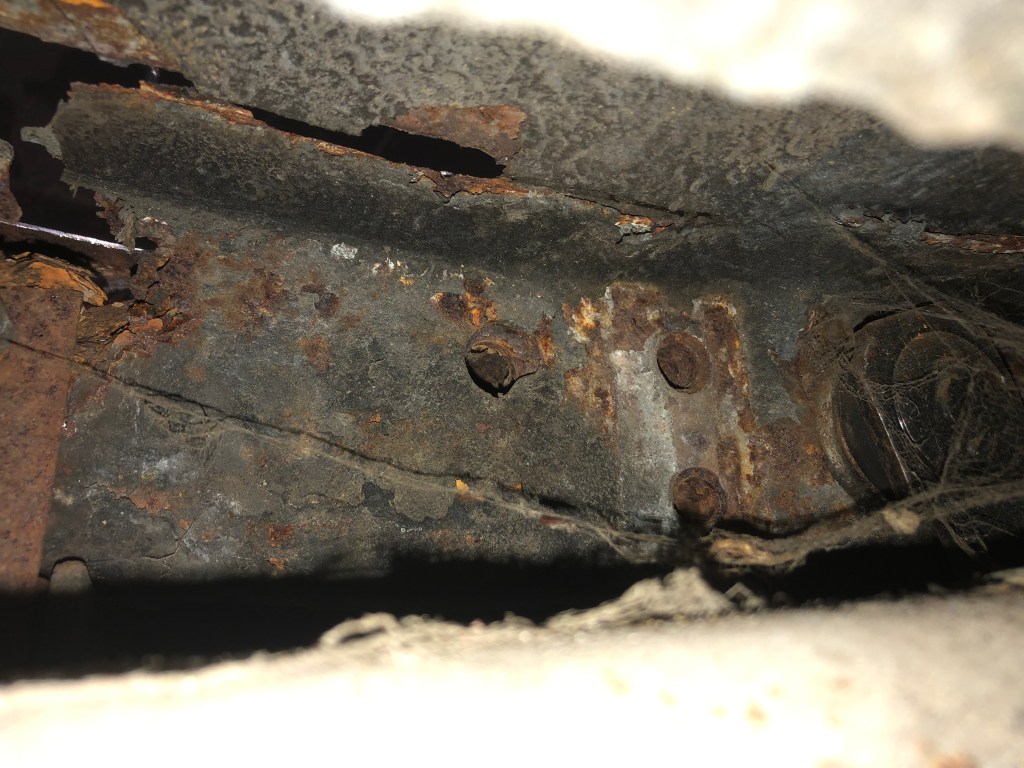
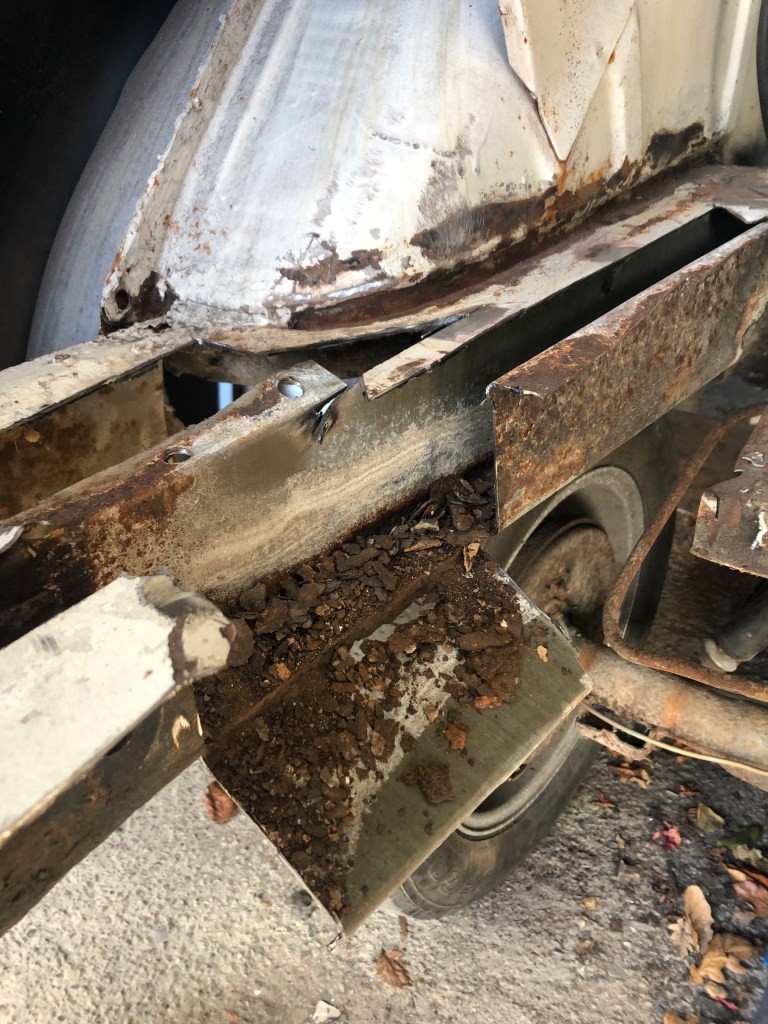
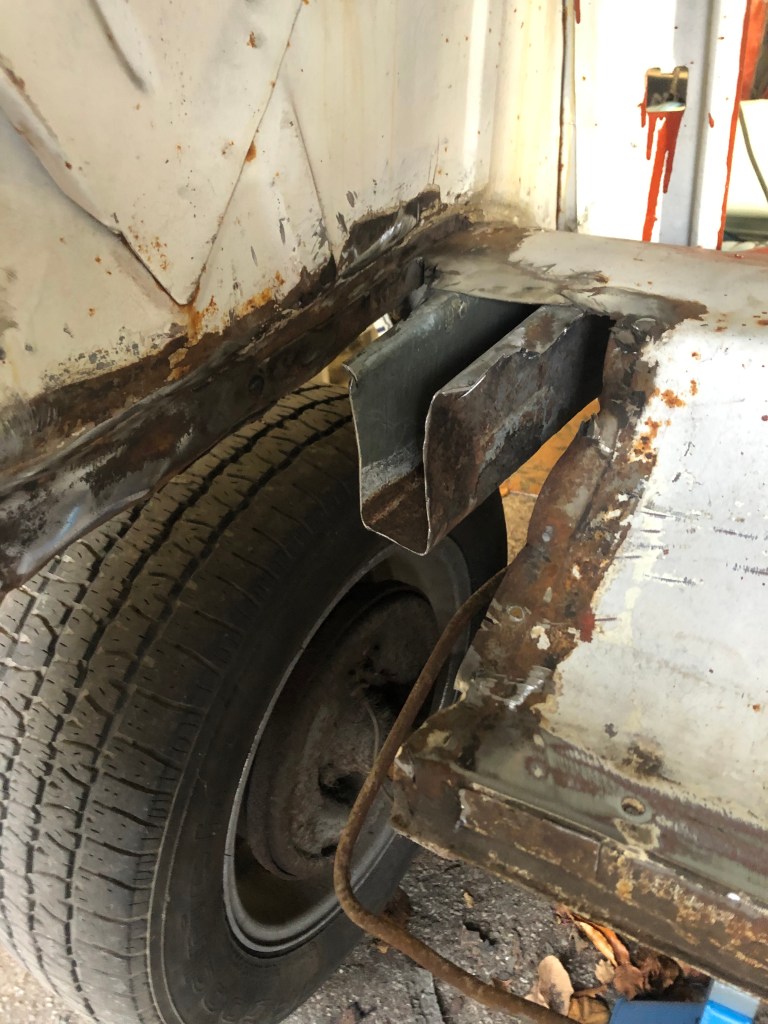
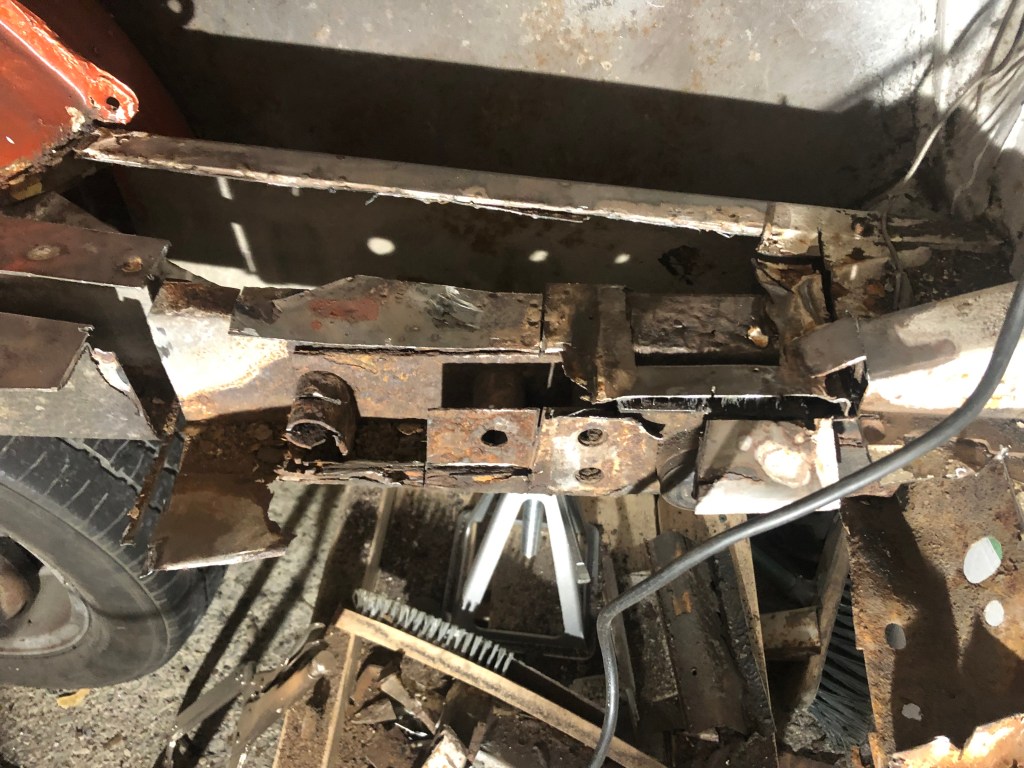
With the leaf springs and old exhaust out of the way the true extent of the horror can be seen. The frame rail, especially the passenger side is rotten. I think I caught it just in time.
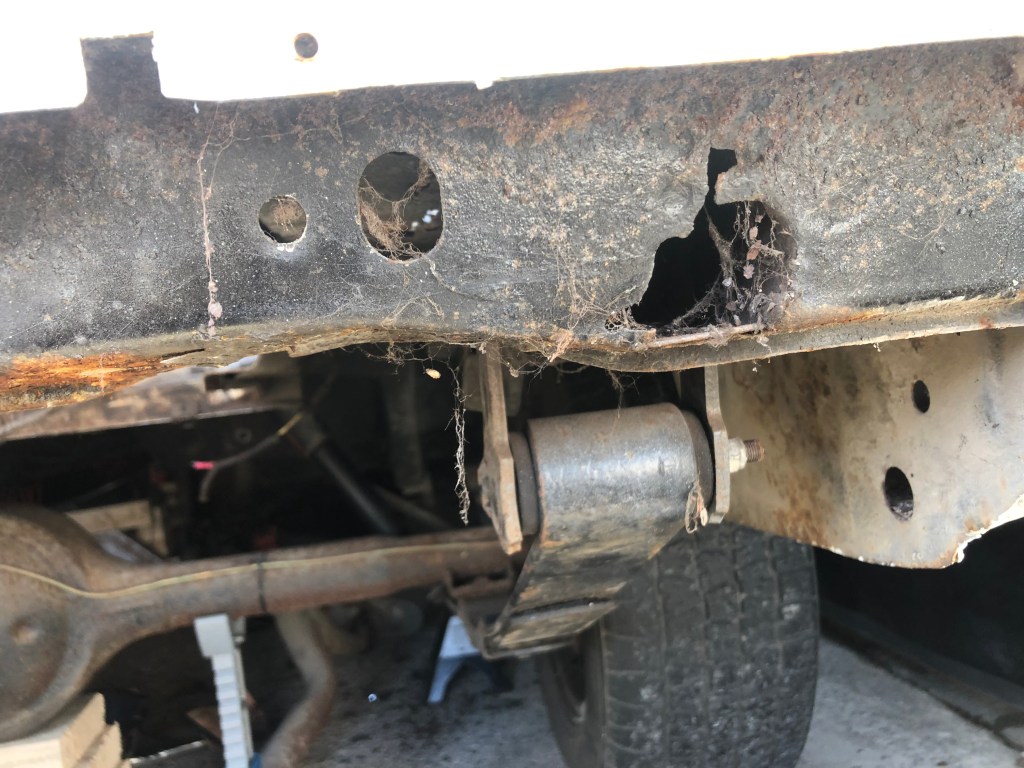
I started on the drivers side rear frame rail today. As I wasn’t keeping any of the existing sheet metal I just went to town with a grinder & cutting disc. After cutting away the floor I cut a window into the frame rail so I could remove all the rust before cutting it completely out.

The bumper brace was a pain in the a$$ to remove but after about 45 minutes it was out. You can see by the pictures just how bad it was. Thankfully the leaf spring shackle bushings are ok (only 6 years old) so I removed them to be used in the new frame rail.

I then measured how far back I would need to cut the frame in order to splice in the new part. Thankfully the rust in the bottom of the frame didn’t go that far back. I’m pleased with how it fits but before I can do anything else I need to weld a patch on the trunk brace, which is where the new frame will also be welded. I was going to replace the entire trunk brace but to do this I would need to drill out about 30 spot welds, remove the gas tank filler tube and also detach it from the passenger side. I don’t want to do this as there is more chance of the car getting out of alignment. The good news is that the trunk drop offs on both sides of the car look to have been replaced not so long ago. In fact the entire floor does appeare to have been replaced at some point as there are metal screws holding the trunk floor to the drop off!


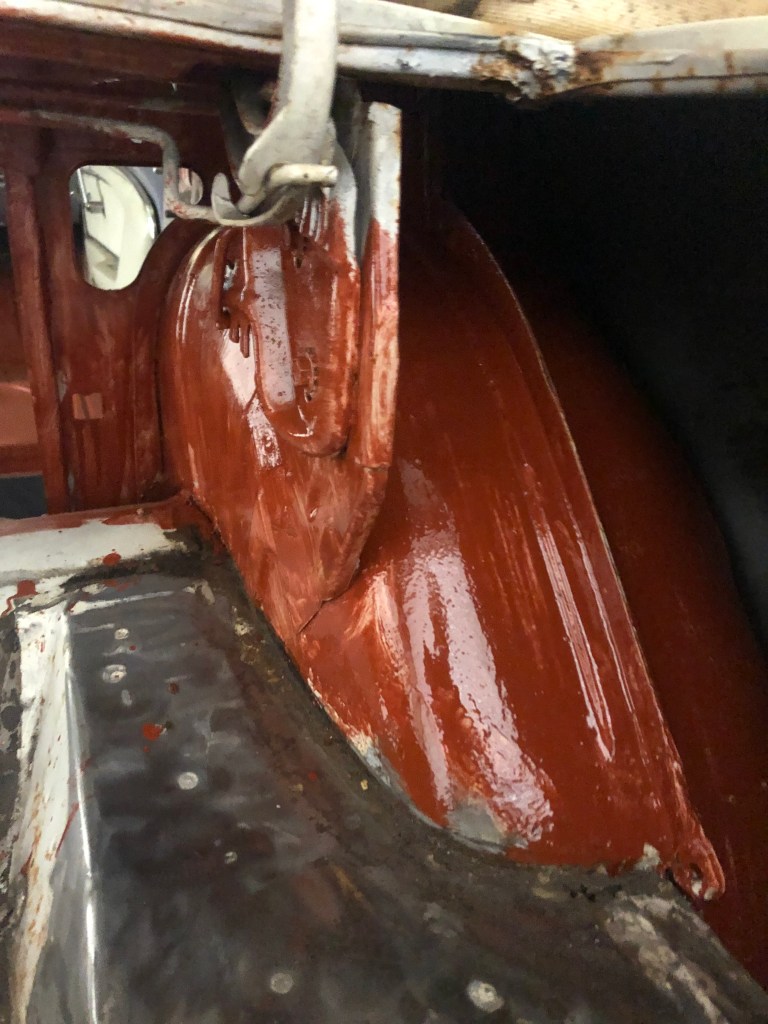
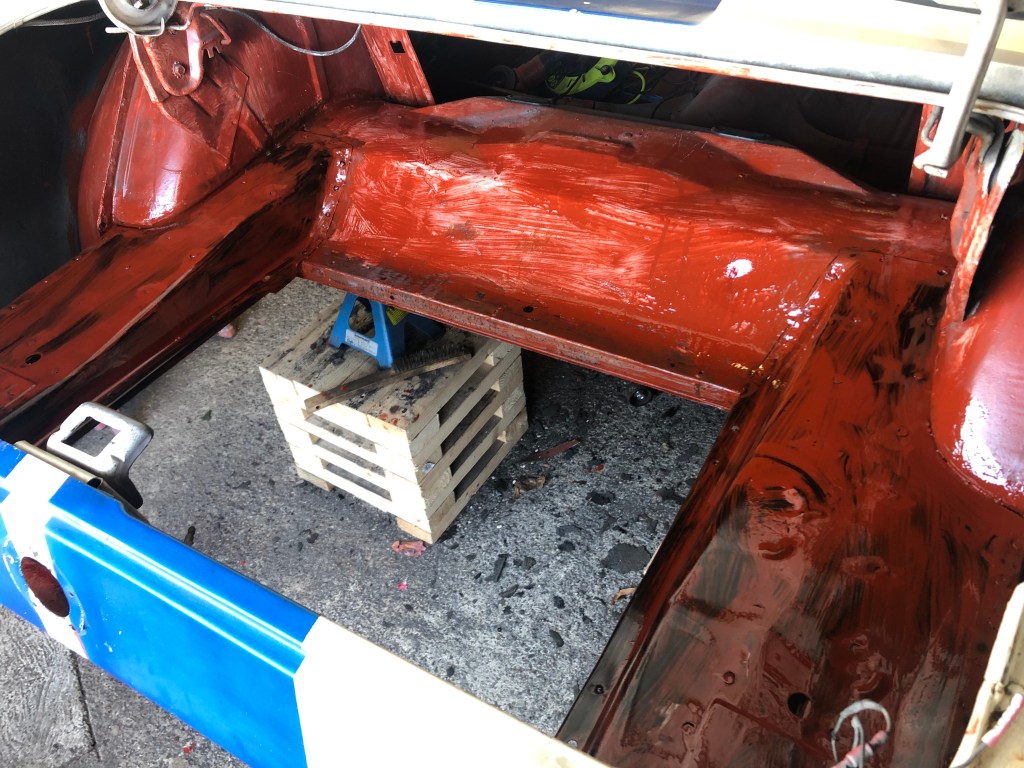
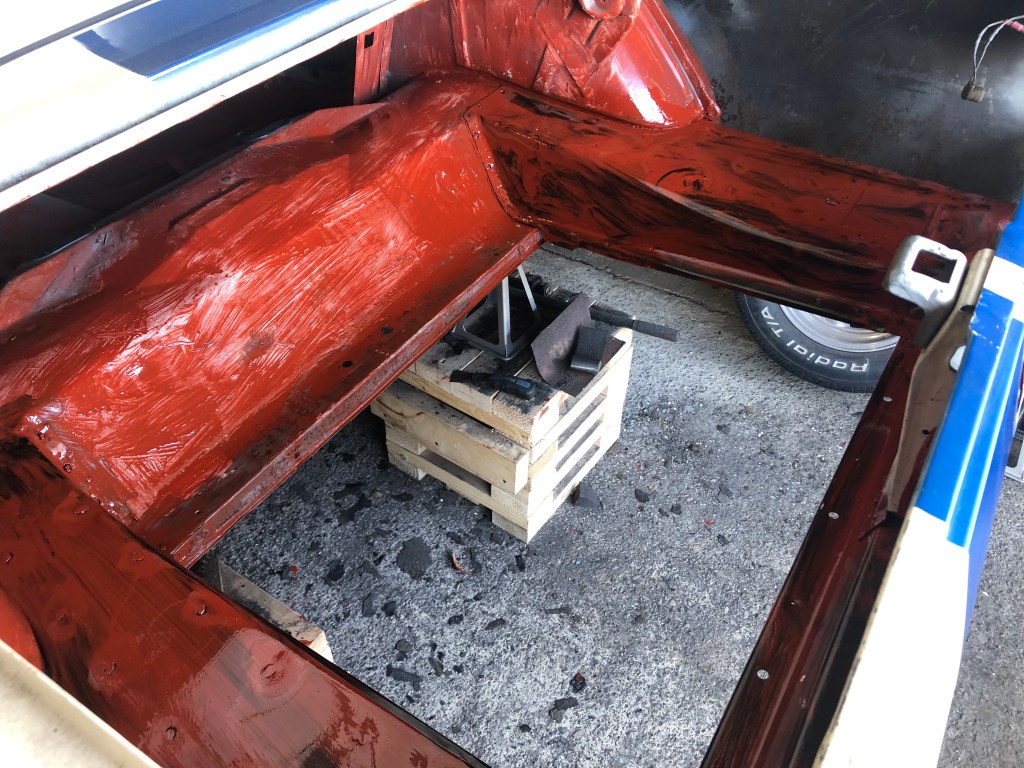
Whilst there was a bit more room in the trunk I decided to apply a coat of rust inhibitor anywhere I could get the brush. There was quite a bit of surface rust under the rear parcel shelf which I first attacked with a wire brush.

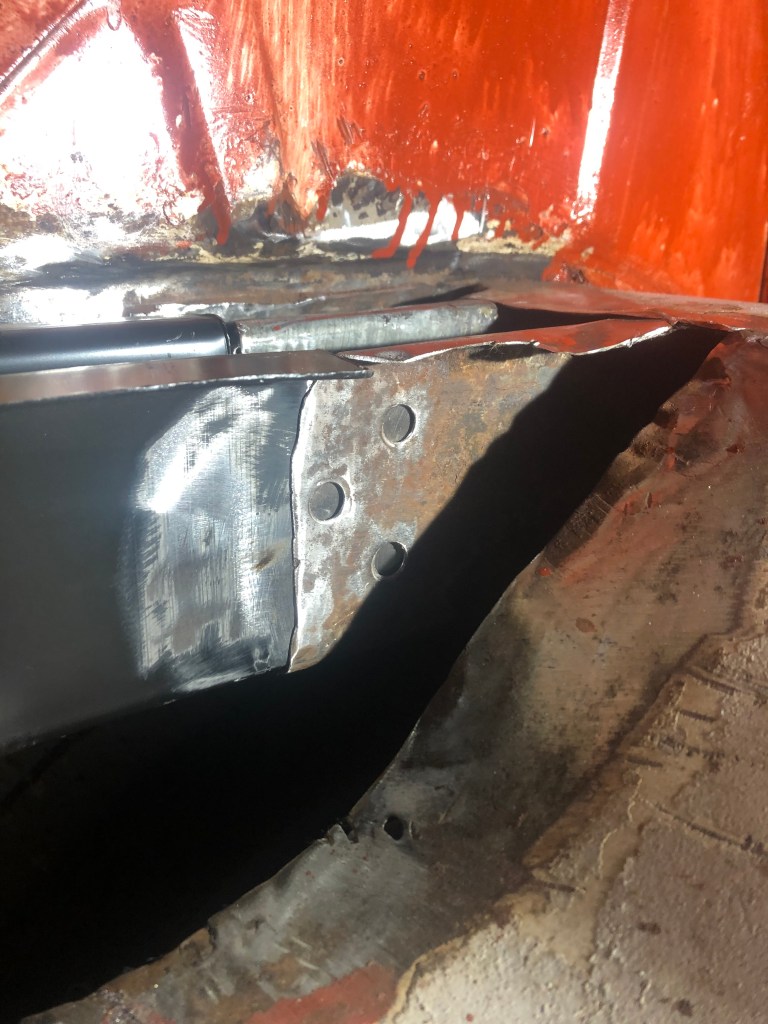
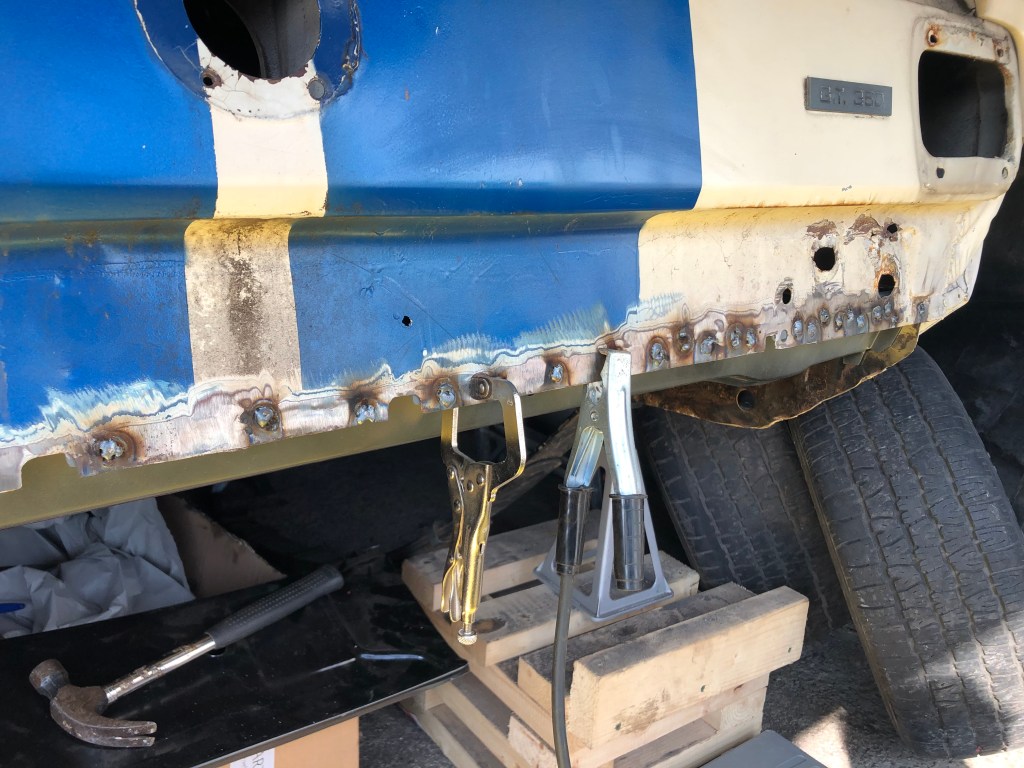
I decided to use 3 plug welds on each side of the frame rail plus two on the inside. I used my mini sander to get the old frame rail down to bare steel to ensure the best weld possible. I also used 4 plug welds at the trunk brace end of the frame rail plus one on the bottom lip. I then ran a bead on both sides of the frame rail where it meets the old frame. The result is a very solid driver side frame.

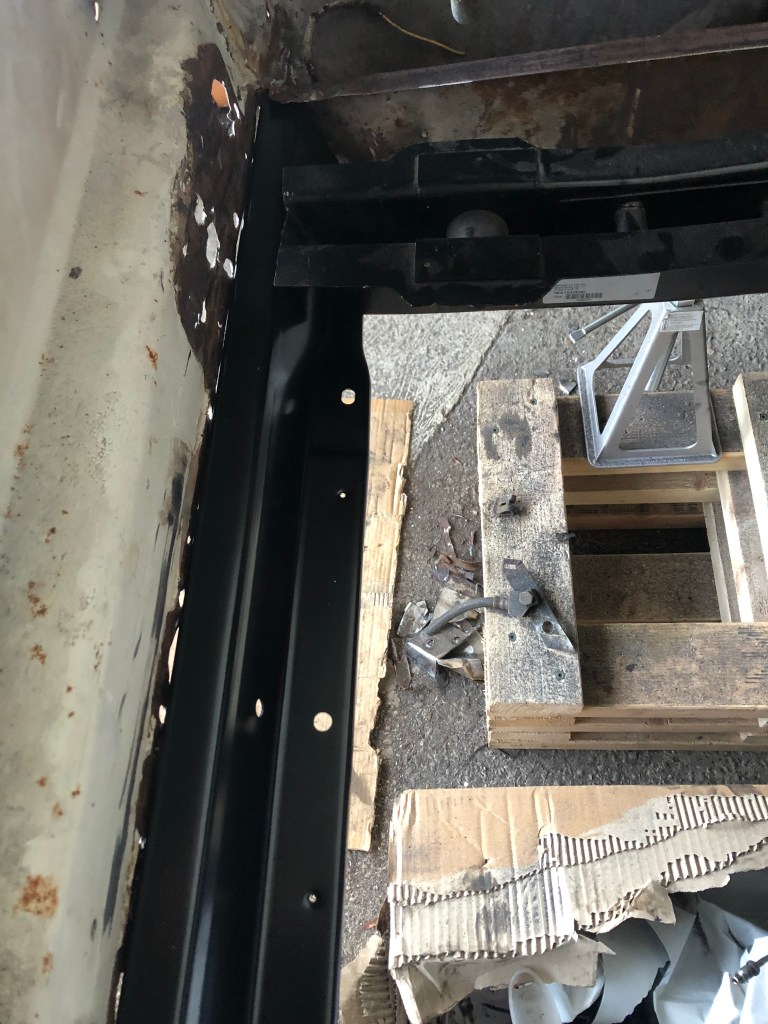
Before starting on fitting the trunk I decided to first replace the rear section of the passenger frame rail. This way I can take measurements, test fit the fuel tank etc
The passenger frame rail was actually worse than the drivers side. Once I cut it through the middle it wasn’t very hard to just pull it away from the trunk brace!


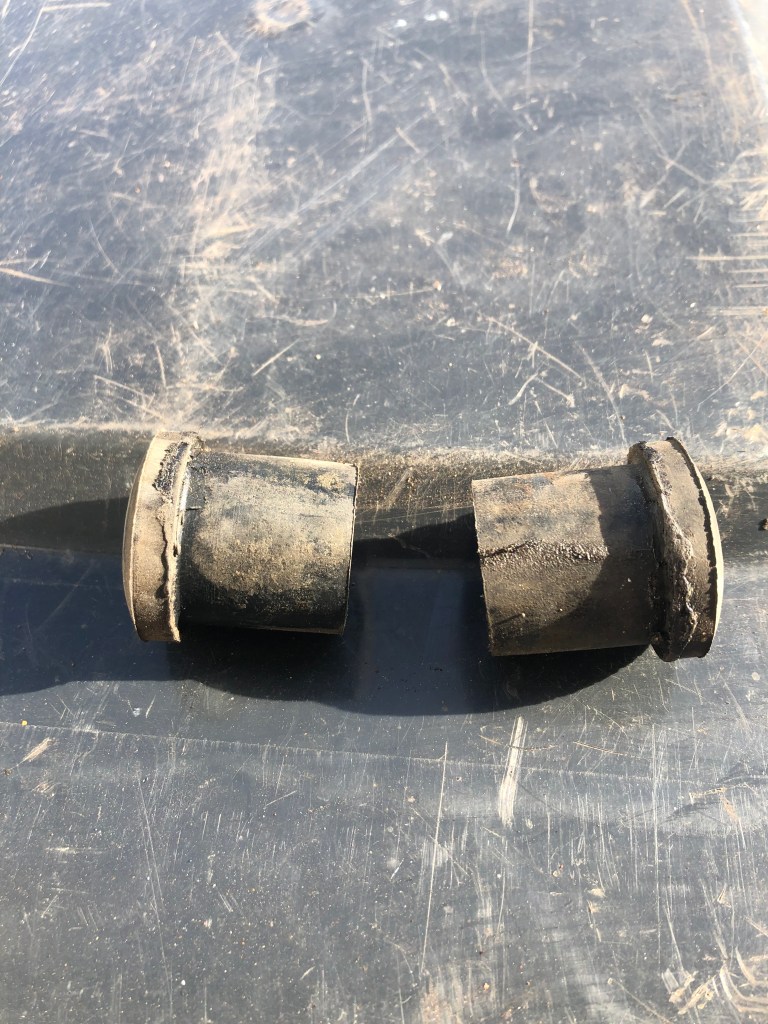
The leaf spring shackles, just like the drivers side, are re-usable as they are only 6 years old.
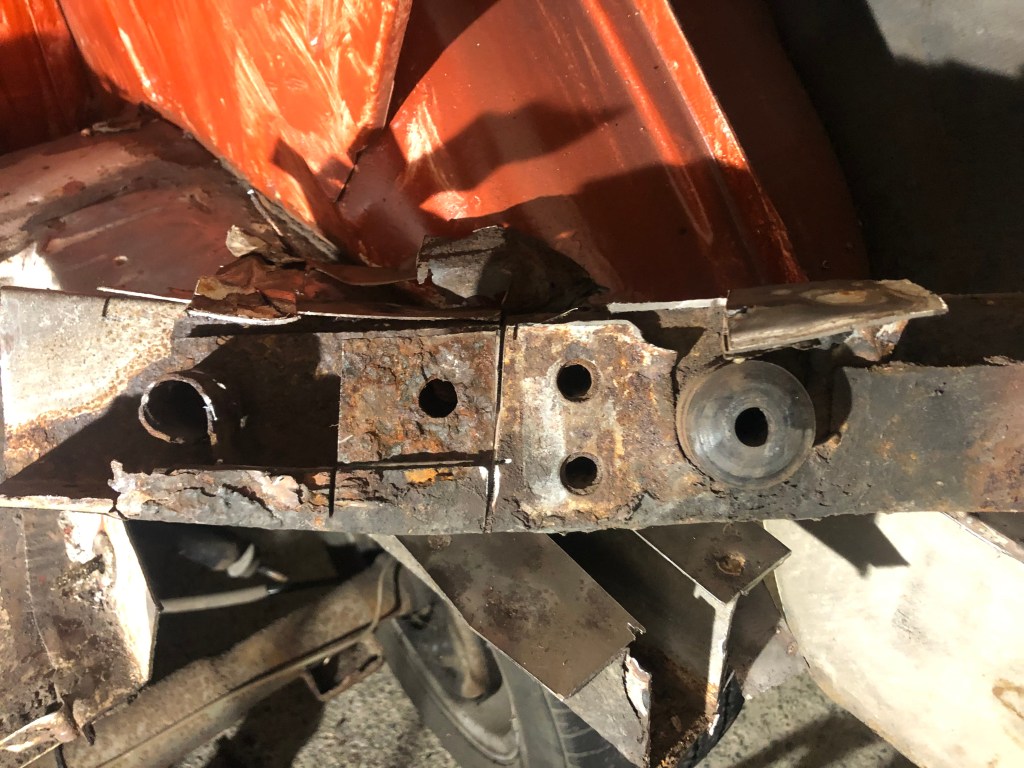
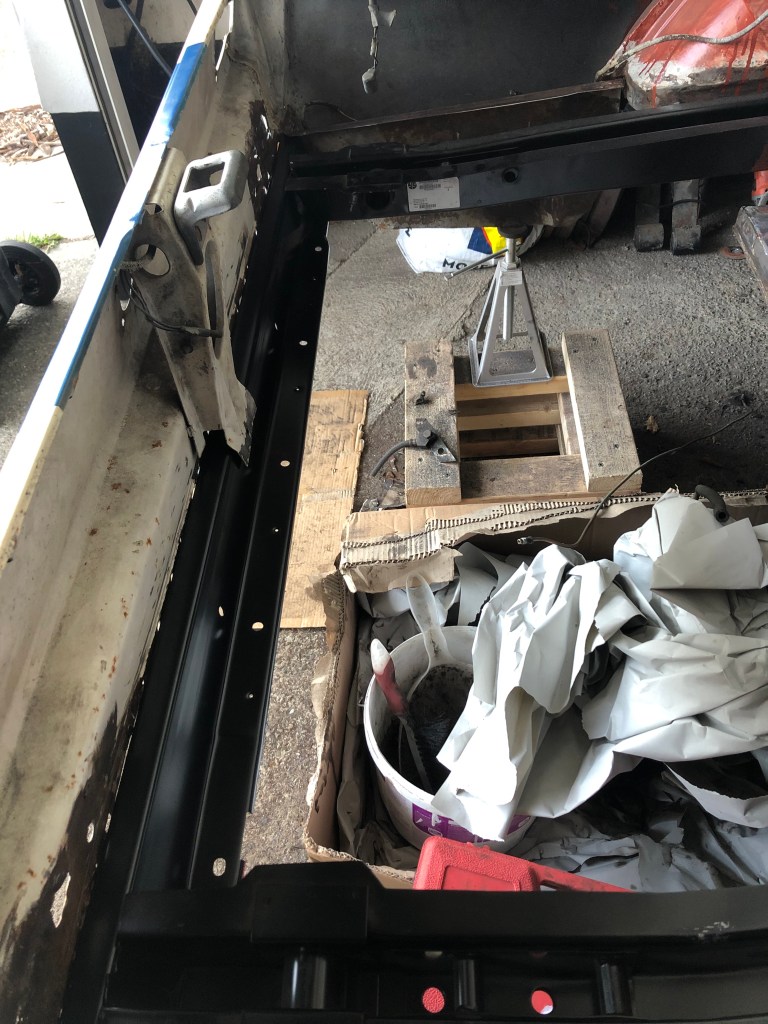
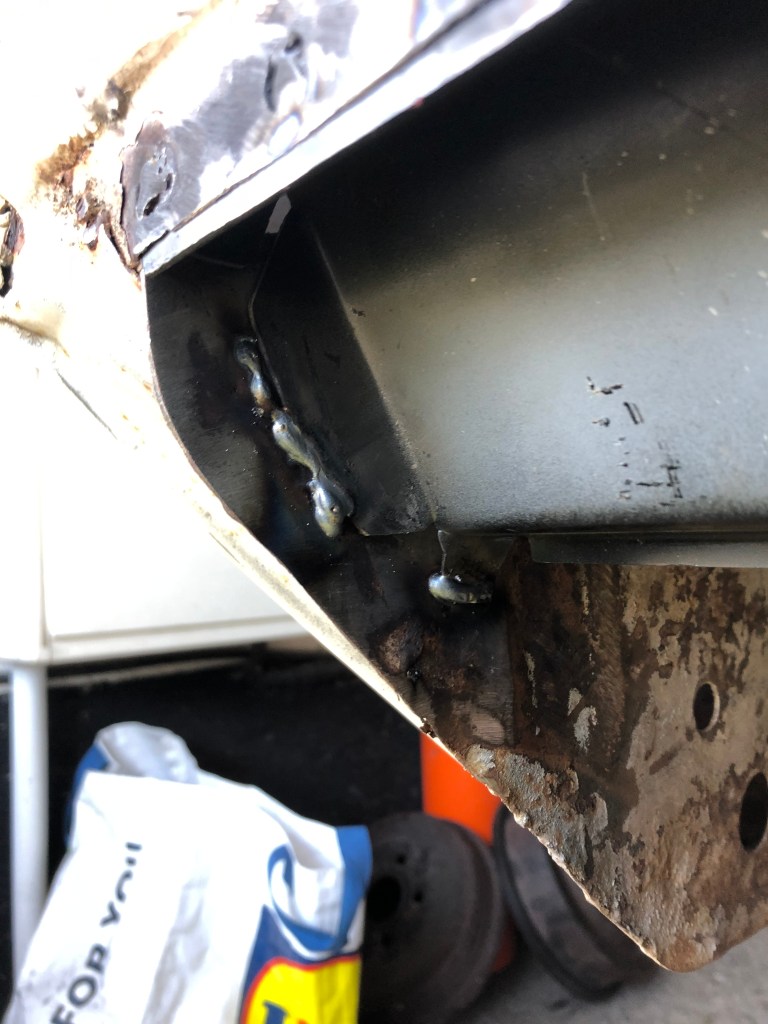
I continued to hack into the bumper brace and then made the cut in the frame rail and to my great relief the replacement rail fits pretty well.

I made the decision to remove the entire trunk brace, rather than try and patch it up. I realised that my desire to complete the car was making me cut corners. Replacing the brace is the right thing to do as I will have nice sold steel in the car and not something that will rust quickly. This means I need to drill out the spot welds I’ve used on the replacement drivers side frame rail, but this shouldn’t be too much of a problem. I have about a week before the new parts arrive but I’ve enough projects on the car to keep my busy.
The three pictures below show where I have started to remove the old brace.


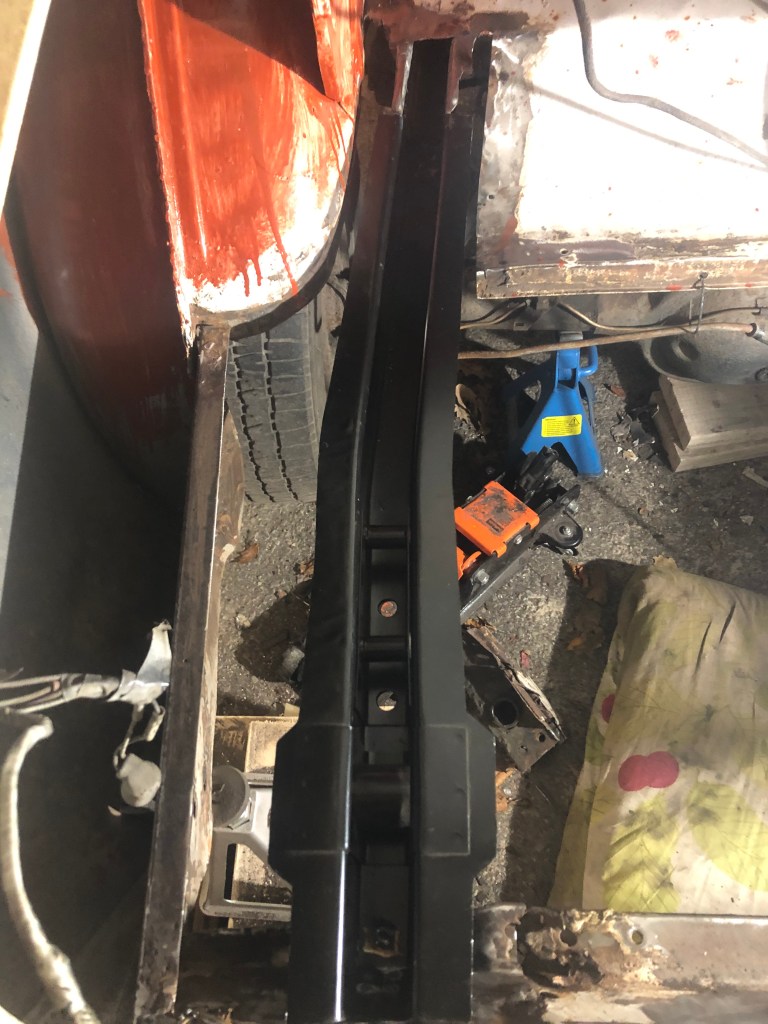
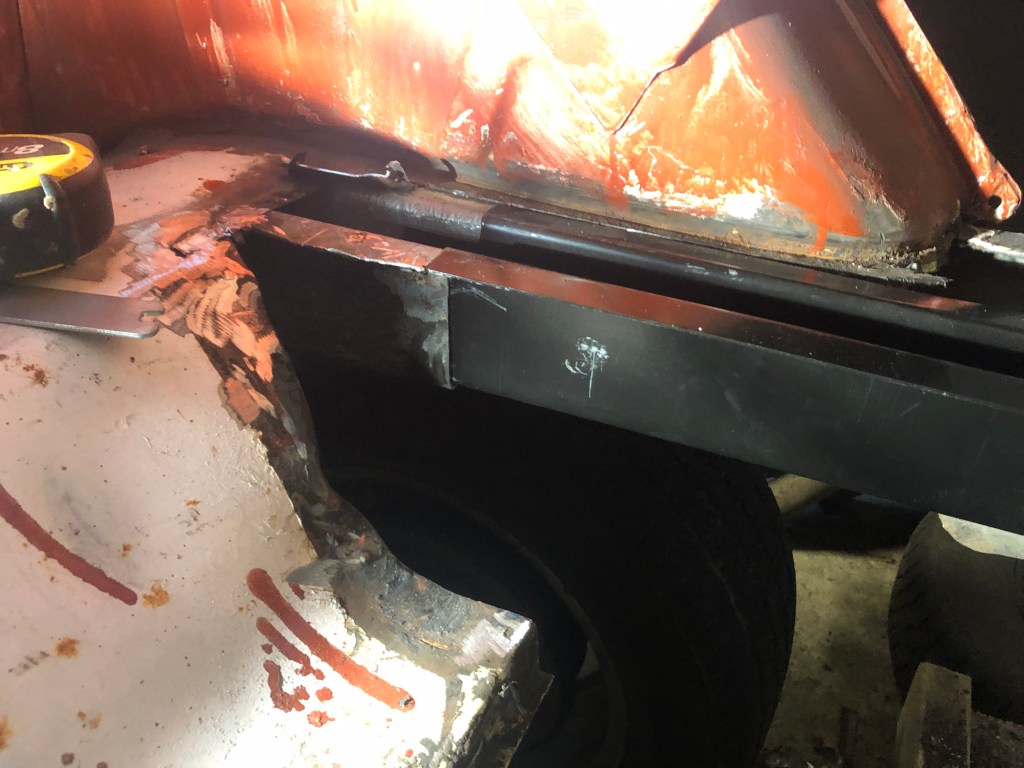
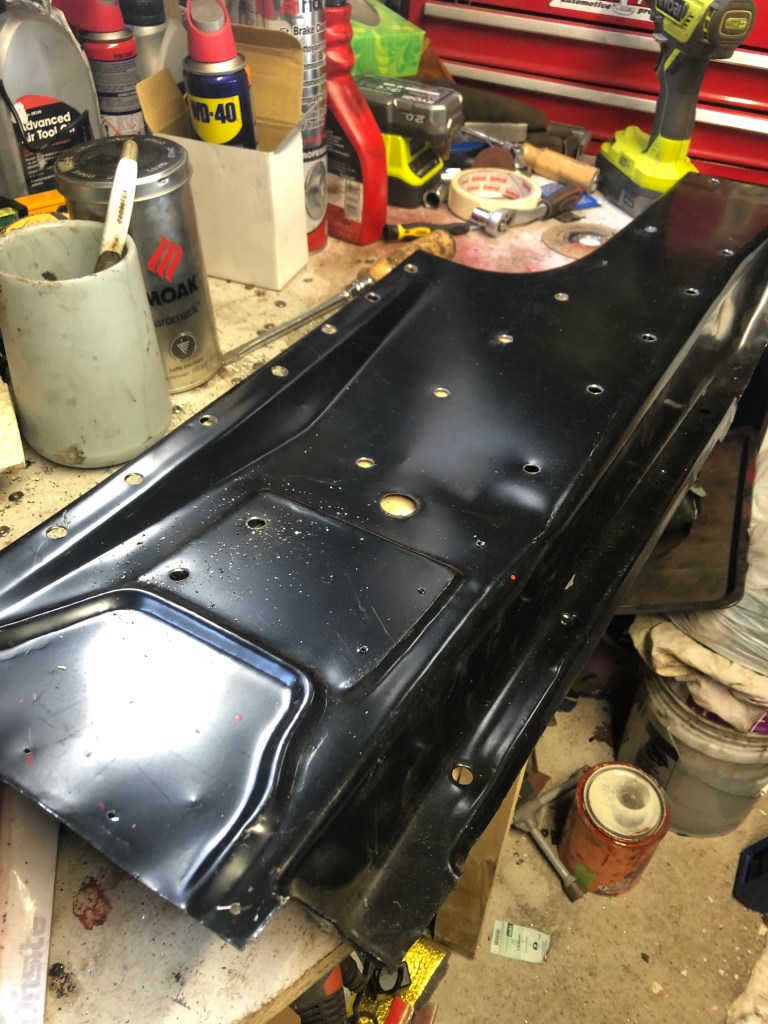
Once the old brace was removed I test fit the new one and was pleasantly surprised to see that it fit reasonably well. I have found that the valance mounting screws don’t line up with the holes in the rear panel, but that’s not the end of the world.
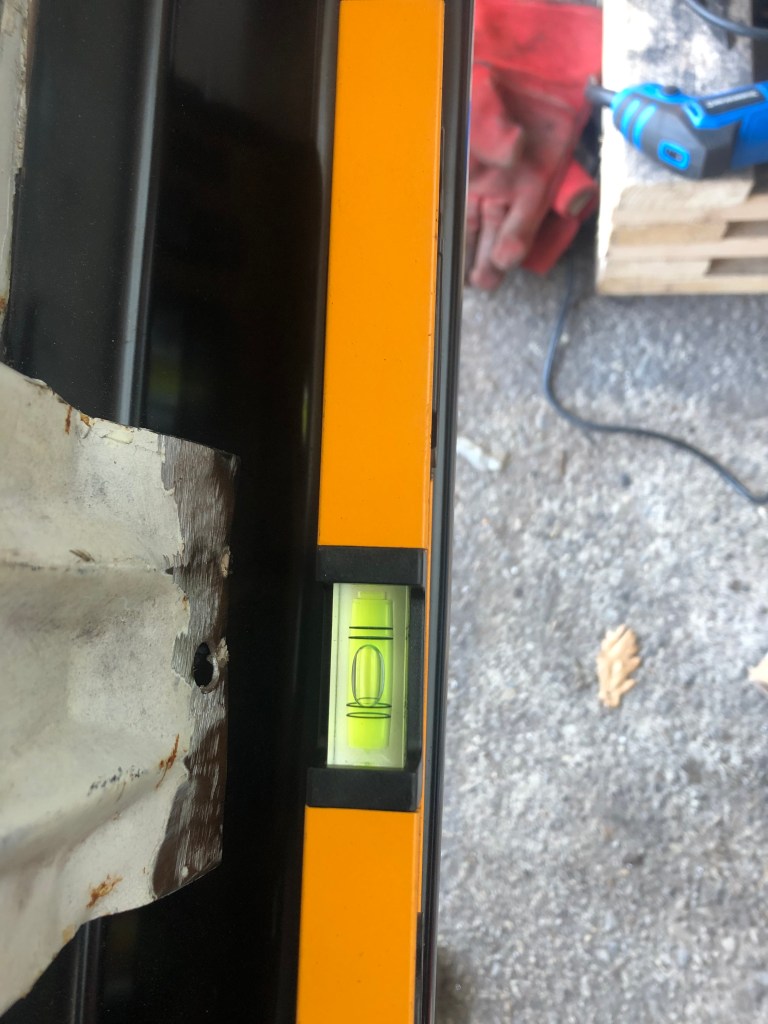
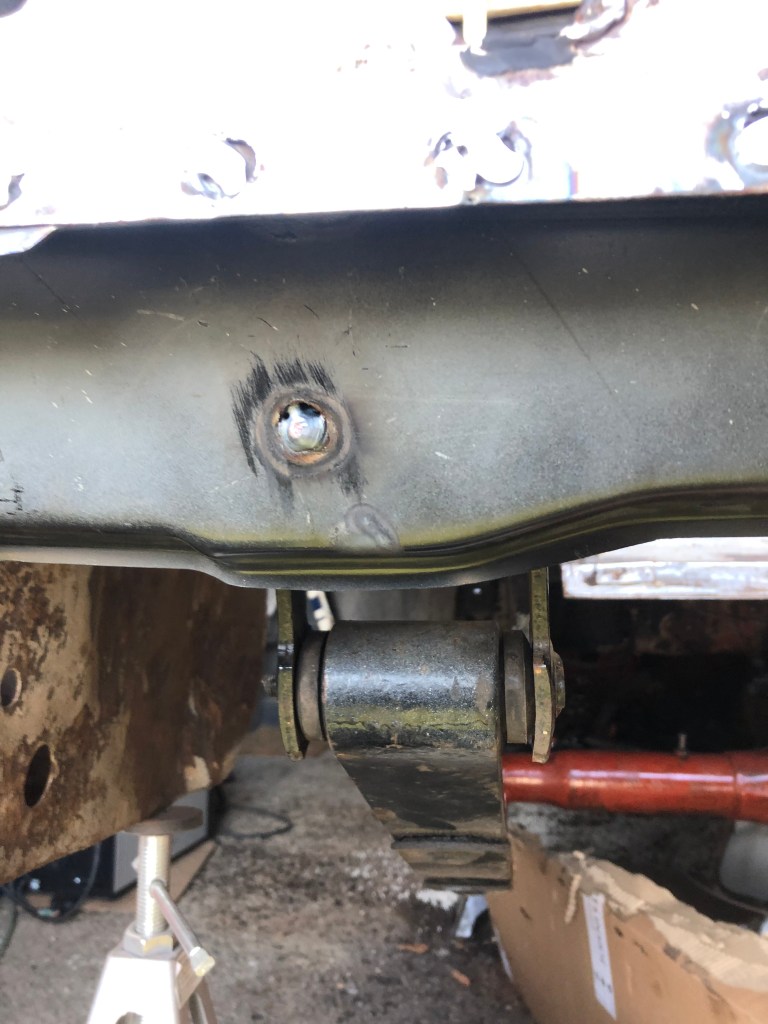
I suddenly realised that a good way to ensure everything is lined up is to loosely reinstall the leaf spring and then rest the axle on it so that the alignment pin is correctly seated on the axle perches. At the same time I can put the fuel tank in place and see how everything lines up. Before doing that I decided to weld in the trunk brace, which went ok.


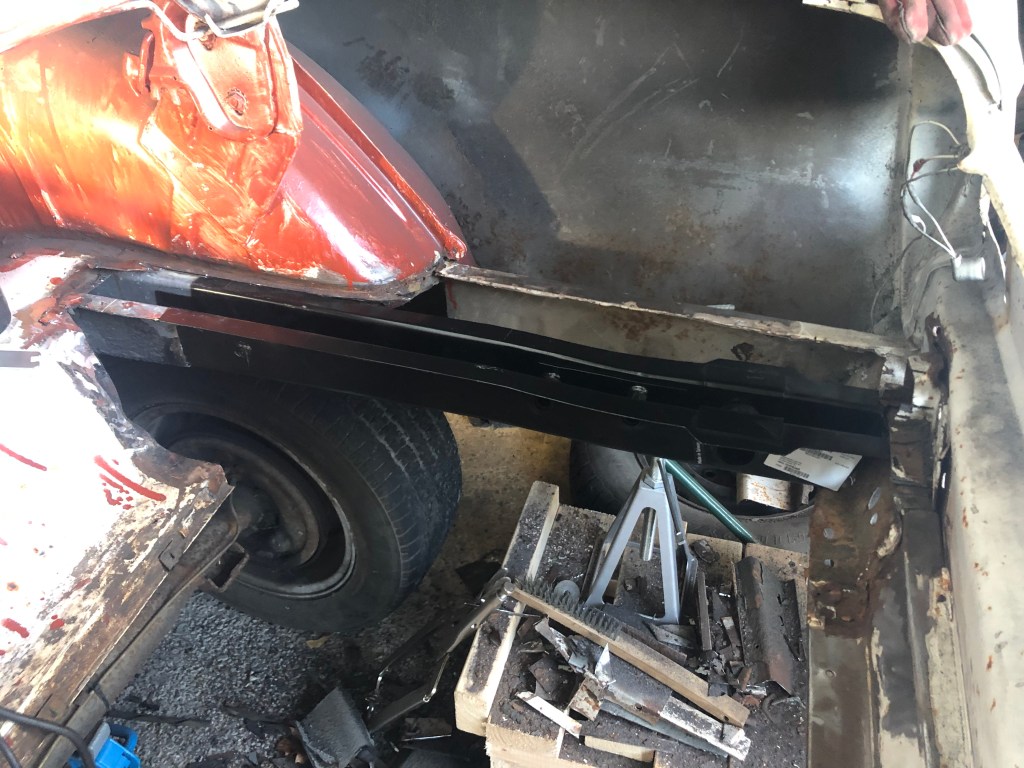
Once everything lined up (within the margin of using a large hammer later) I welded in the passenger frame rail and welded the trunk brace to the drop offs on both side plus the fuel filler panel (with the fuel tank safely far away).


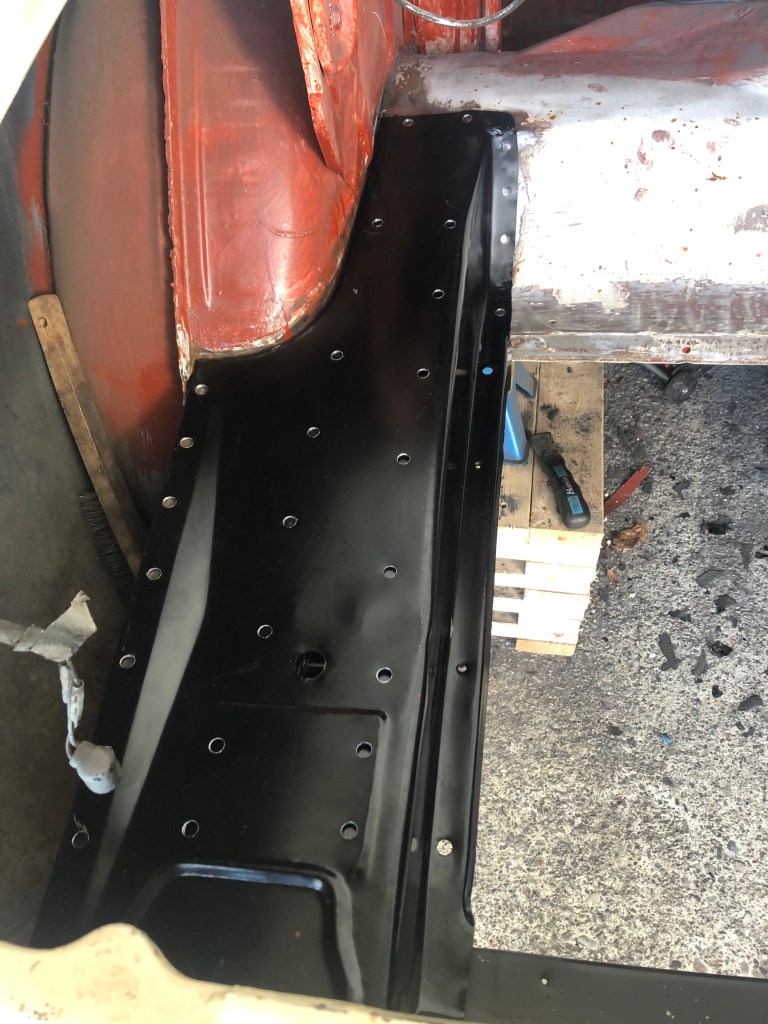
I can now remove the leaf springs and diff and continue to work on the trunk floor, starting with driver side. After some more tweaking I drilled the plug weld holes and welded it in place. I used c-clamps to pull the panel close to the inner wheel arch and put a few plug welds there also. The passenger side floor was put in place to alow me to figure out where the plug welds should be. Placing the tank back helped ensure that everyone was going to line up
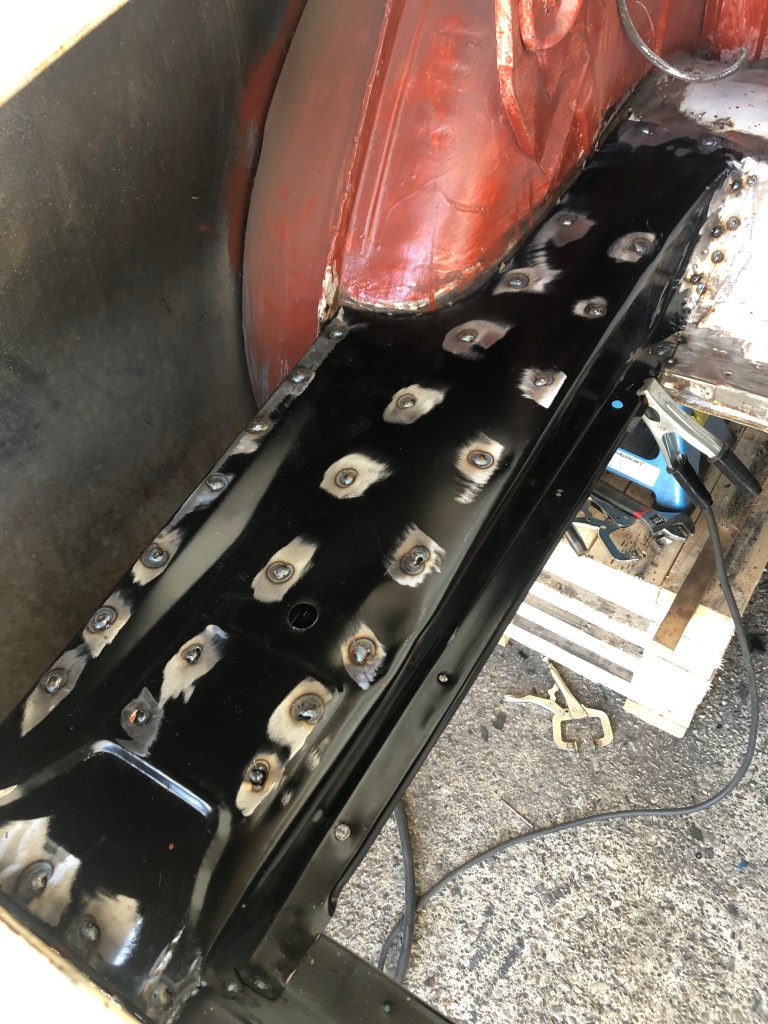
Moving over to the passenger side, I had to tweak the panel a little so that it fit well against the rear floor and the wheel arch, then I welded it in place. After grinding down all the plug welds I coated the entire area in rust inhibitor.
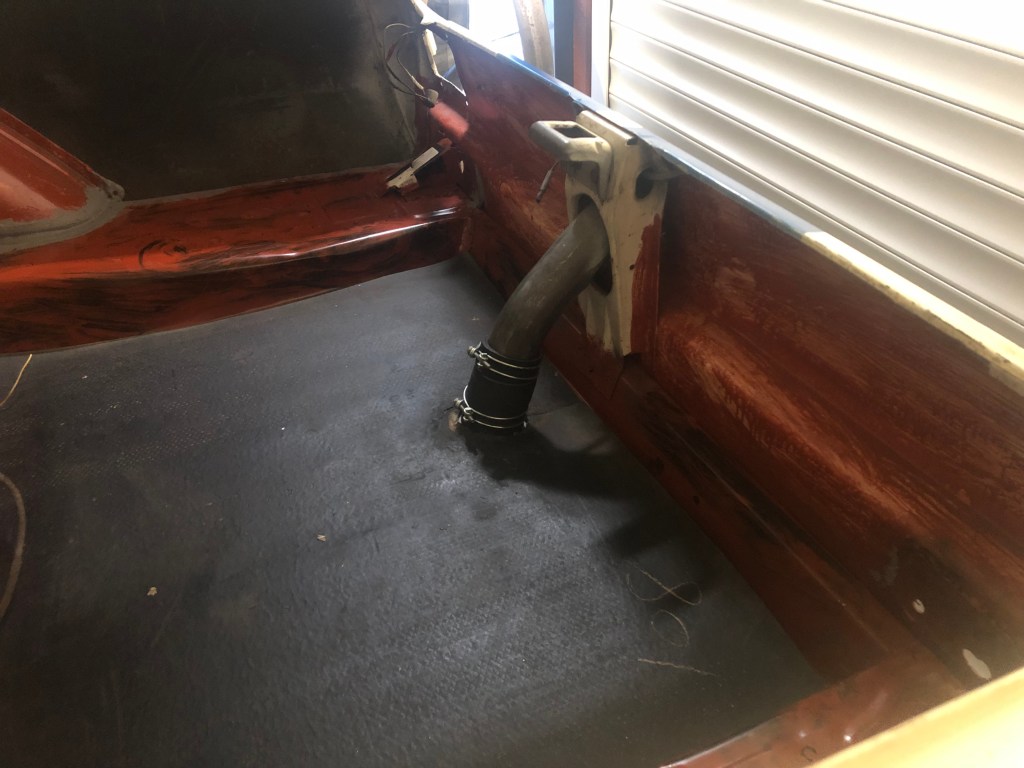
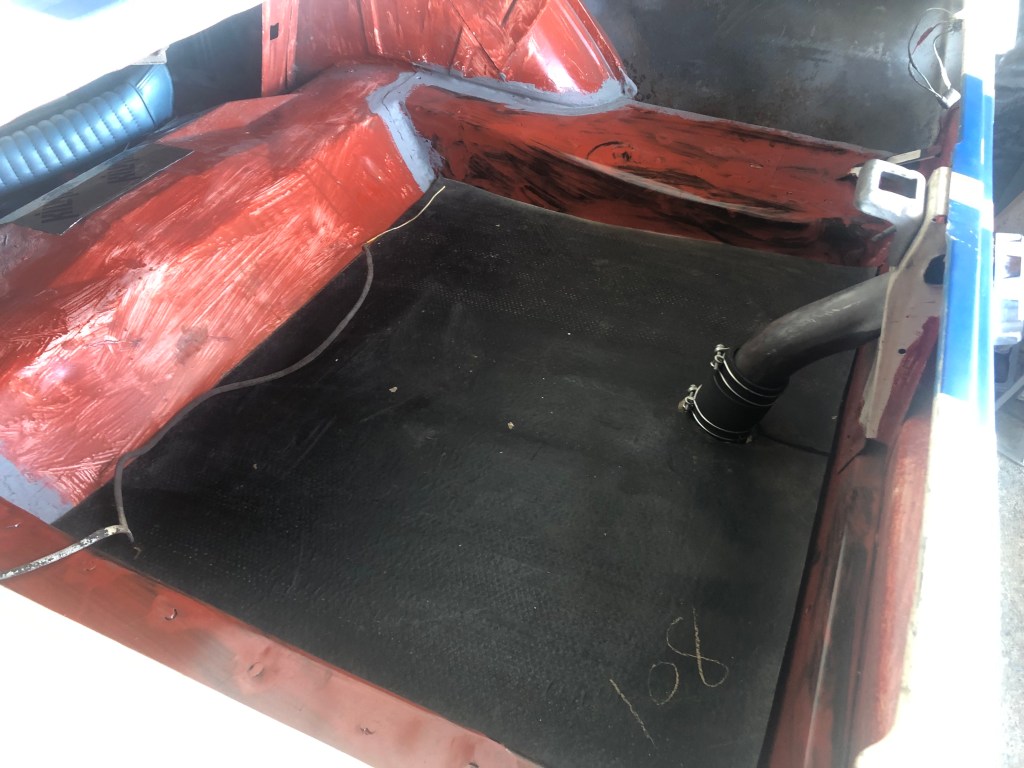
The final step in the trunk project is to weld in the bumper brackets which took another week to arrive. Once they did I welded them in and finally the trunk was complete. I gave the fuel tank a clean before hooking it up to the fuel line and installing it & the filler pipe. I used the last of my seam sealer around the bumper bracket then I gave the rubberised mat a clean and popped that in. Job done!