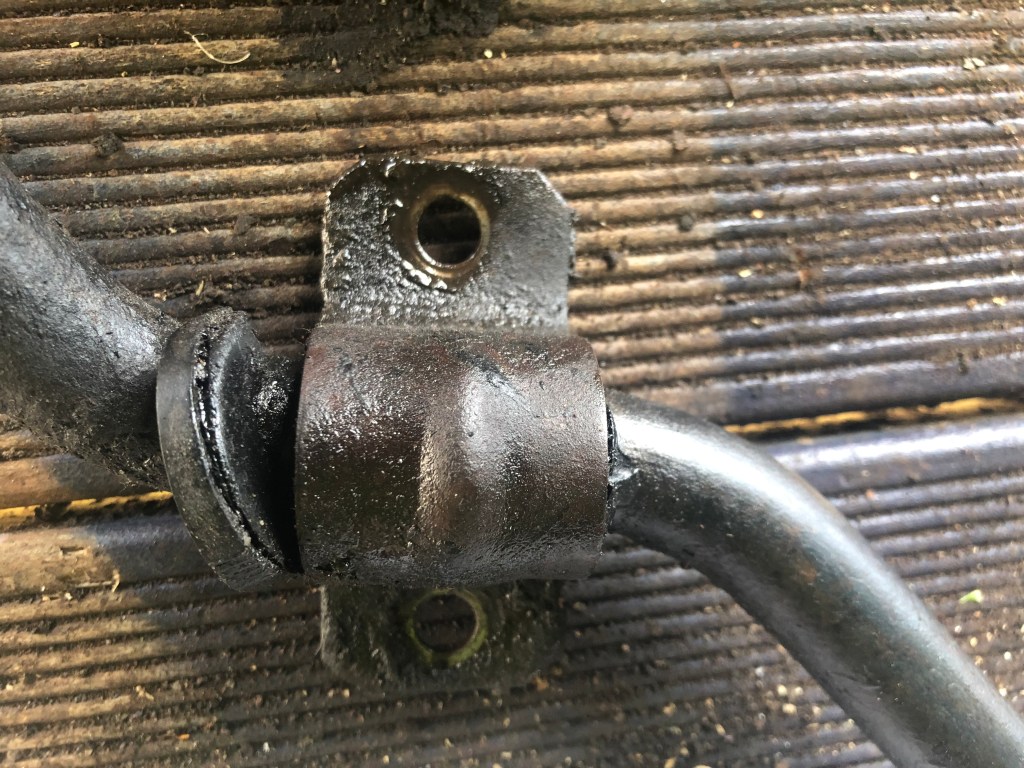
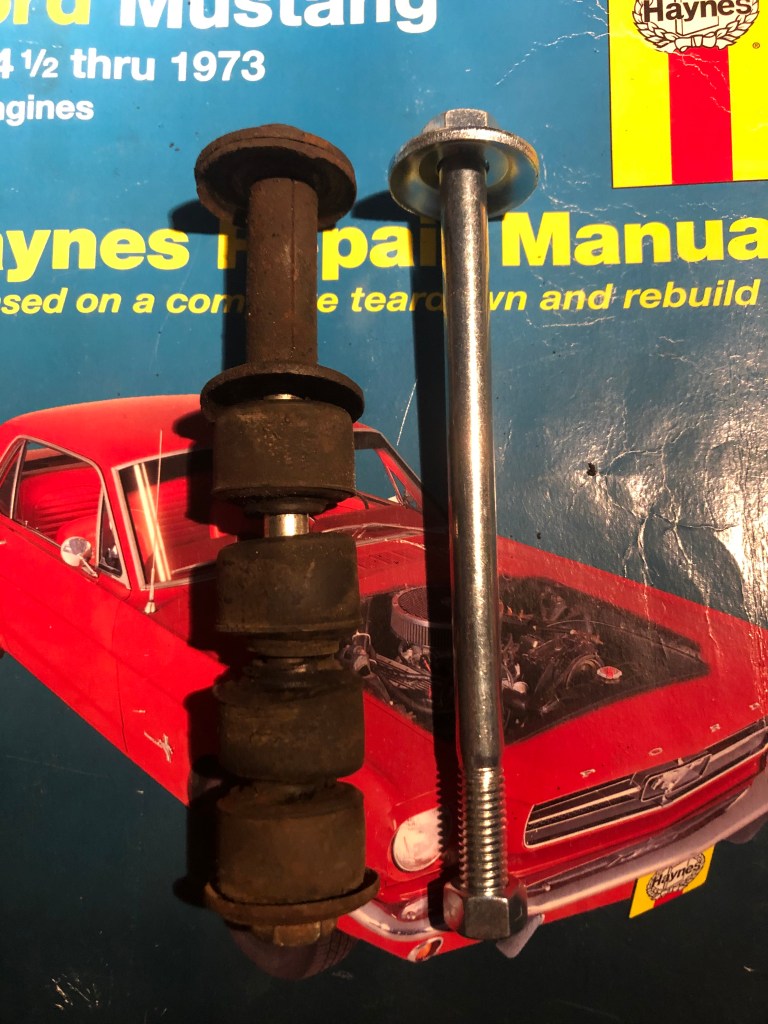
As you can see from the pictures below, the car is in need of some love. The sway bar bushings are completely soaked in oil and power steering fluid and are literally falling apart. The end links aren’t much better.
As the car is up on axle stands, this is the perfect time to sort this out. The first thing I had to do was work out what size the sway bar is so I can order the correct replacement bushings. I used the crescent wrench method and found that mine was pretty much 21mm which is 13/16″. Take the wrench, get a snug fit on the bar, remove it and then put a tape measure across the gap – bingo (if you don’t have a caliper, this is the way to go). I ordered them from CJ Pony Parts.
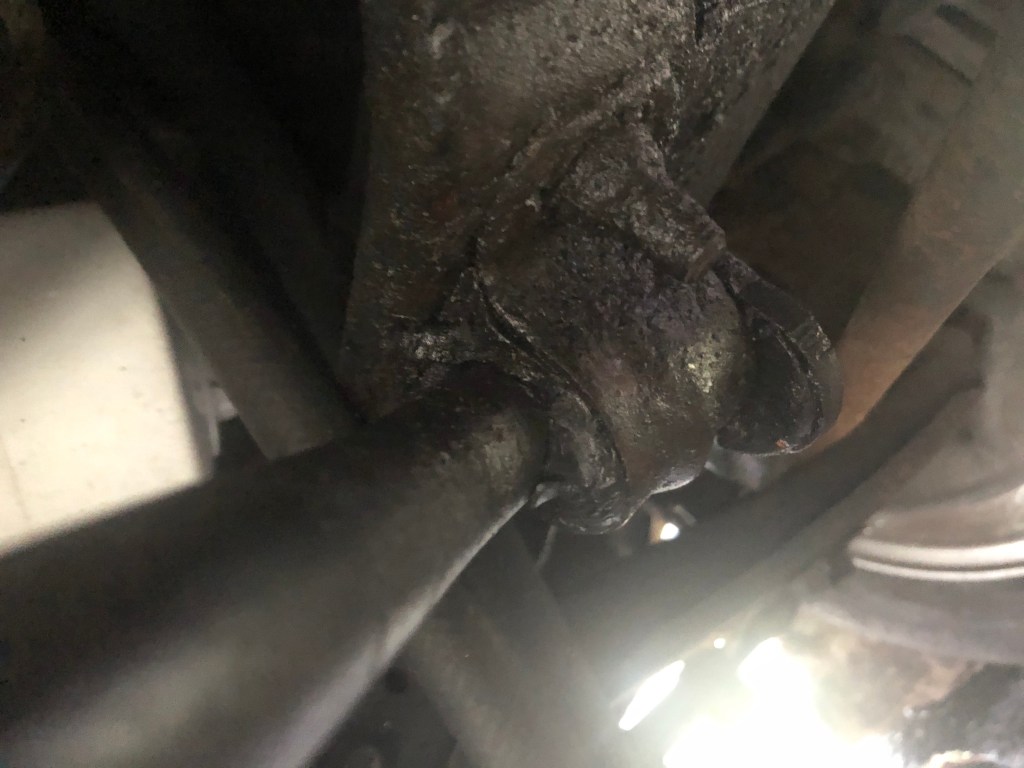
Mucky 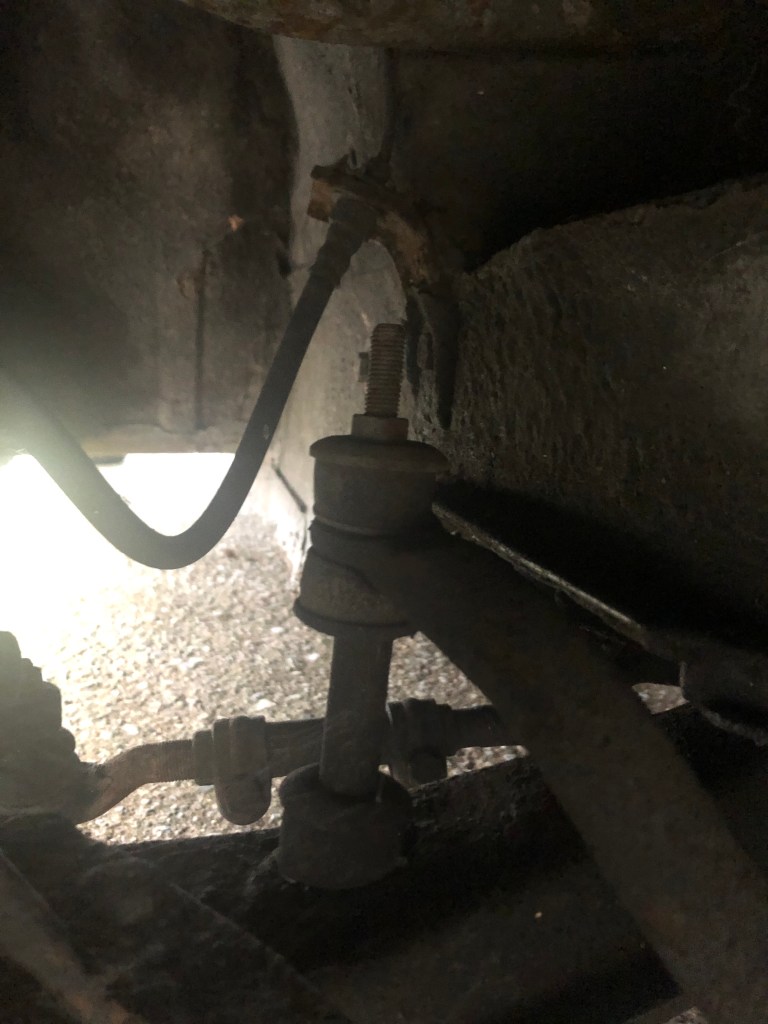
Rusty 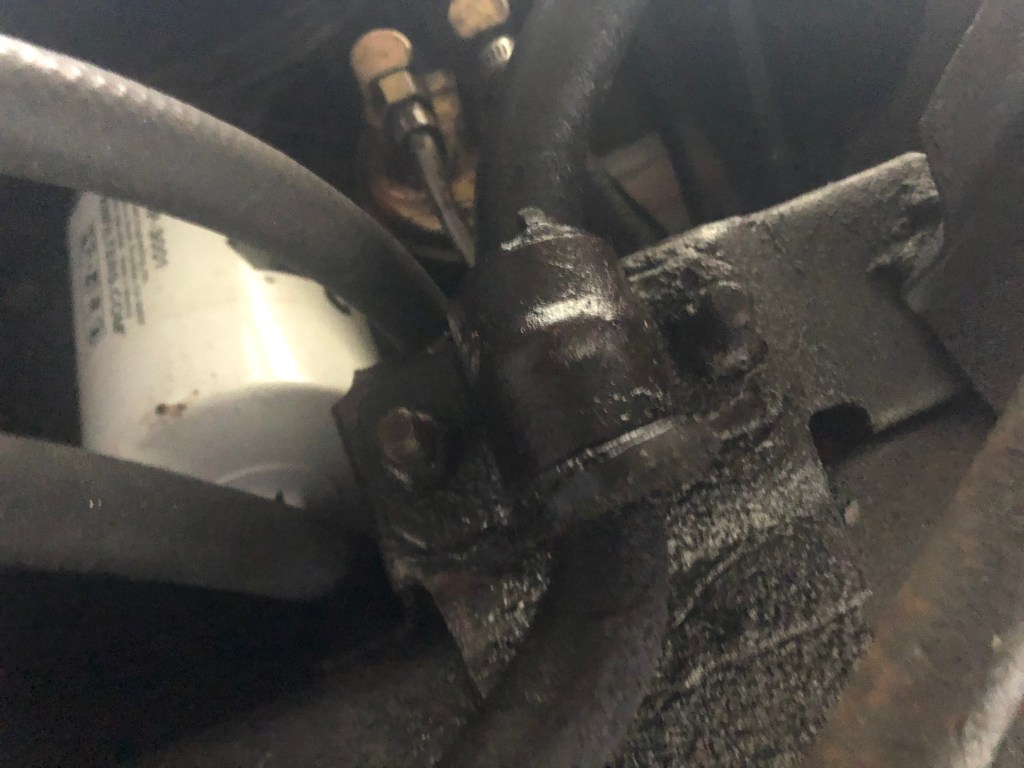
Oily
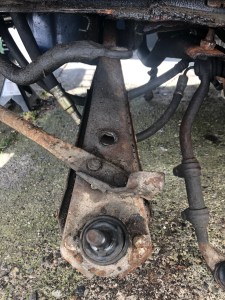
Because I’m also replacing the upper & lower control arms, replacing the end links is easier as nothing is in the way. The problem is that the end link bolt head had sunk into the washer on the underside of the lower control arm (Fig1). Using two socket wrenches and an added breaker bar for leverage I was able to get it loose and remove it completely (Fig2).
Fig1 
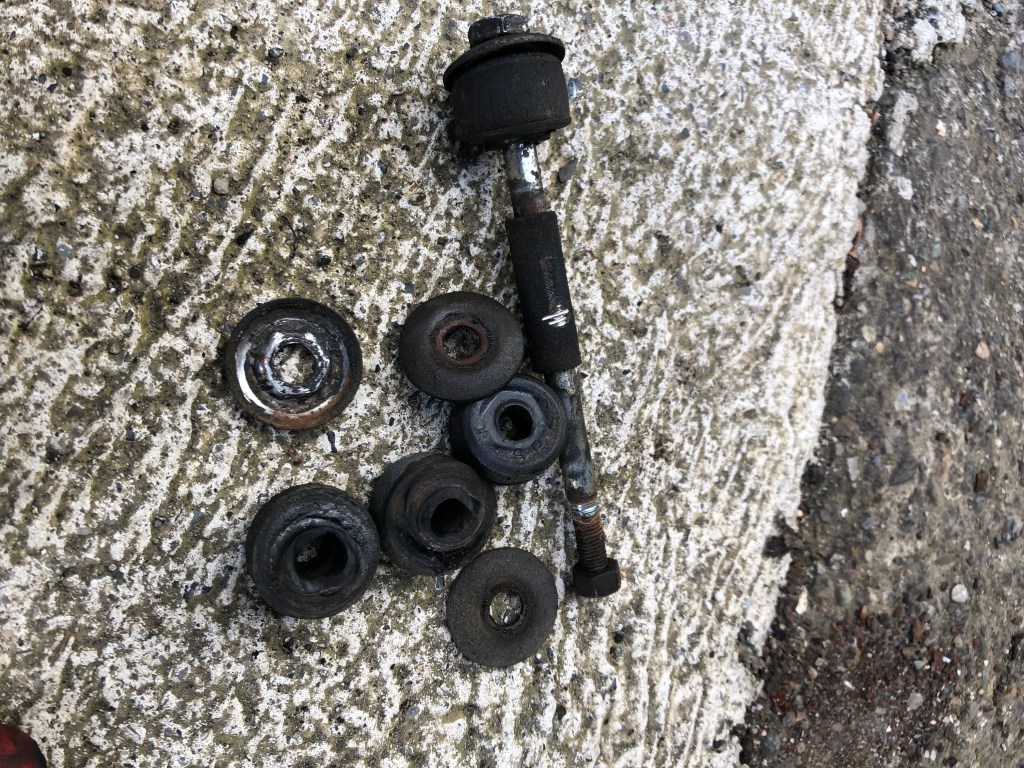
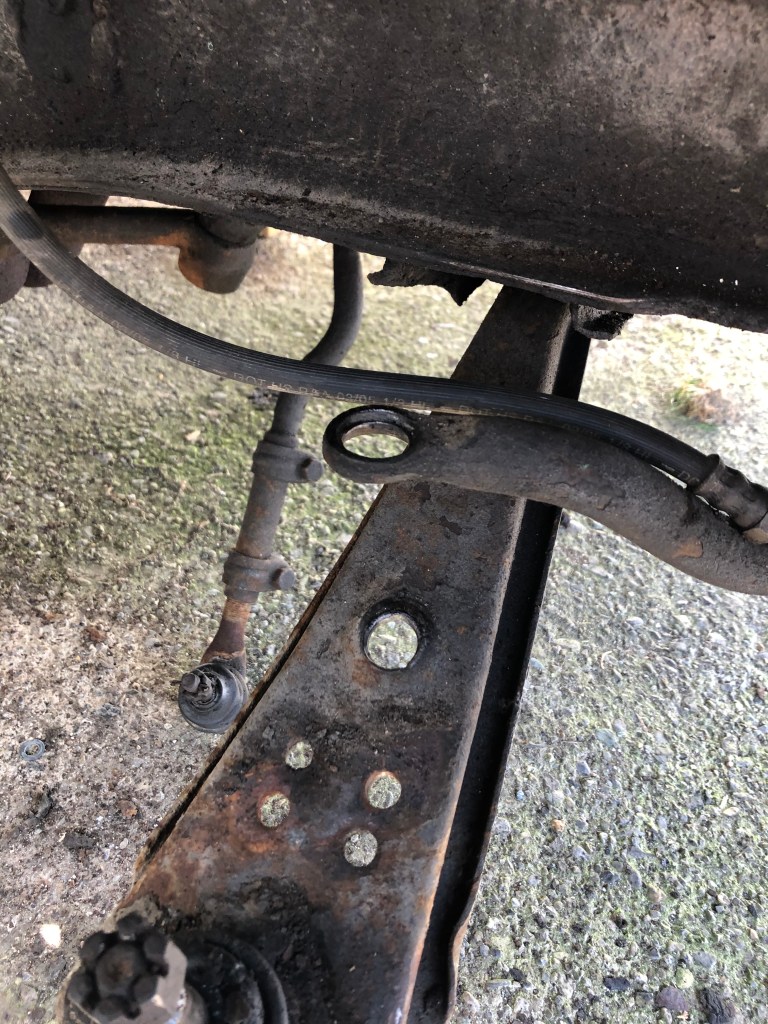
Fig2
I had the same issue on the driver side, but eventually managed to separate the end link from the lower control arm and sway bar.
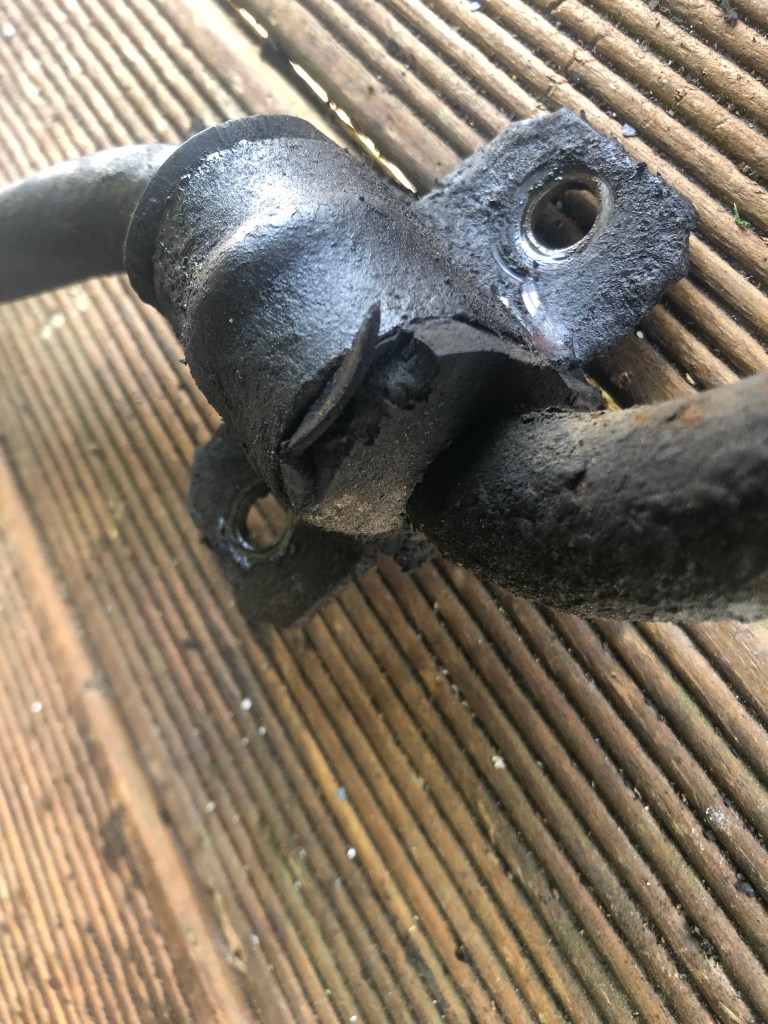
I then moved on to removing the sway bar, which proved a difficult job for one person. I had to wedge one socket wrench on the bolt in the engine bay, whilst carefully undoing the bolt from under the car. Eventually all four bolts were off and I was able to remove the sway bar completely. As you can see in the pictures below, the bushings were completely shot and ready for replacing. To get them off I sliced through them and peeled them off.


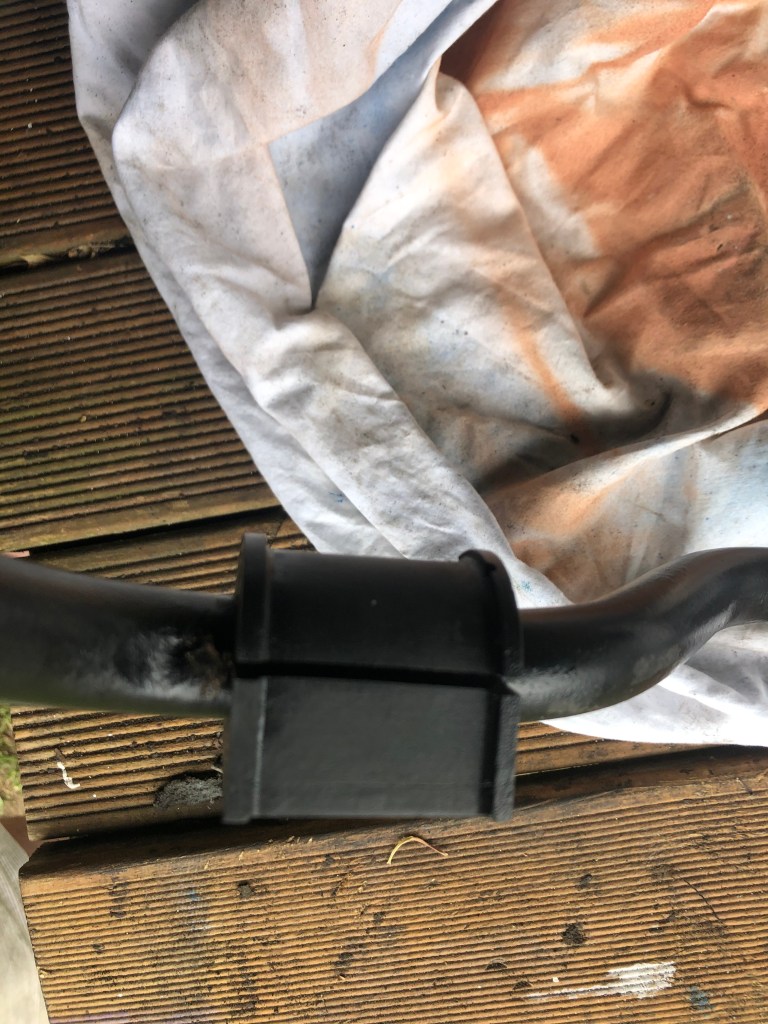
After removing all the dirt and muck from the sway bar, I sanded it to remove loose paint and surface rust, coated it with rust killer primer and gave it two coats of satin black.
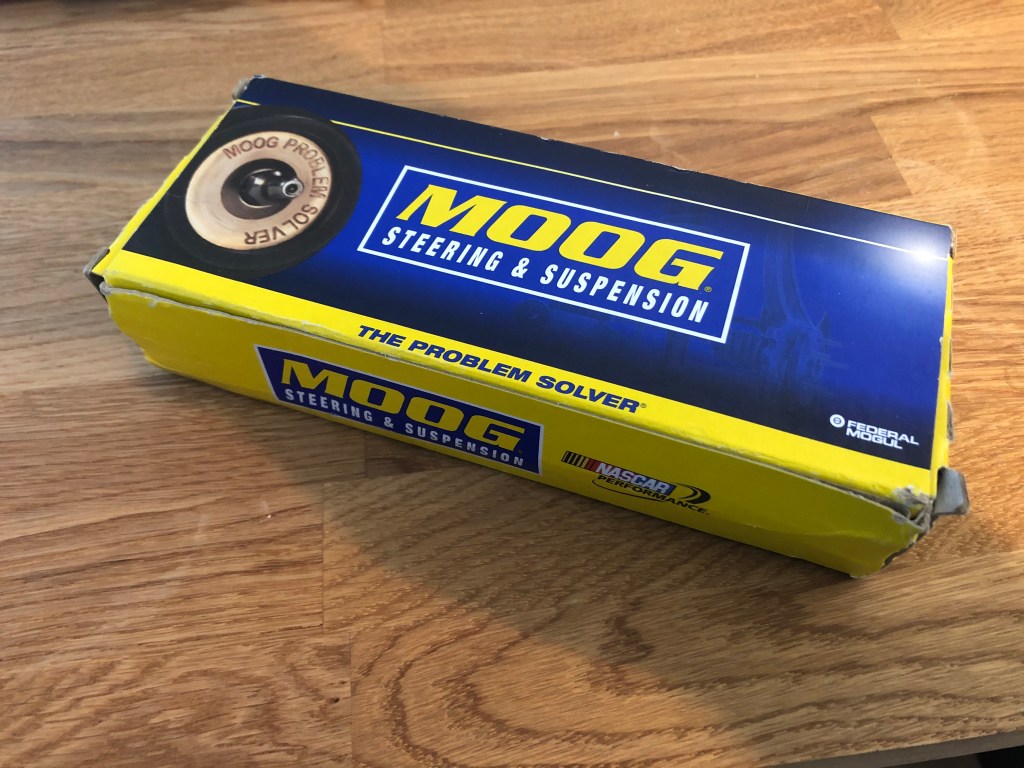
The new sway bar bushing kit (ordered from CJ’s) is the polyurethane type. The bushing is very solid and although it is split to allow for ‘easy’ installation, it was still a fight to get onto the sway bar. Each busing has fine slots, allowing for grease to stop squeaking. The gap between each piece of the bushing will close up once the clamp is on and its bolted to the car.


The new end links, again from CJ’s, although the same length, are a slightly thicker bolt as well as being made from thermoplastic, so they should last well.
As the radiator, alternator & power steering pump are off the car (As I’m painting the engine – here) I decided it would be a good time to reinstall the sway bar. I used a jack to hold the bar and then started the nuts to hold it in place. I really think that it would have been better to have ‘captured’ nuts for the sway bar as its a right pain trying to do this solo!
I ran into a problem right away, the new bushings turned out to be larger than the originals. I was able to get three of the nuts in place (with a lot of force) and finally managed to get the last with the use of a hammer. In my haste I also realised I didn’t grease the sway bar bushings. Hopefully I can get some grease in there using a lithium grease aerosol can.

Sway bar installed 
Ready for LCA & end links
After installing the upper & lower control arms & strut rods I had a problem trying to get the end link nut started. Try as I might I couldn’t compress the bushing. The solution, although somewhat drastic, was to cut about 5mm off of each spacer. This allowed me to get the nut started and finish the job!

Before cutting the spacer 
After cutting 5mm off of the spacer 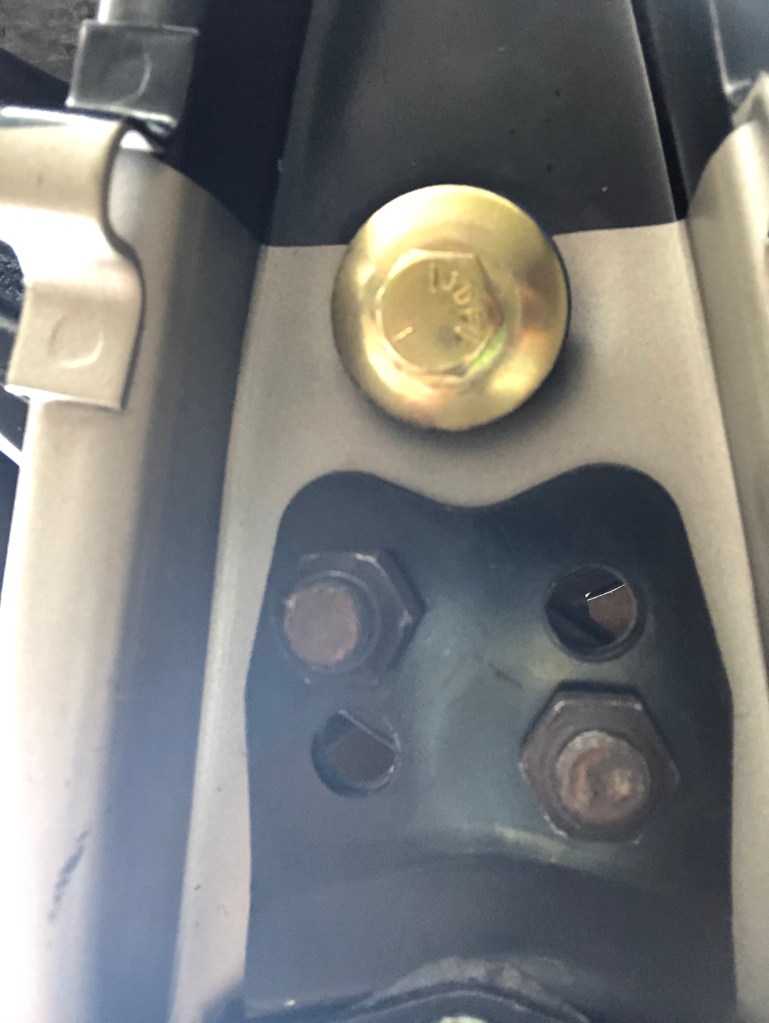
View from under the LCA
